
How to remove photo background in Preview on Mac OS
Remove photo background using Preview on Mac OS
I’ve always relied on third party tools in order to remove the background from photos until recently when I discovered that I could do it using Preview on a Mac.
The steps are as follows:
- Open the photo you want to remove the background from in
Preview - Select the
Toolsmenu and wait for theRemove Backgroundoption to enable. This usually takes a few seconds as Preview tries to recognize a removable background from the photo. -
Once enabled, hover over the option & Preview will show you an animated boudary along the area that will be retained post background removal. The area that will be removed will be
dimmedto help you differentiate between the two.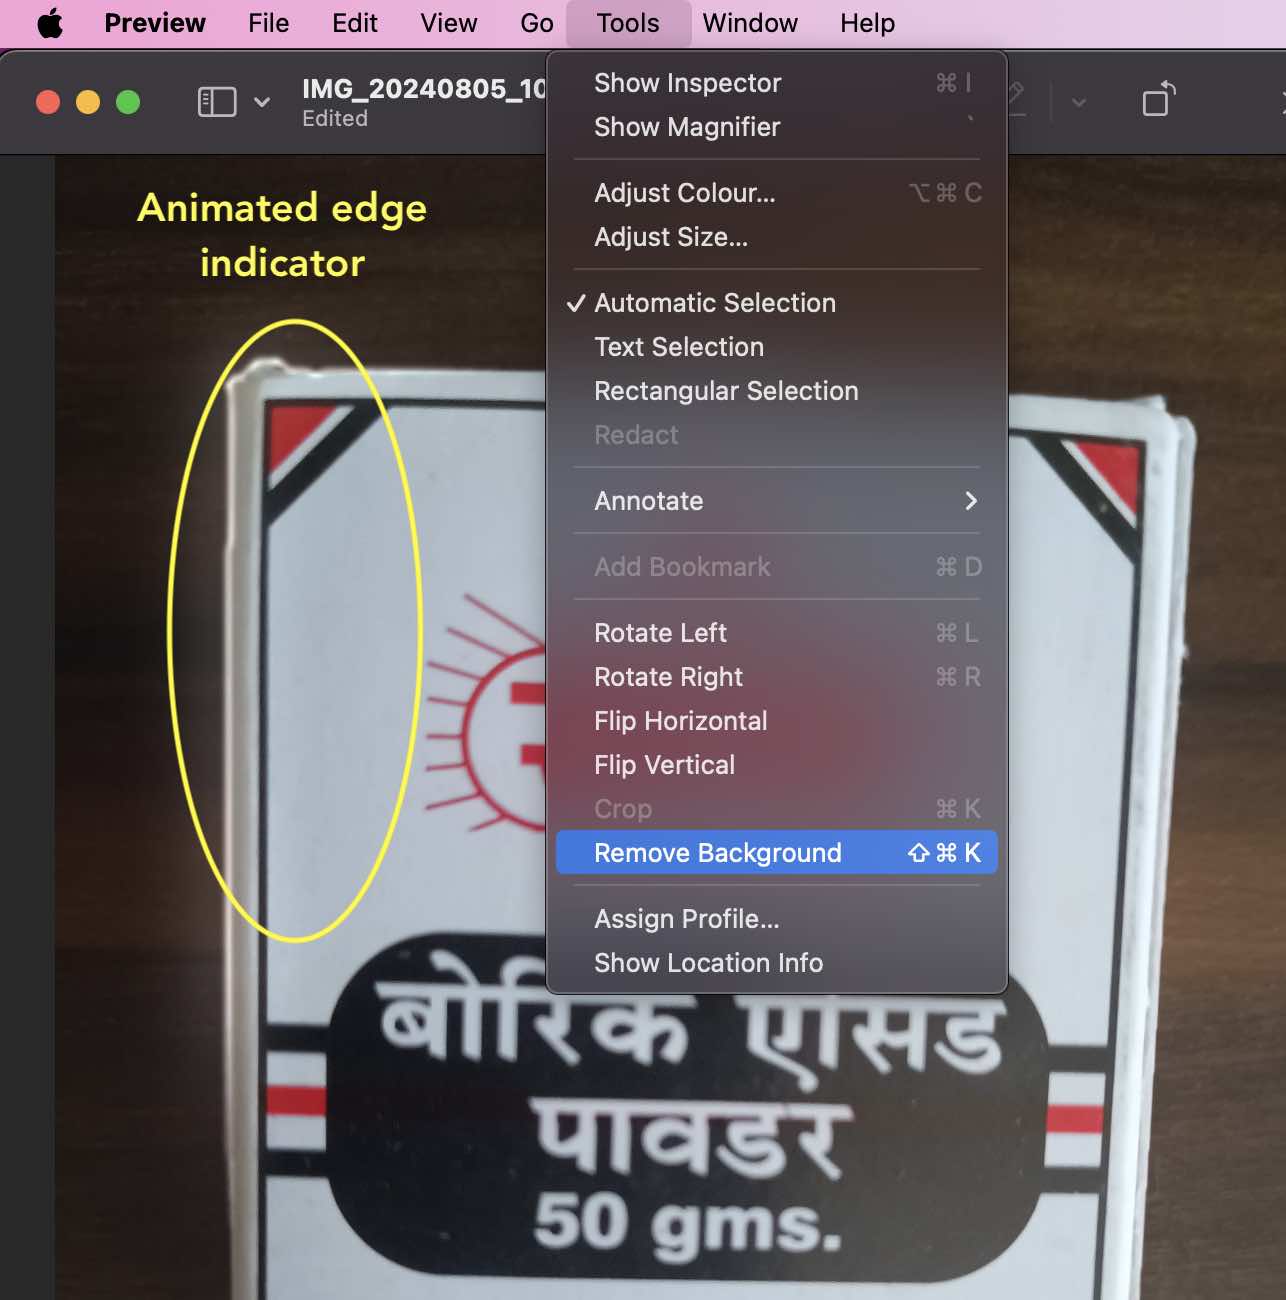
-
If you are okay with it, simply click the
Remove Backgroundoption, you could also activate it using the Shift+ ⌘ + K key shortcut & wait for Preview to process your image. -
If you are editing a JPEG image, Preview will prompt you to allow converting the image to a PNG image in order for background removal to work. The resultant image will be saved with as a PNG image.
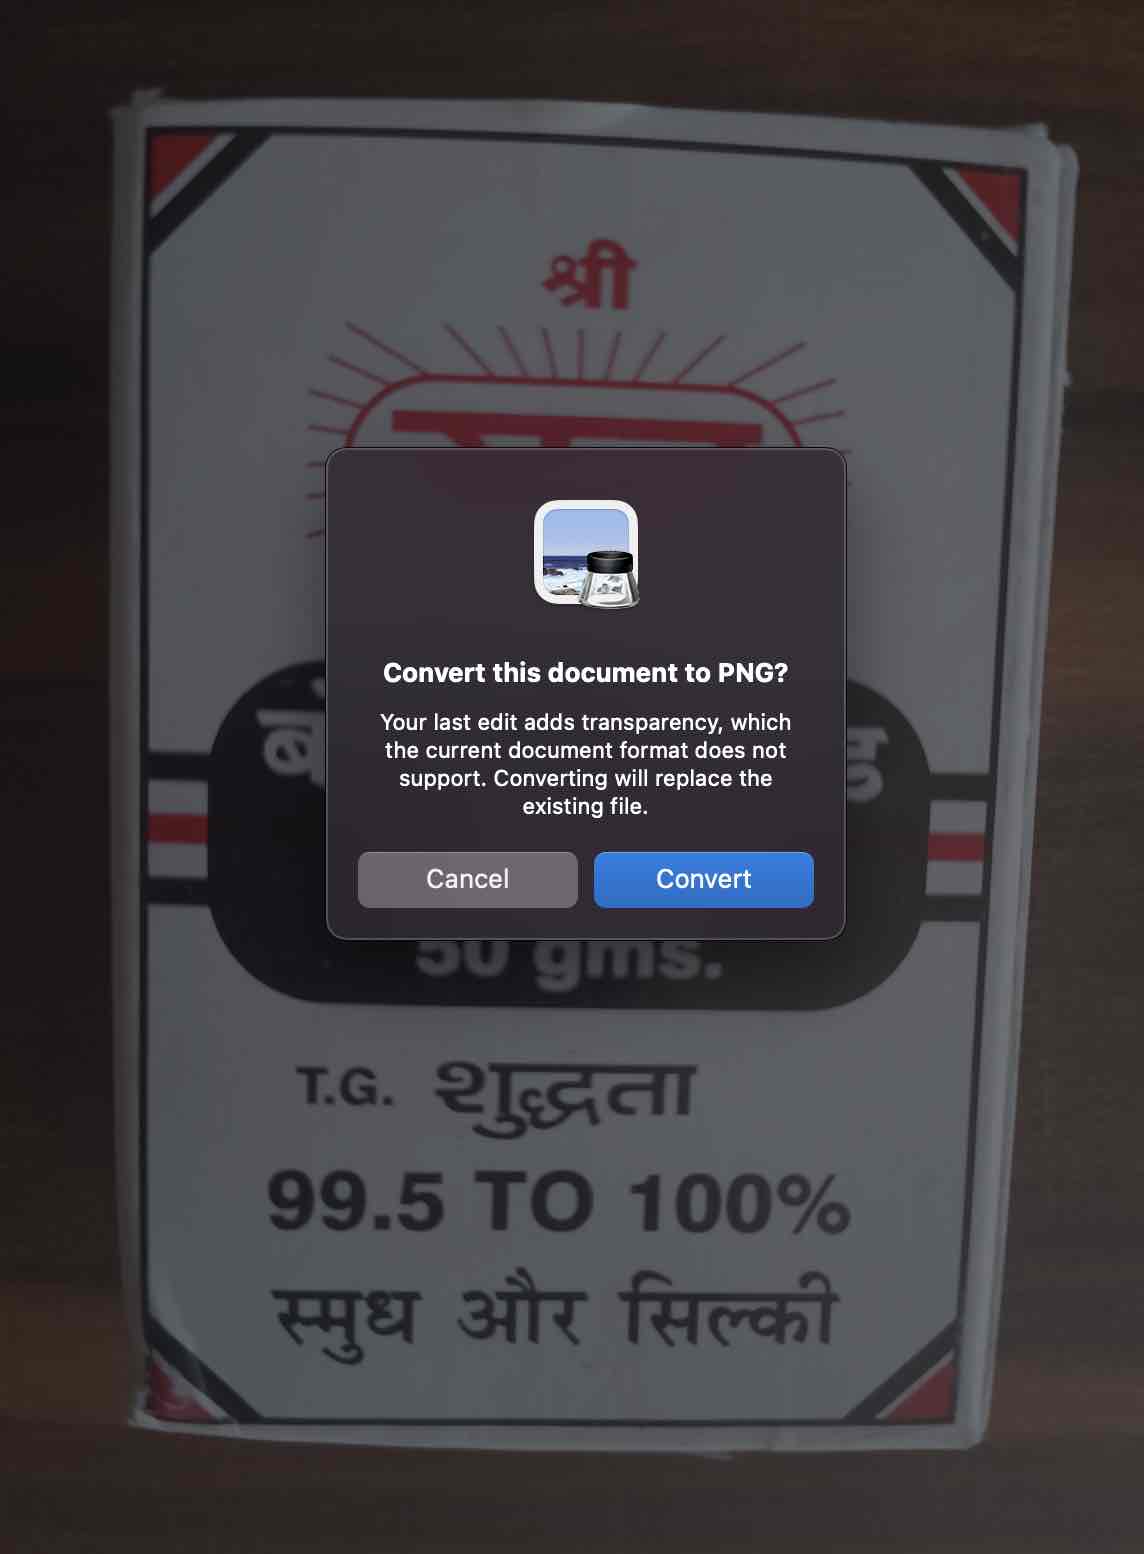
The final image will have an increased file size so you might want to convert it back to JPEG.
Here’s a before & after comparison of photo with background removed.
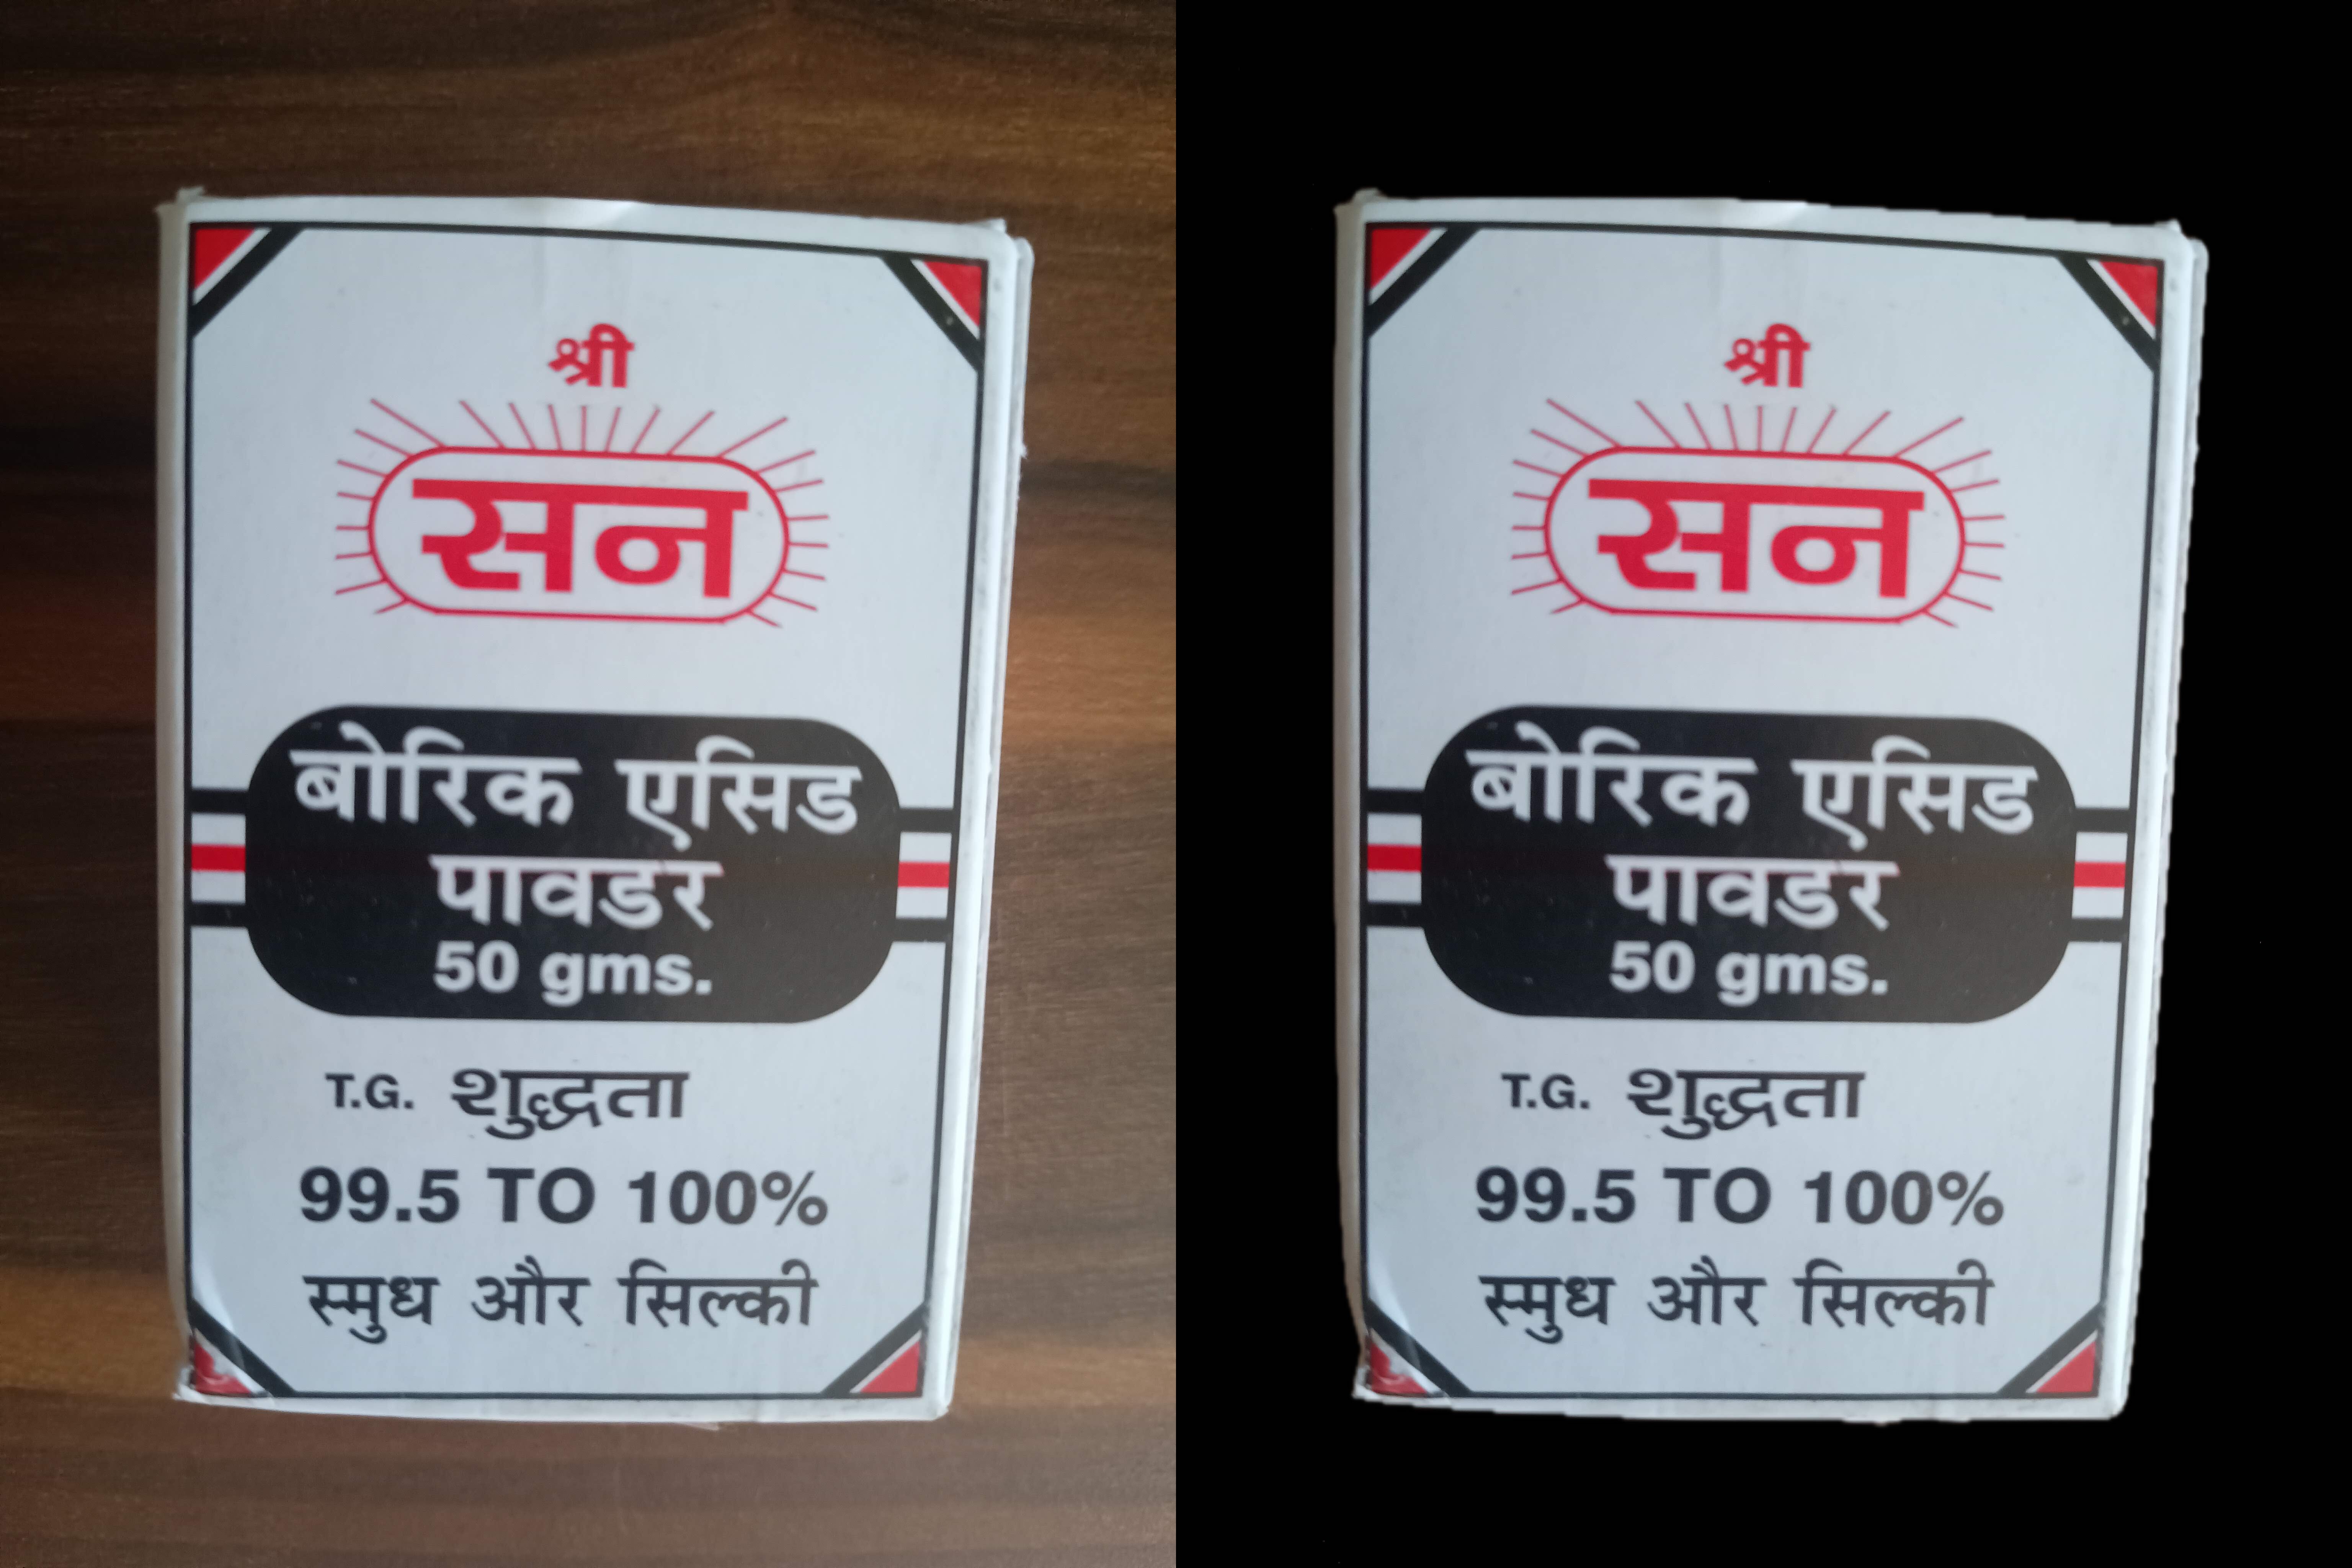
It’s a handy feature if you want to quickly crop the background of photos to share with others. The downsides are that you cannot fine tune the selection and the removal sometimes results in jagged edges. Nonethelesss, this is a nifty tool that I’ve only just discovered.
Consider subscribing to my YouTube channel & follow me on X(Twitter). Leave a comment if you have any questions.
Share this article if you found it useful !