Voice & Video Calling app on iOS using ZEGOCLOUD API - Swift Tutorial
Watch the video or follow along with the post below.
In this tutorial I will guide you on how to create a voice & video calling app using ZEGOCLOUD. ZEGOCLOUD is a leading realtime interaction platform that provides developers with an extensive array of tools and services designed to effortlessly incorporate real-time video communication into applications. With superior video and audio quality, low latency, and the ability to scale, ZEGOCLOUD is a reliable choice for adding video call functionalities to iOS apps & their UIKit’s make it easy to integrate into existing projects as well. In the following post we’ll implement 1-on-1 voice & video calling feature in our iOS application.
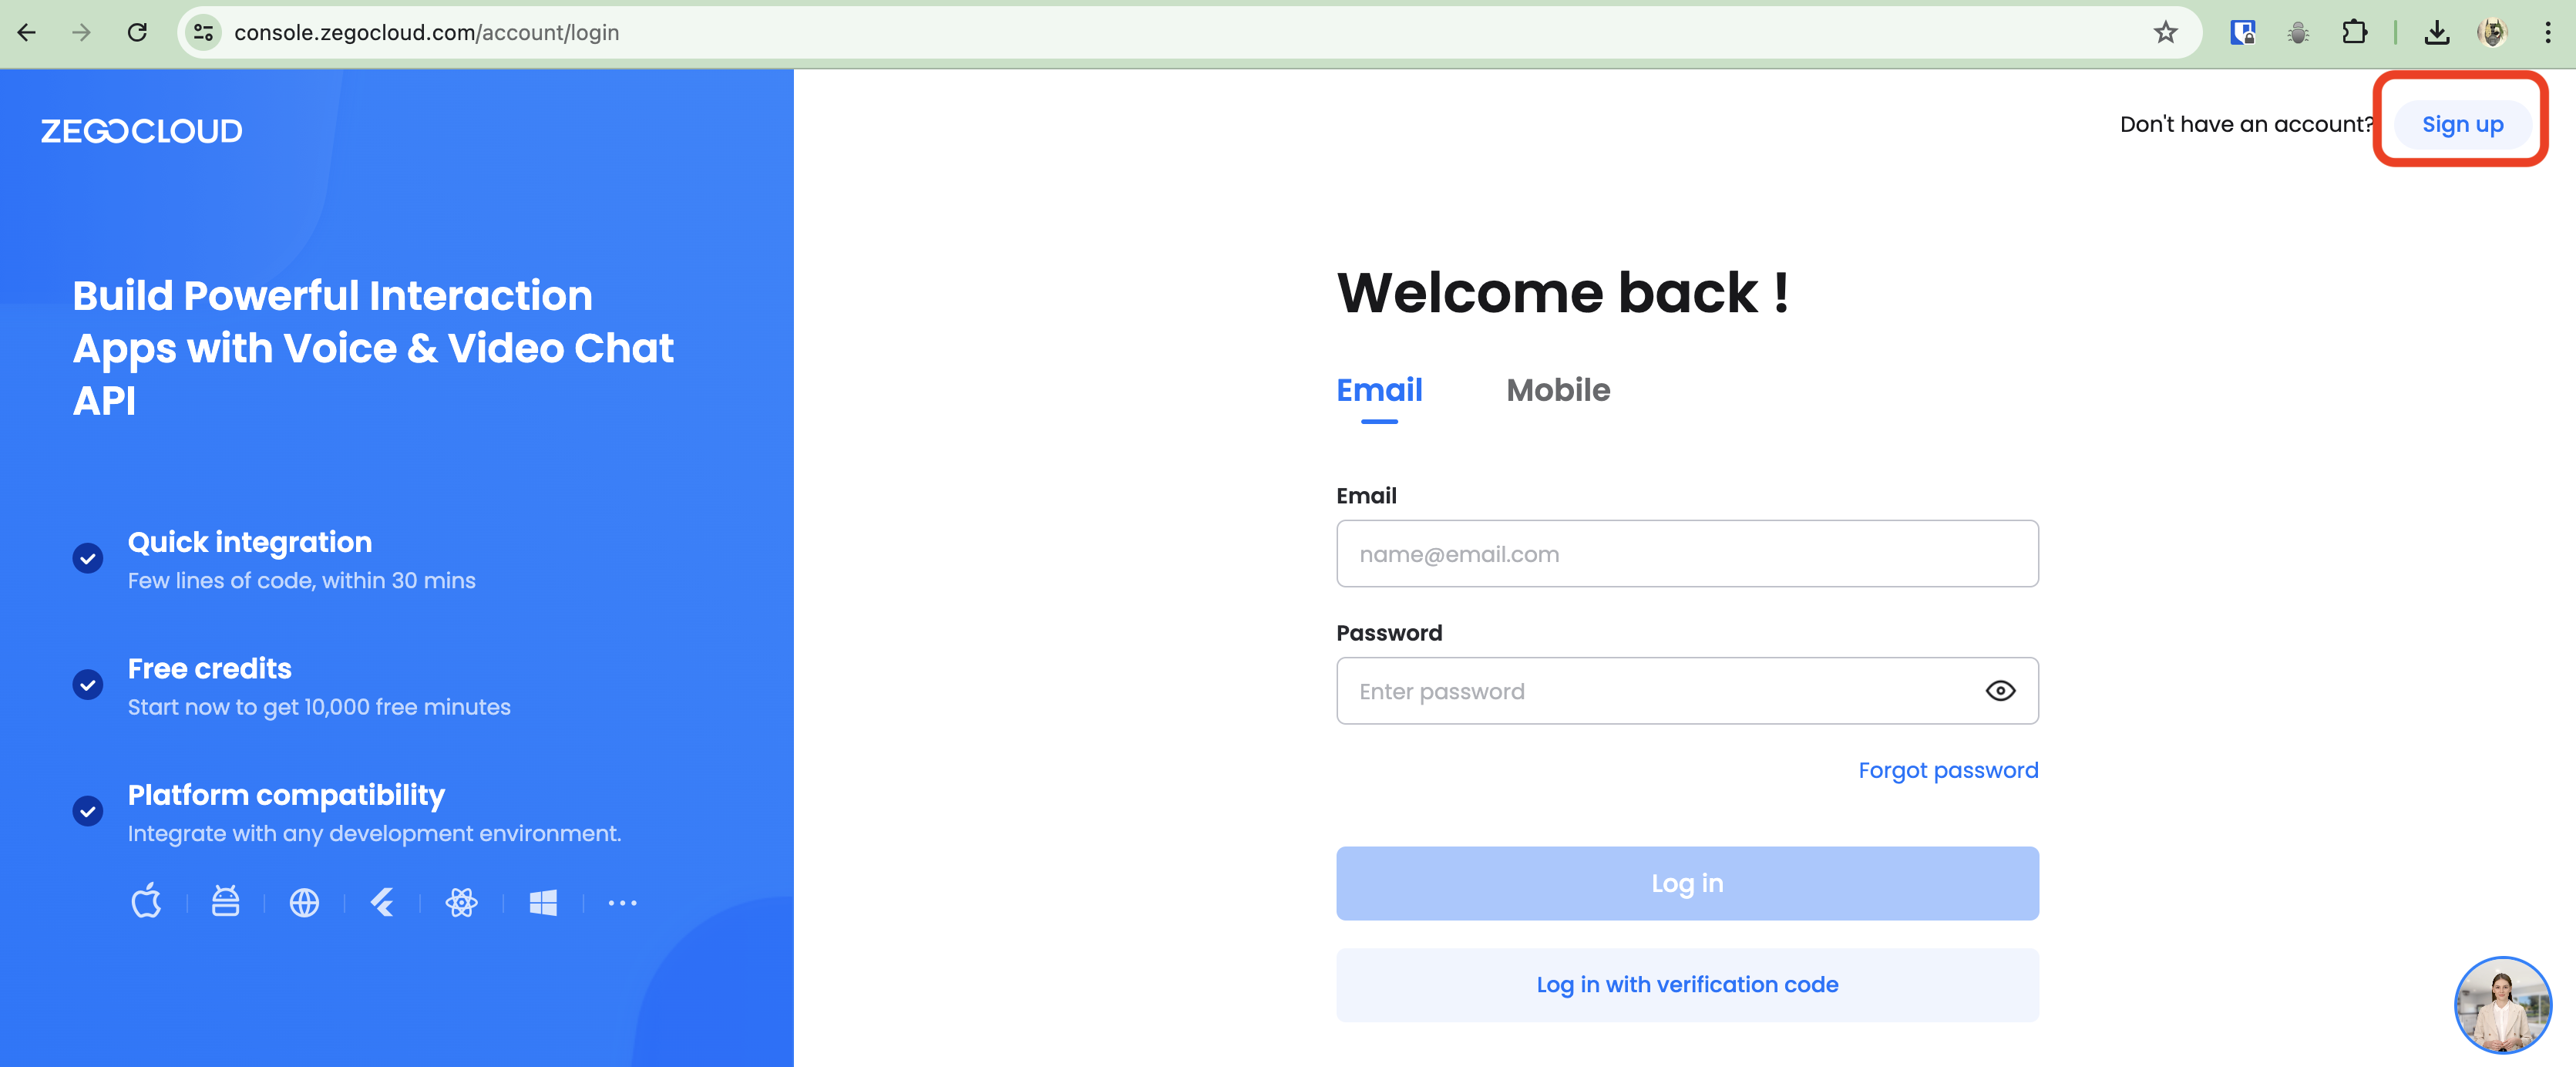
Visit https://console.zegocloud.com & click on Sign up
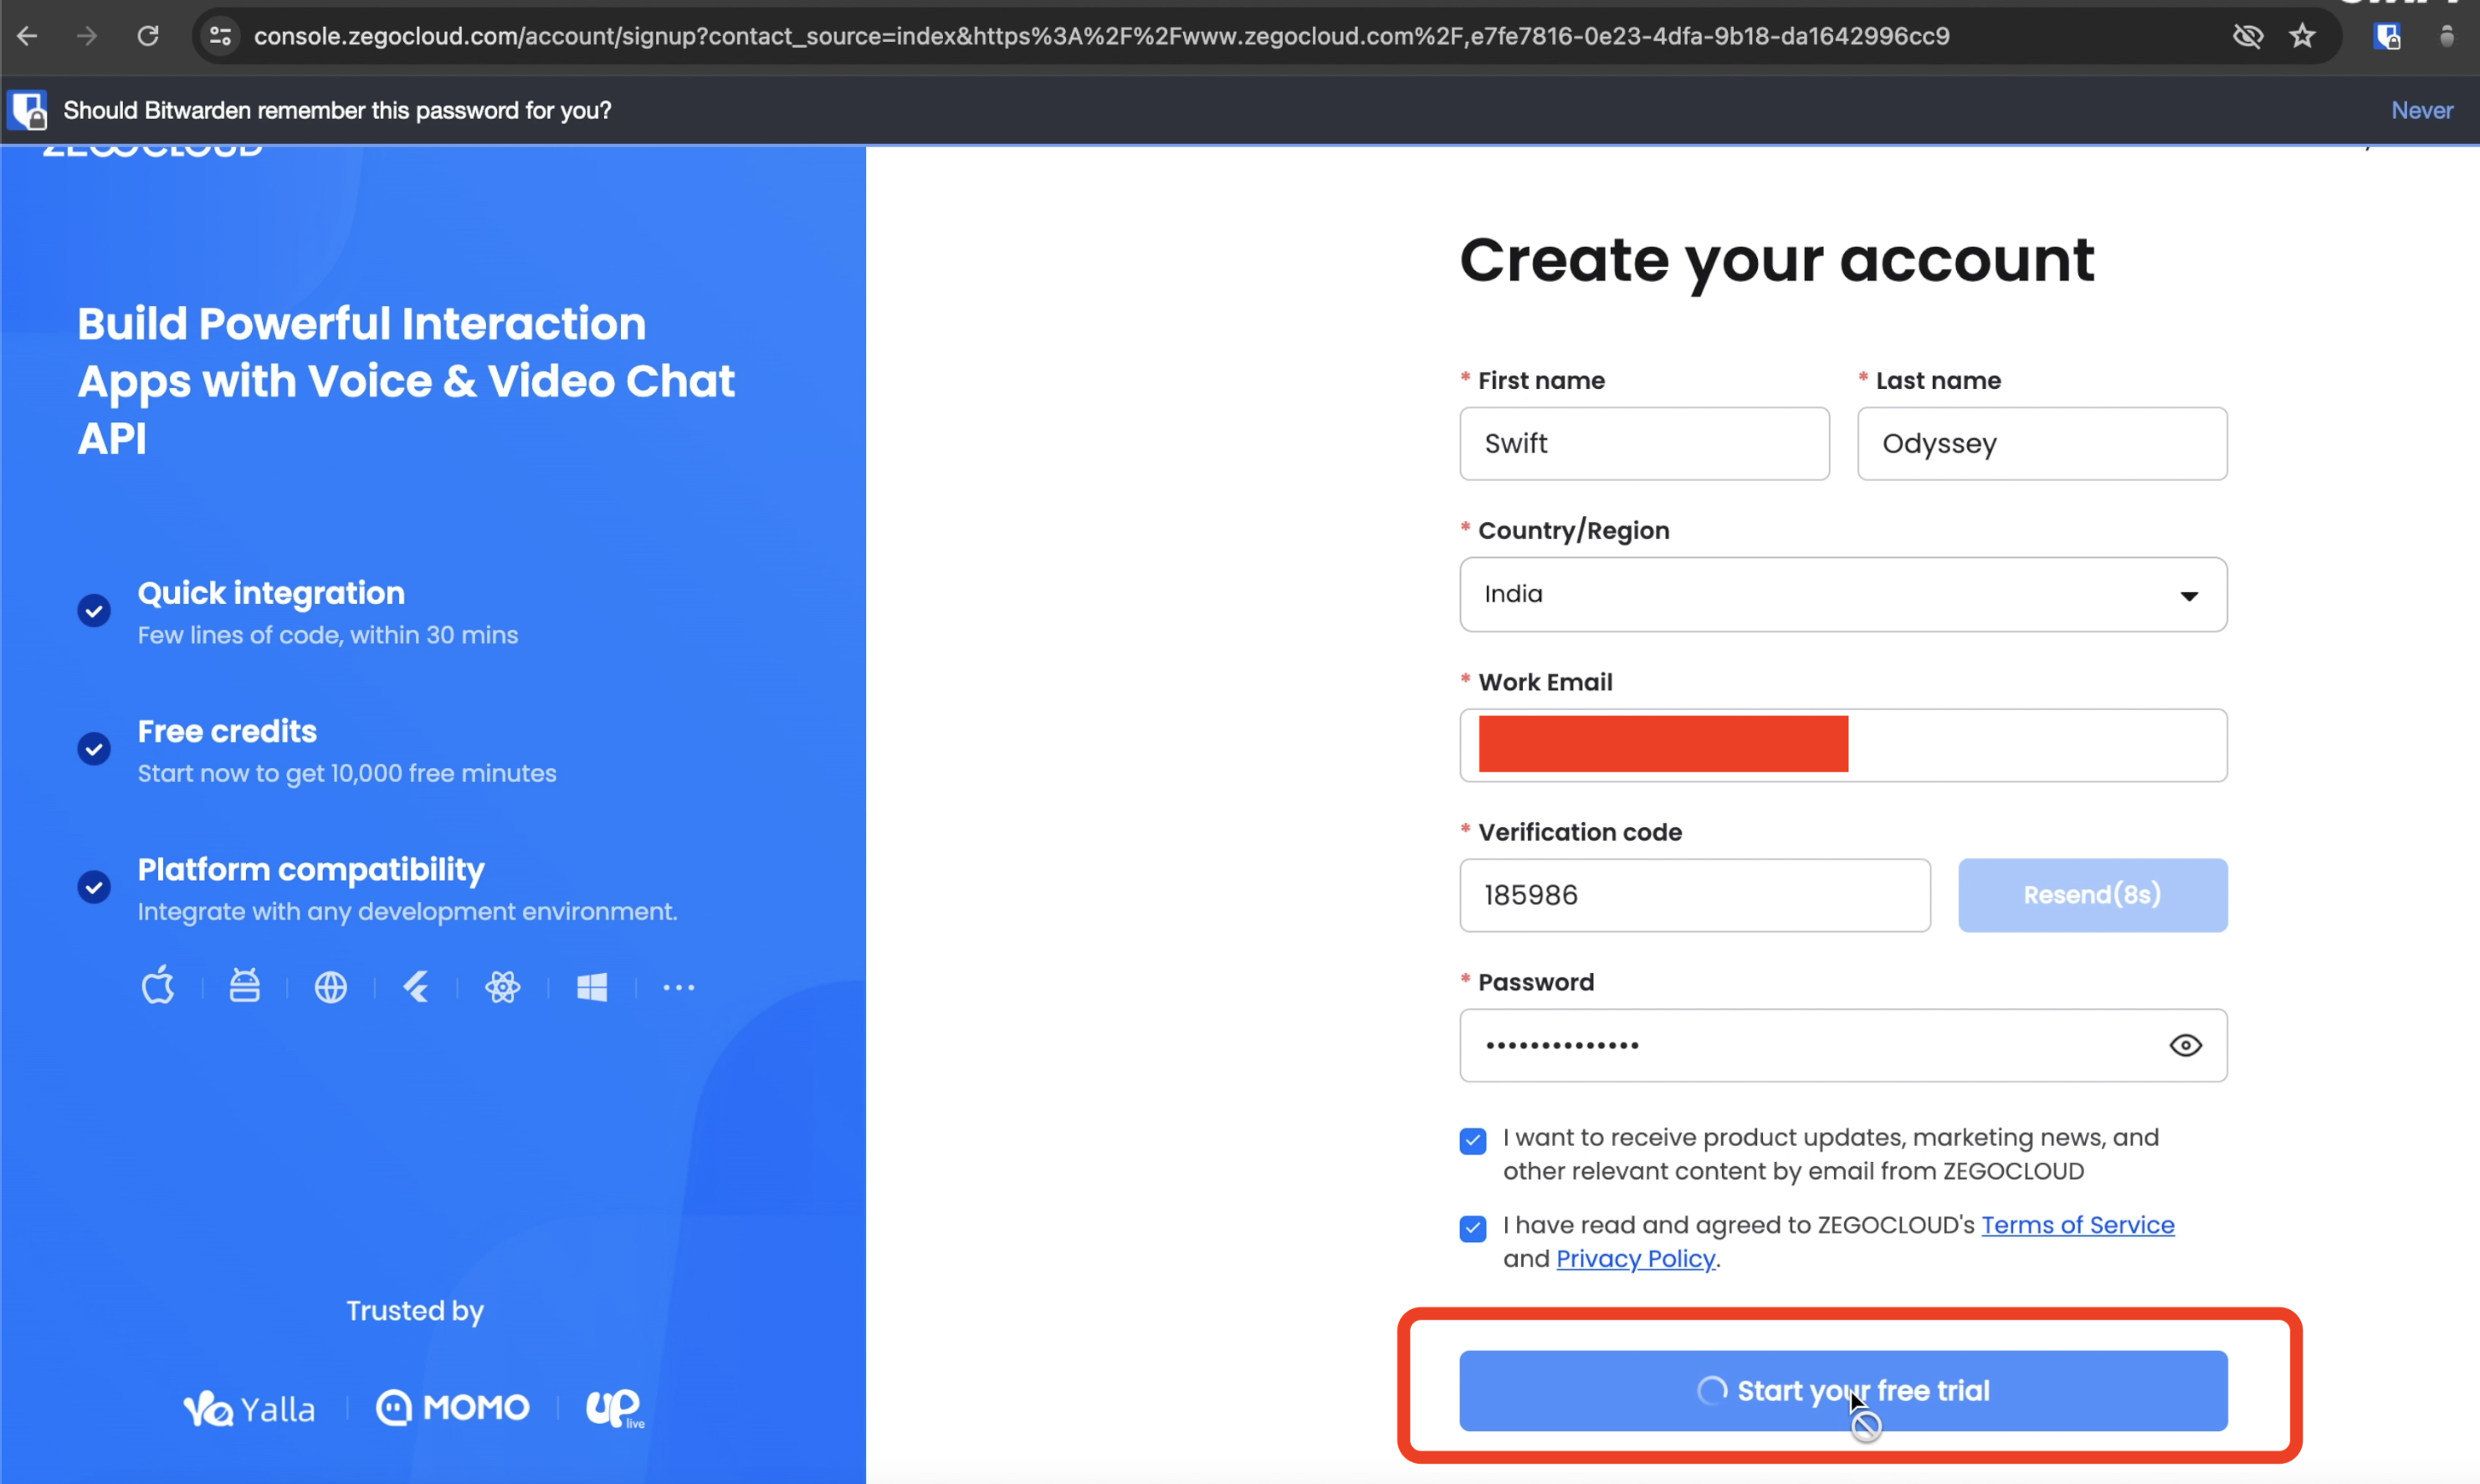
Enter your basic details & click on Start your free trial
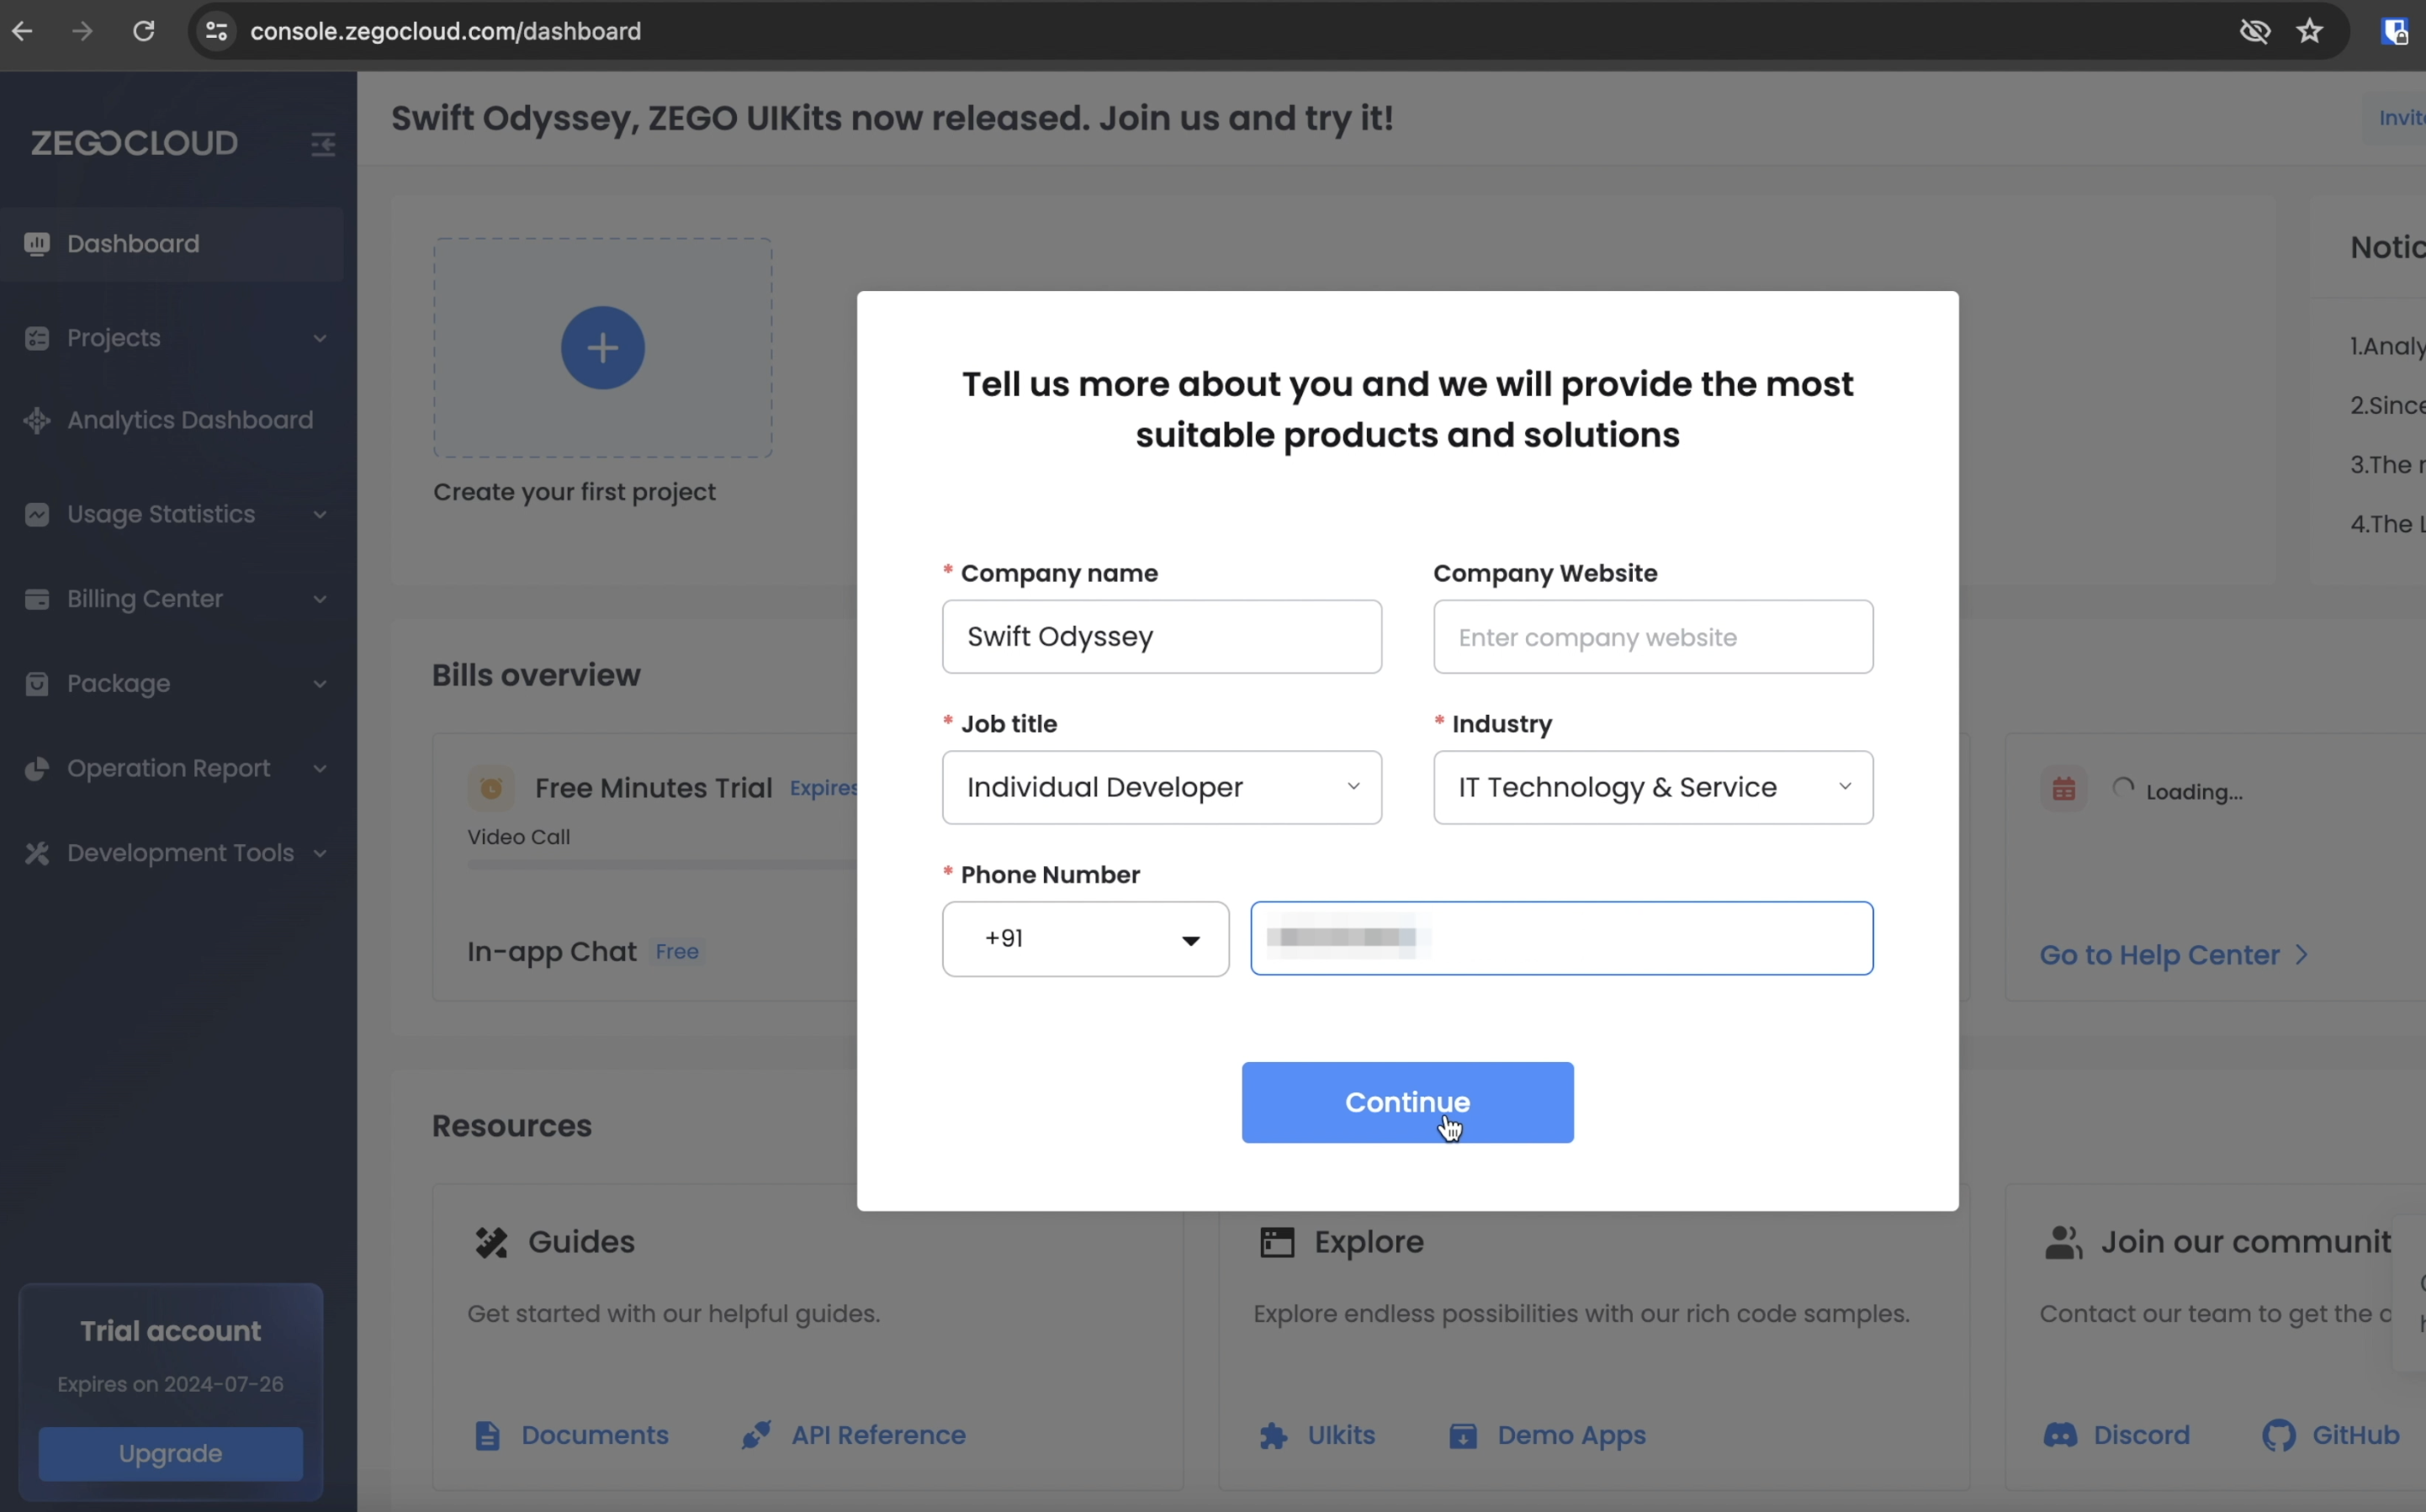
You will now be shown your Dashboard, but before that you need to enter a few more details so that ZEGOCLOUD can suggest suitable products. Fill in the details, then click Continue
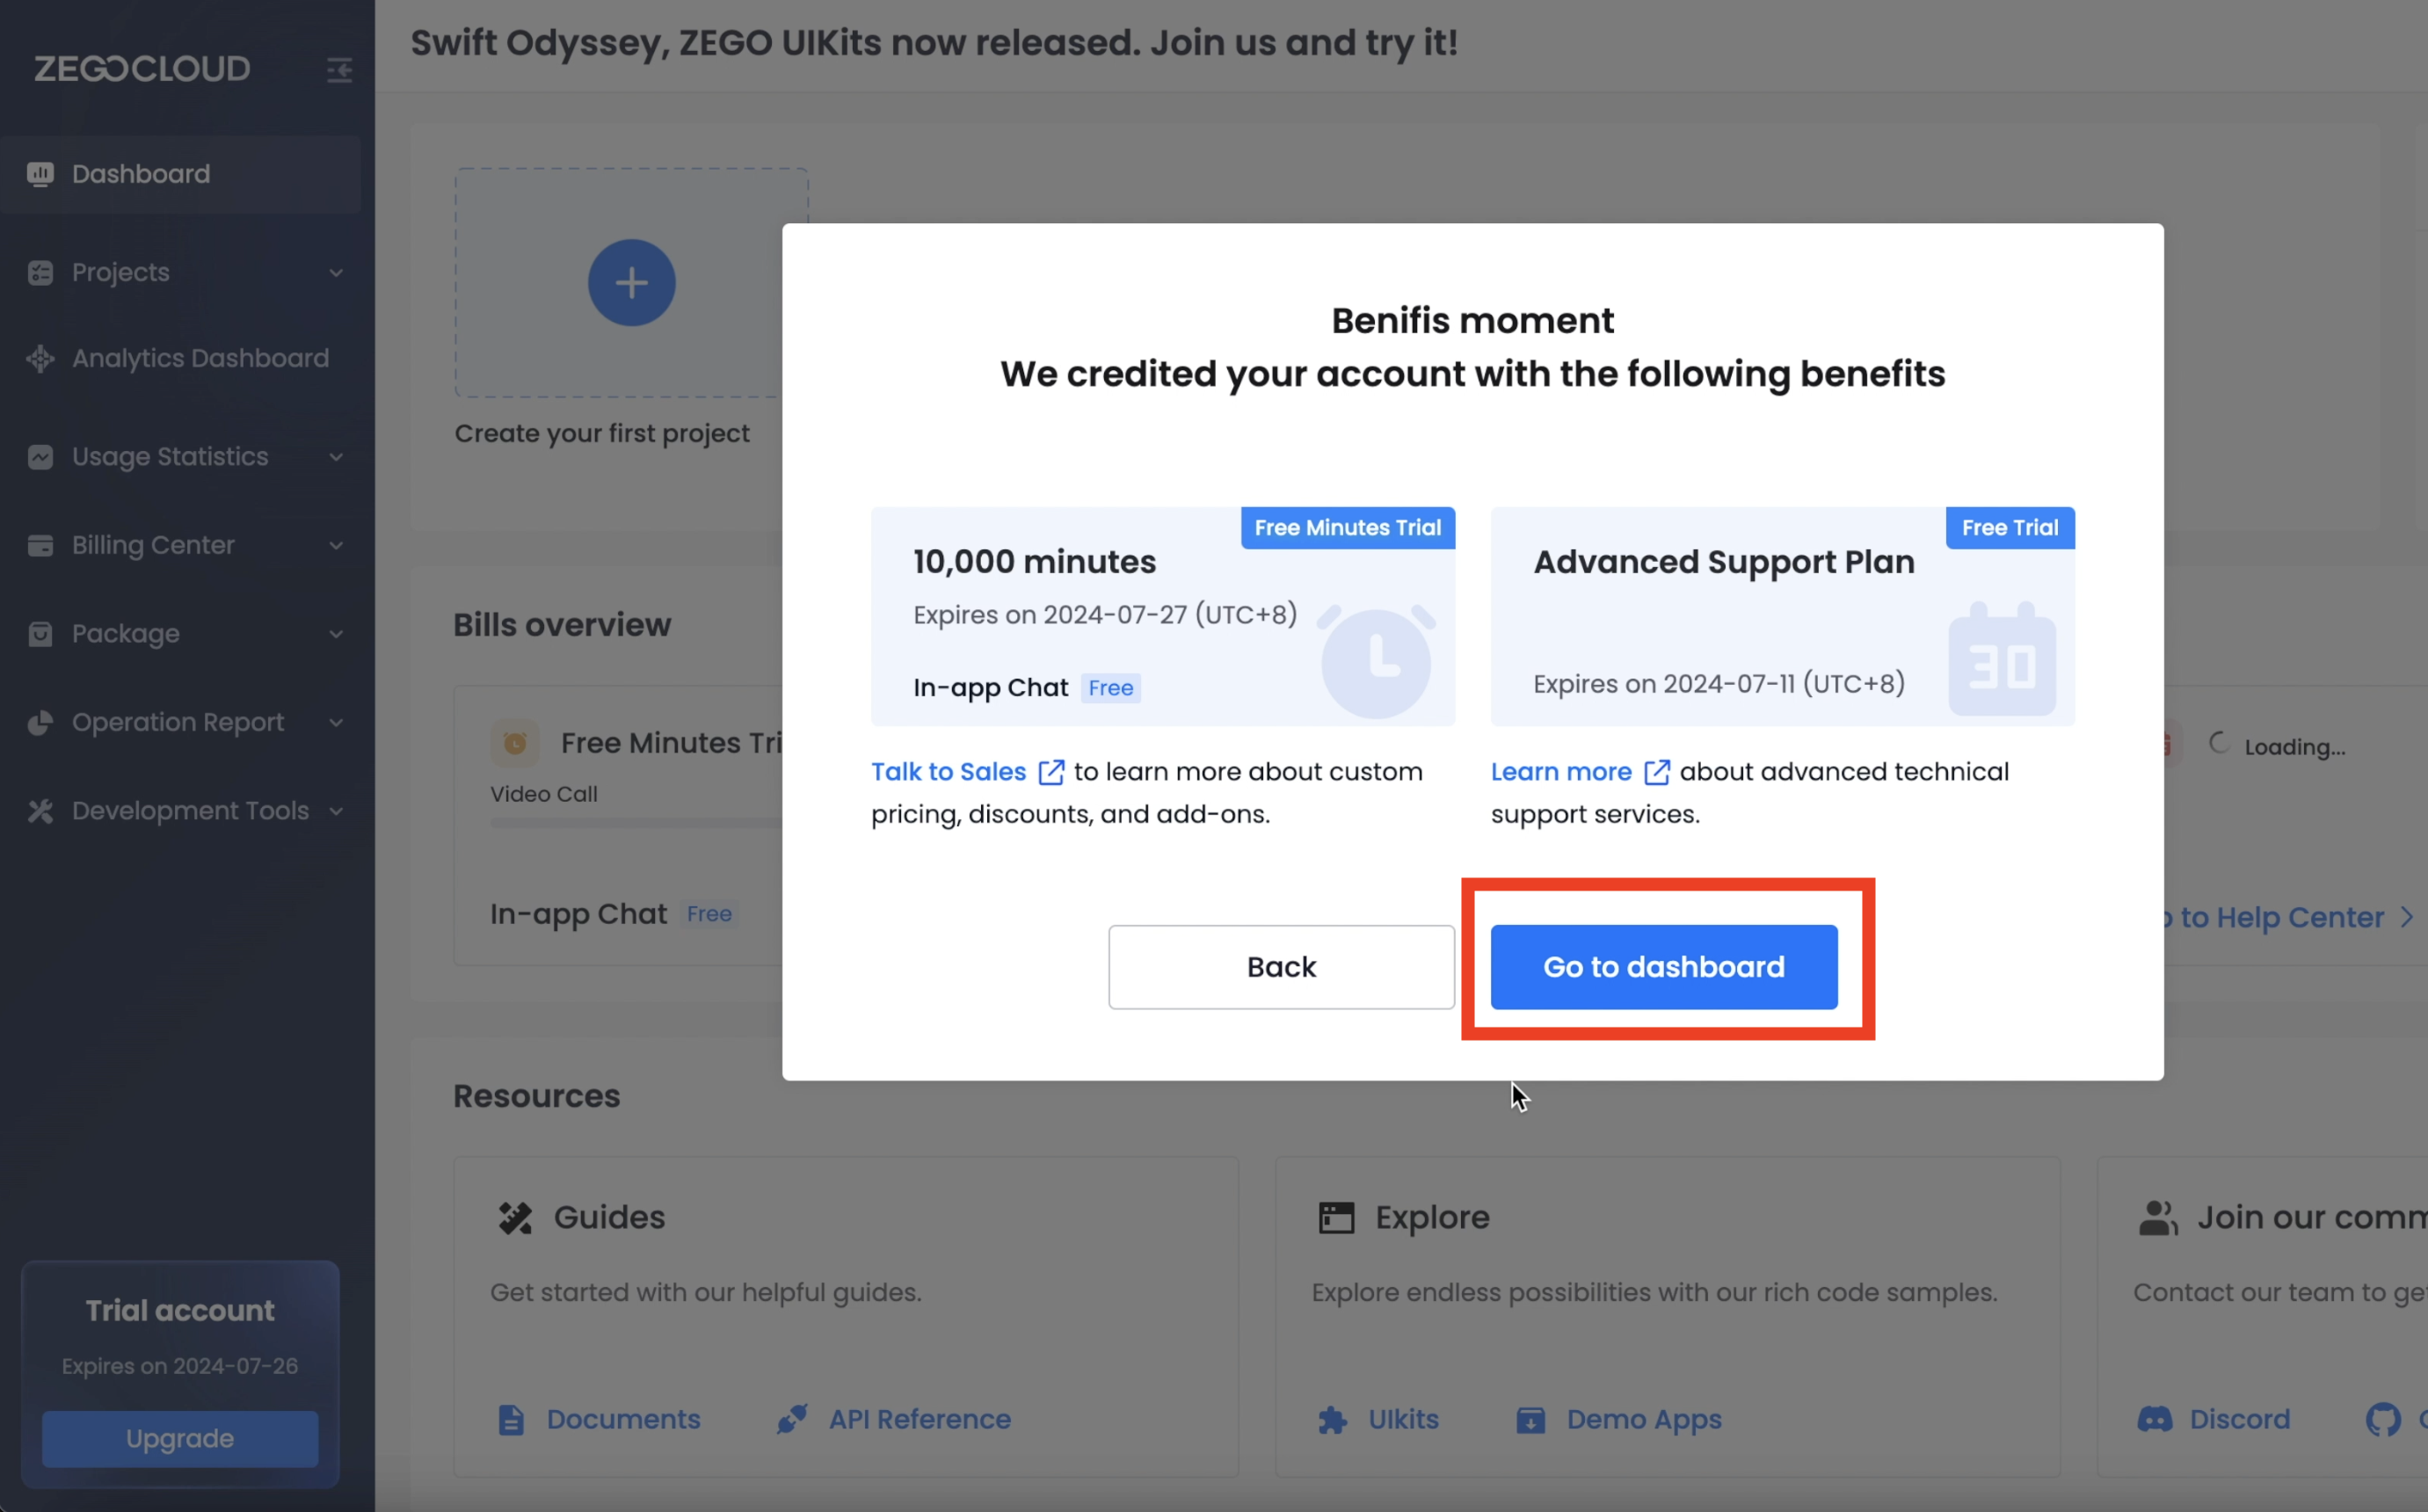
You will now see the benefits popup offering you 10000 free minutes & advanced support. Click Go to dashboard
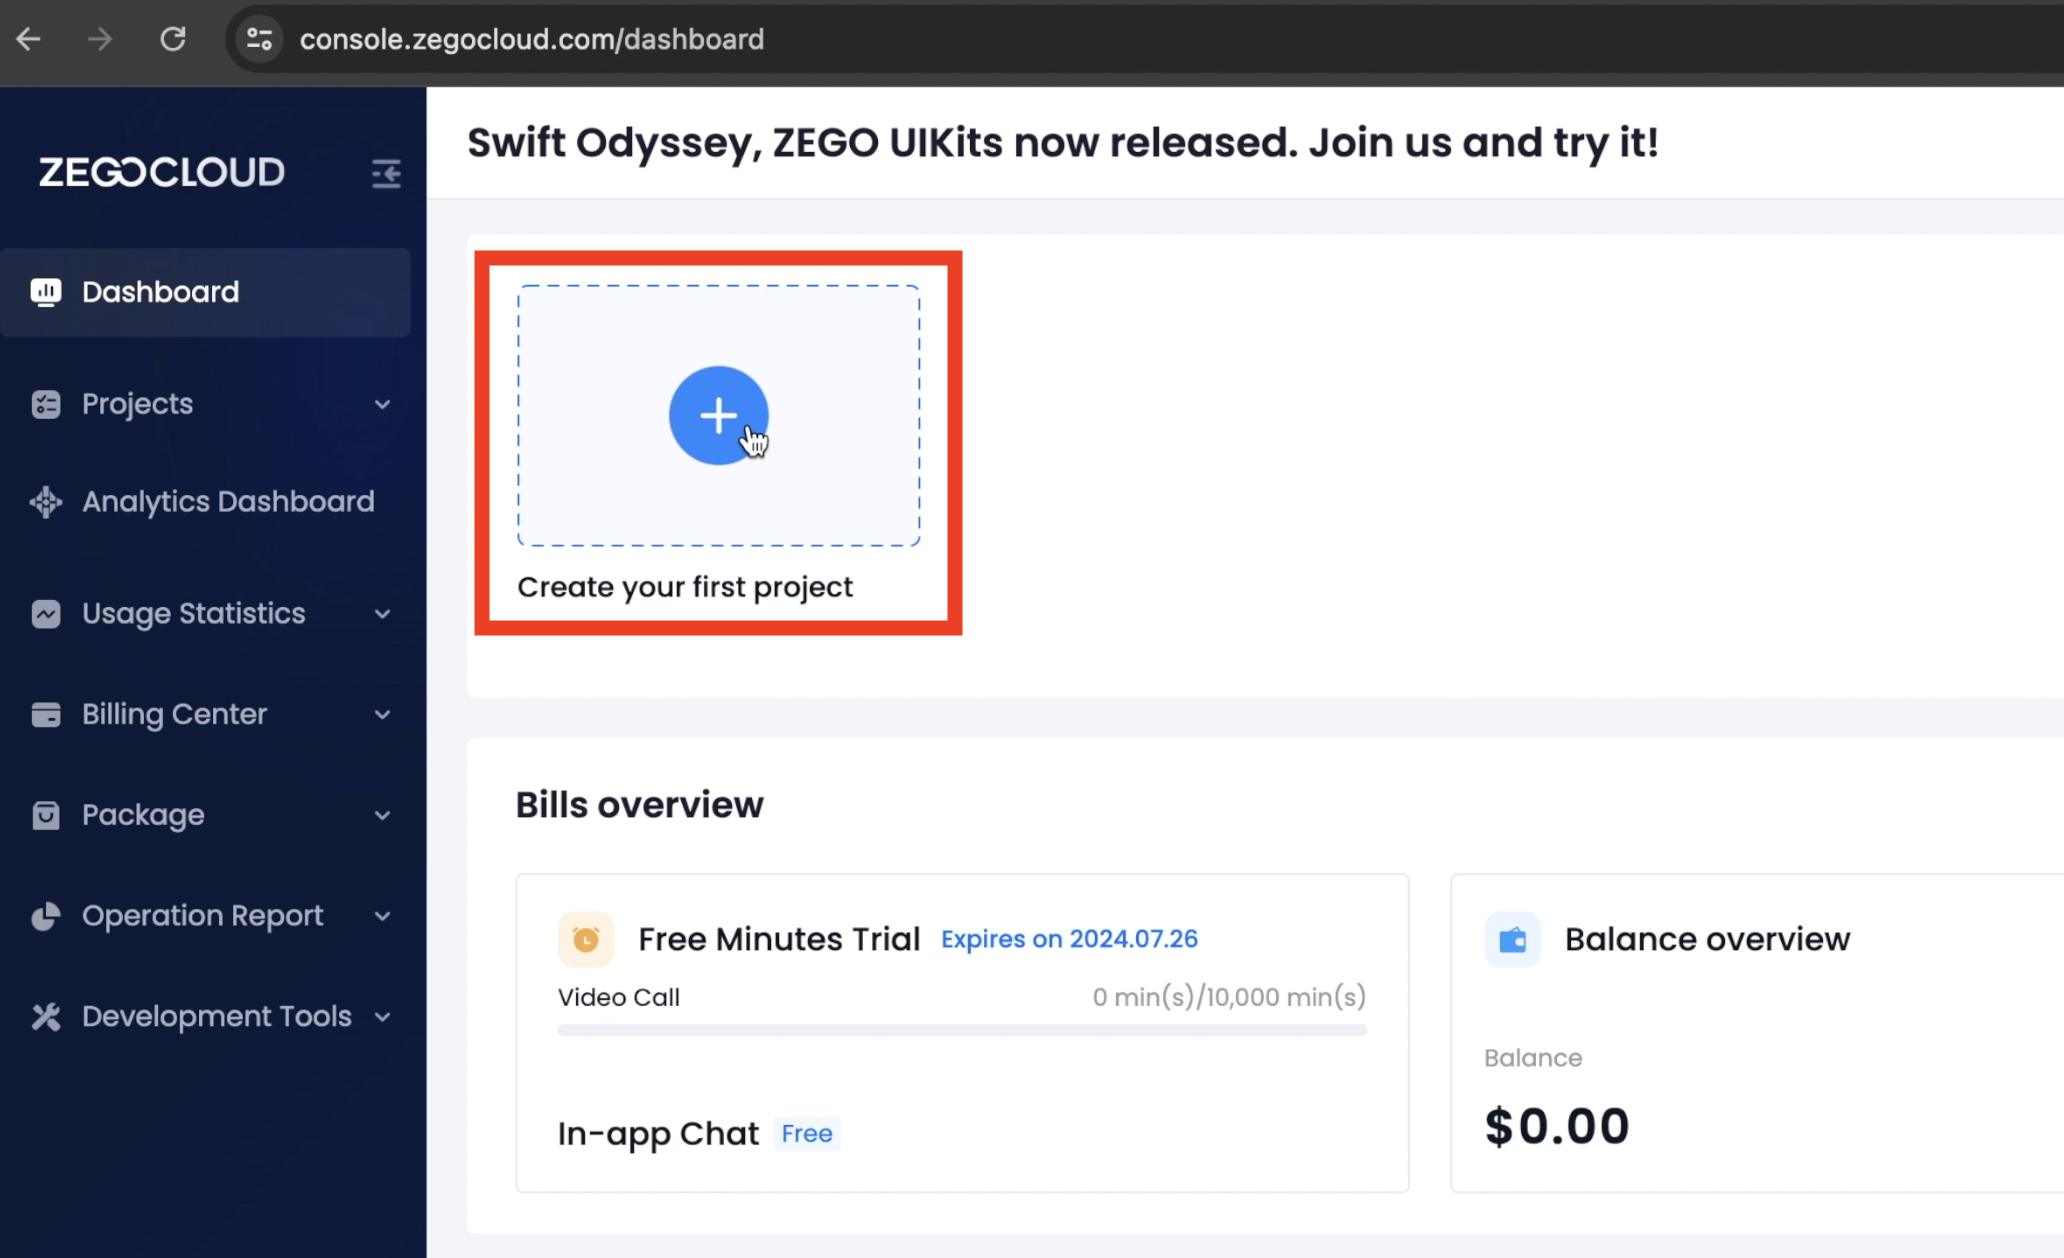
Click on Create your first project
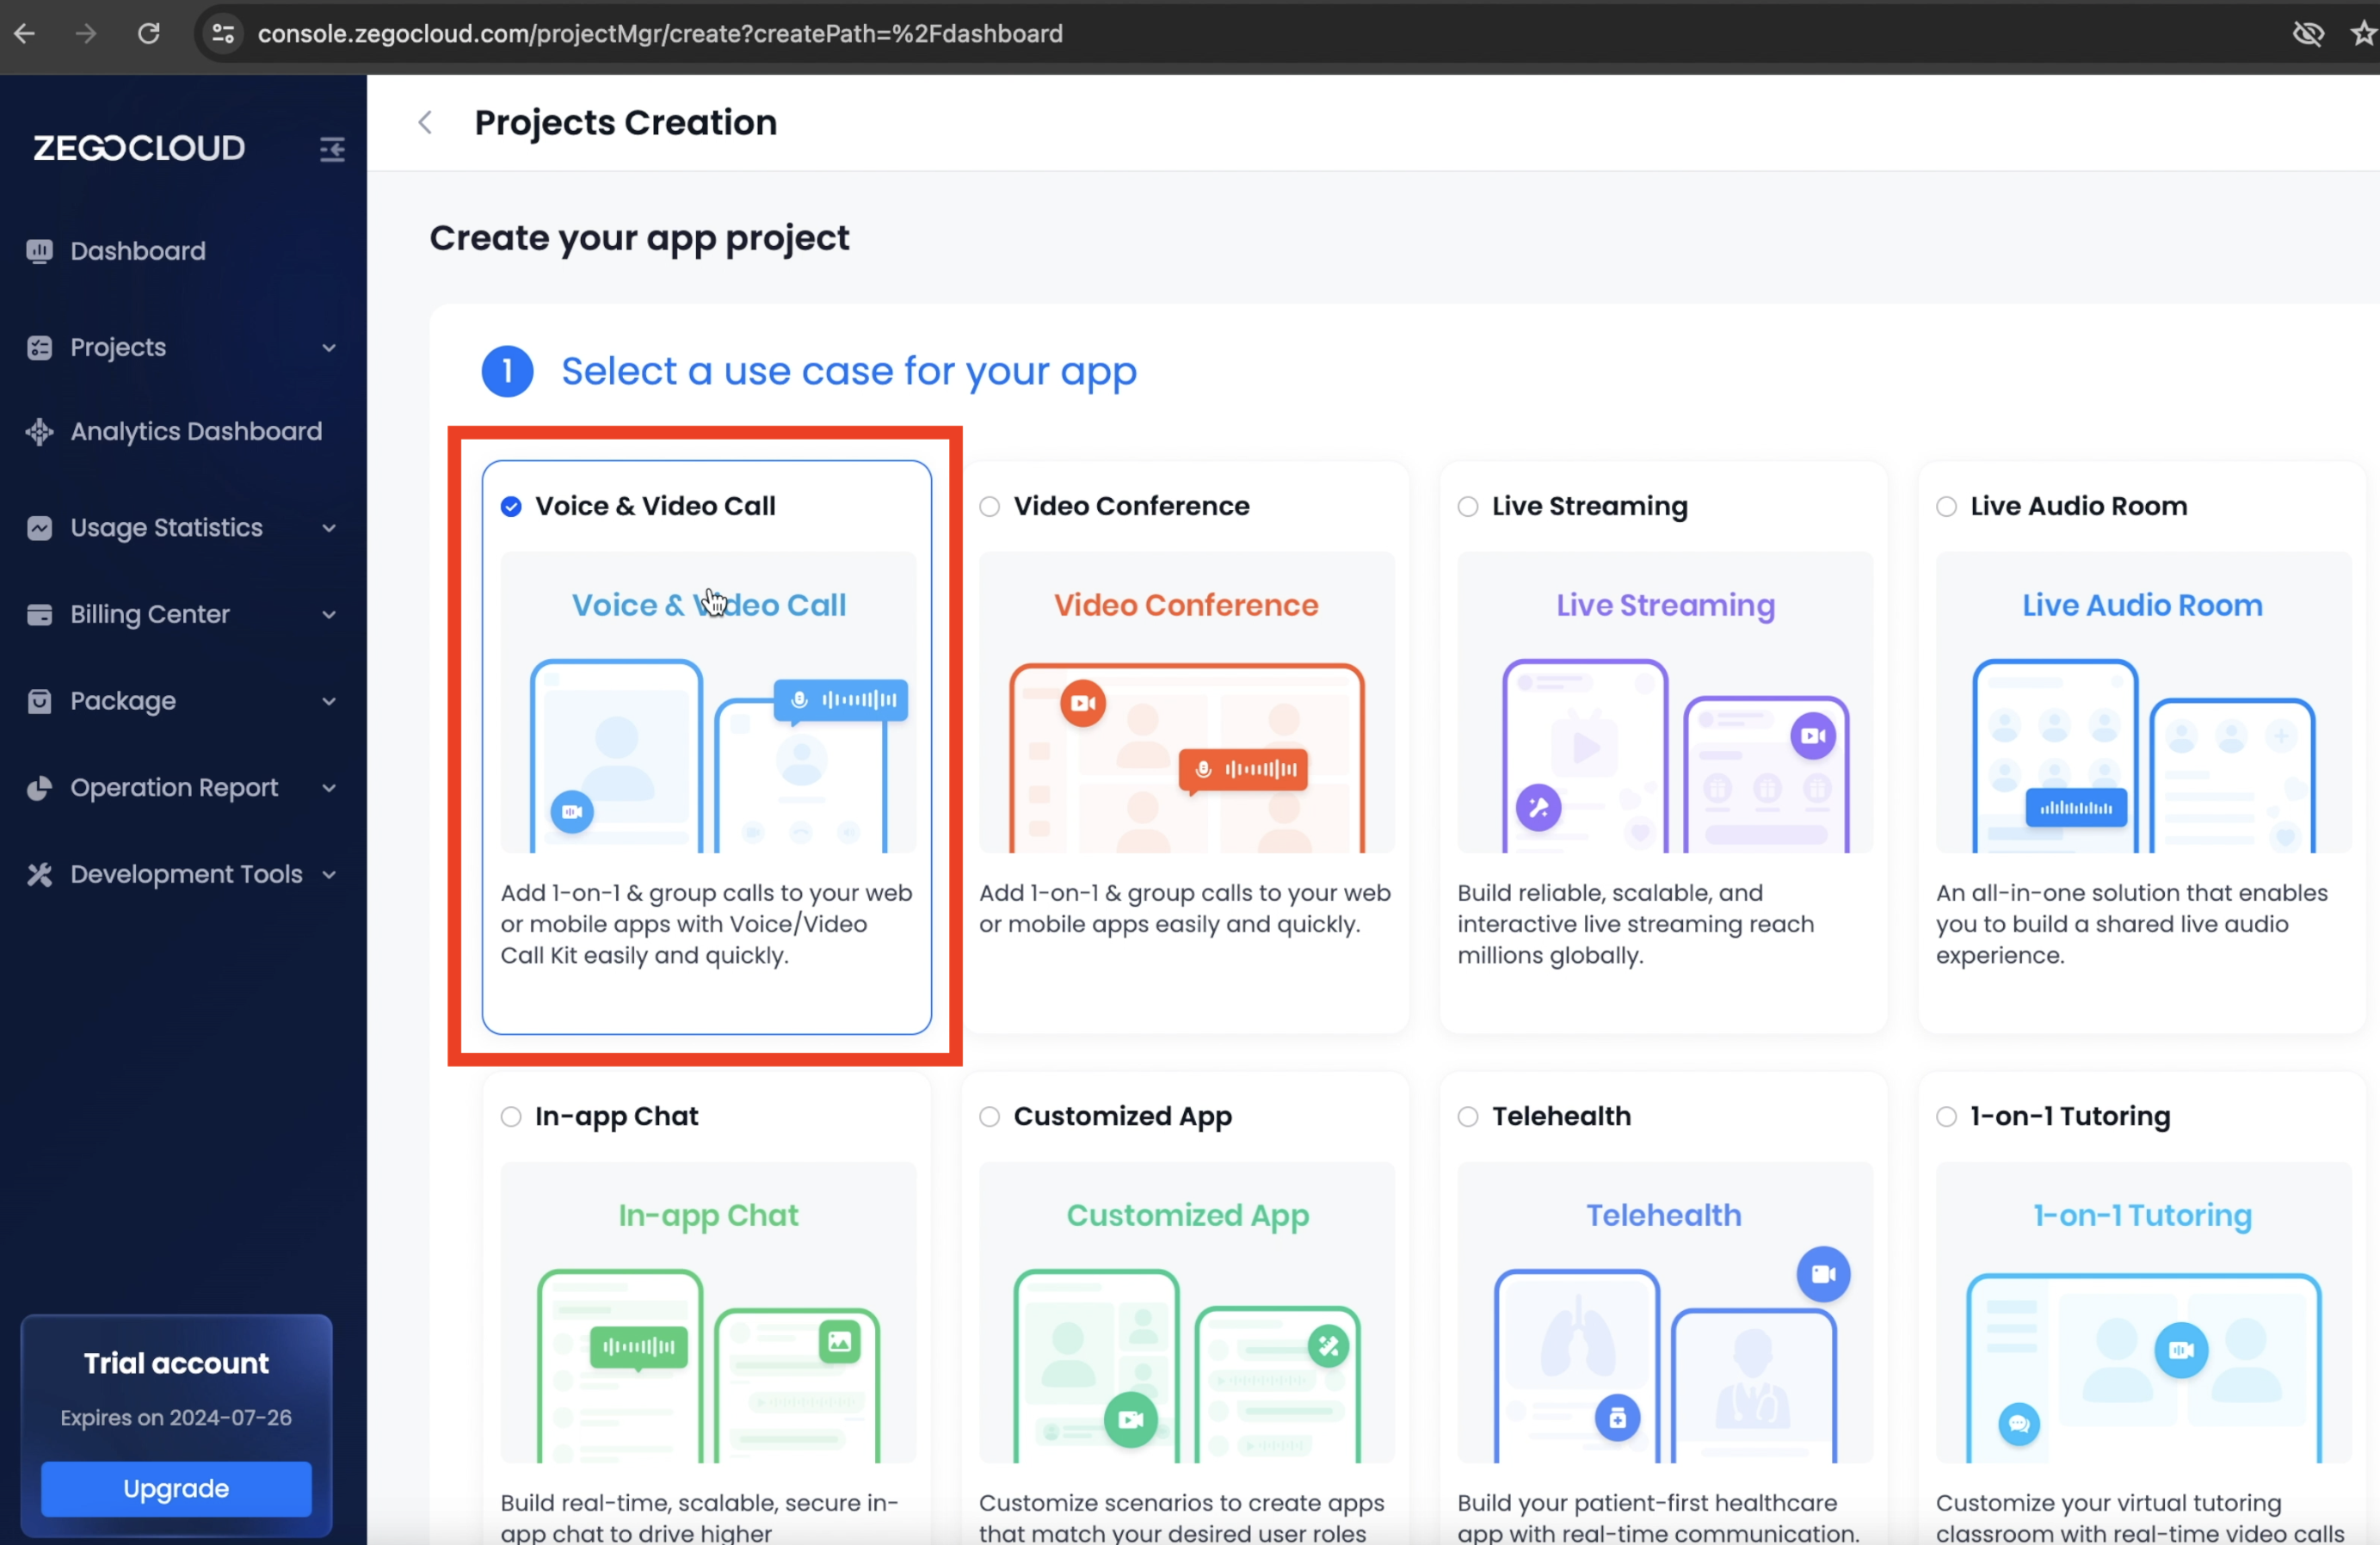
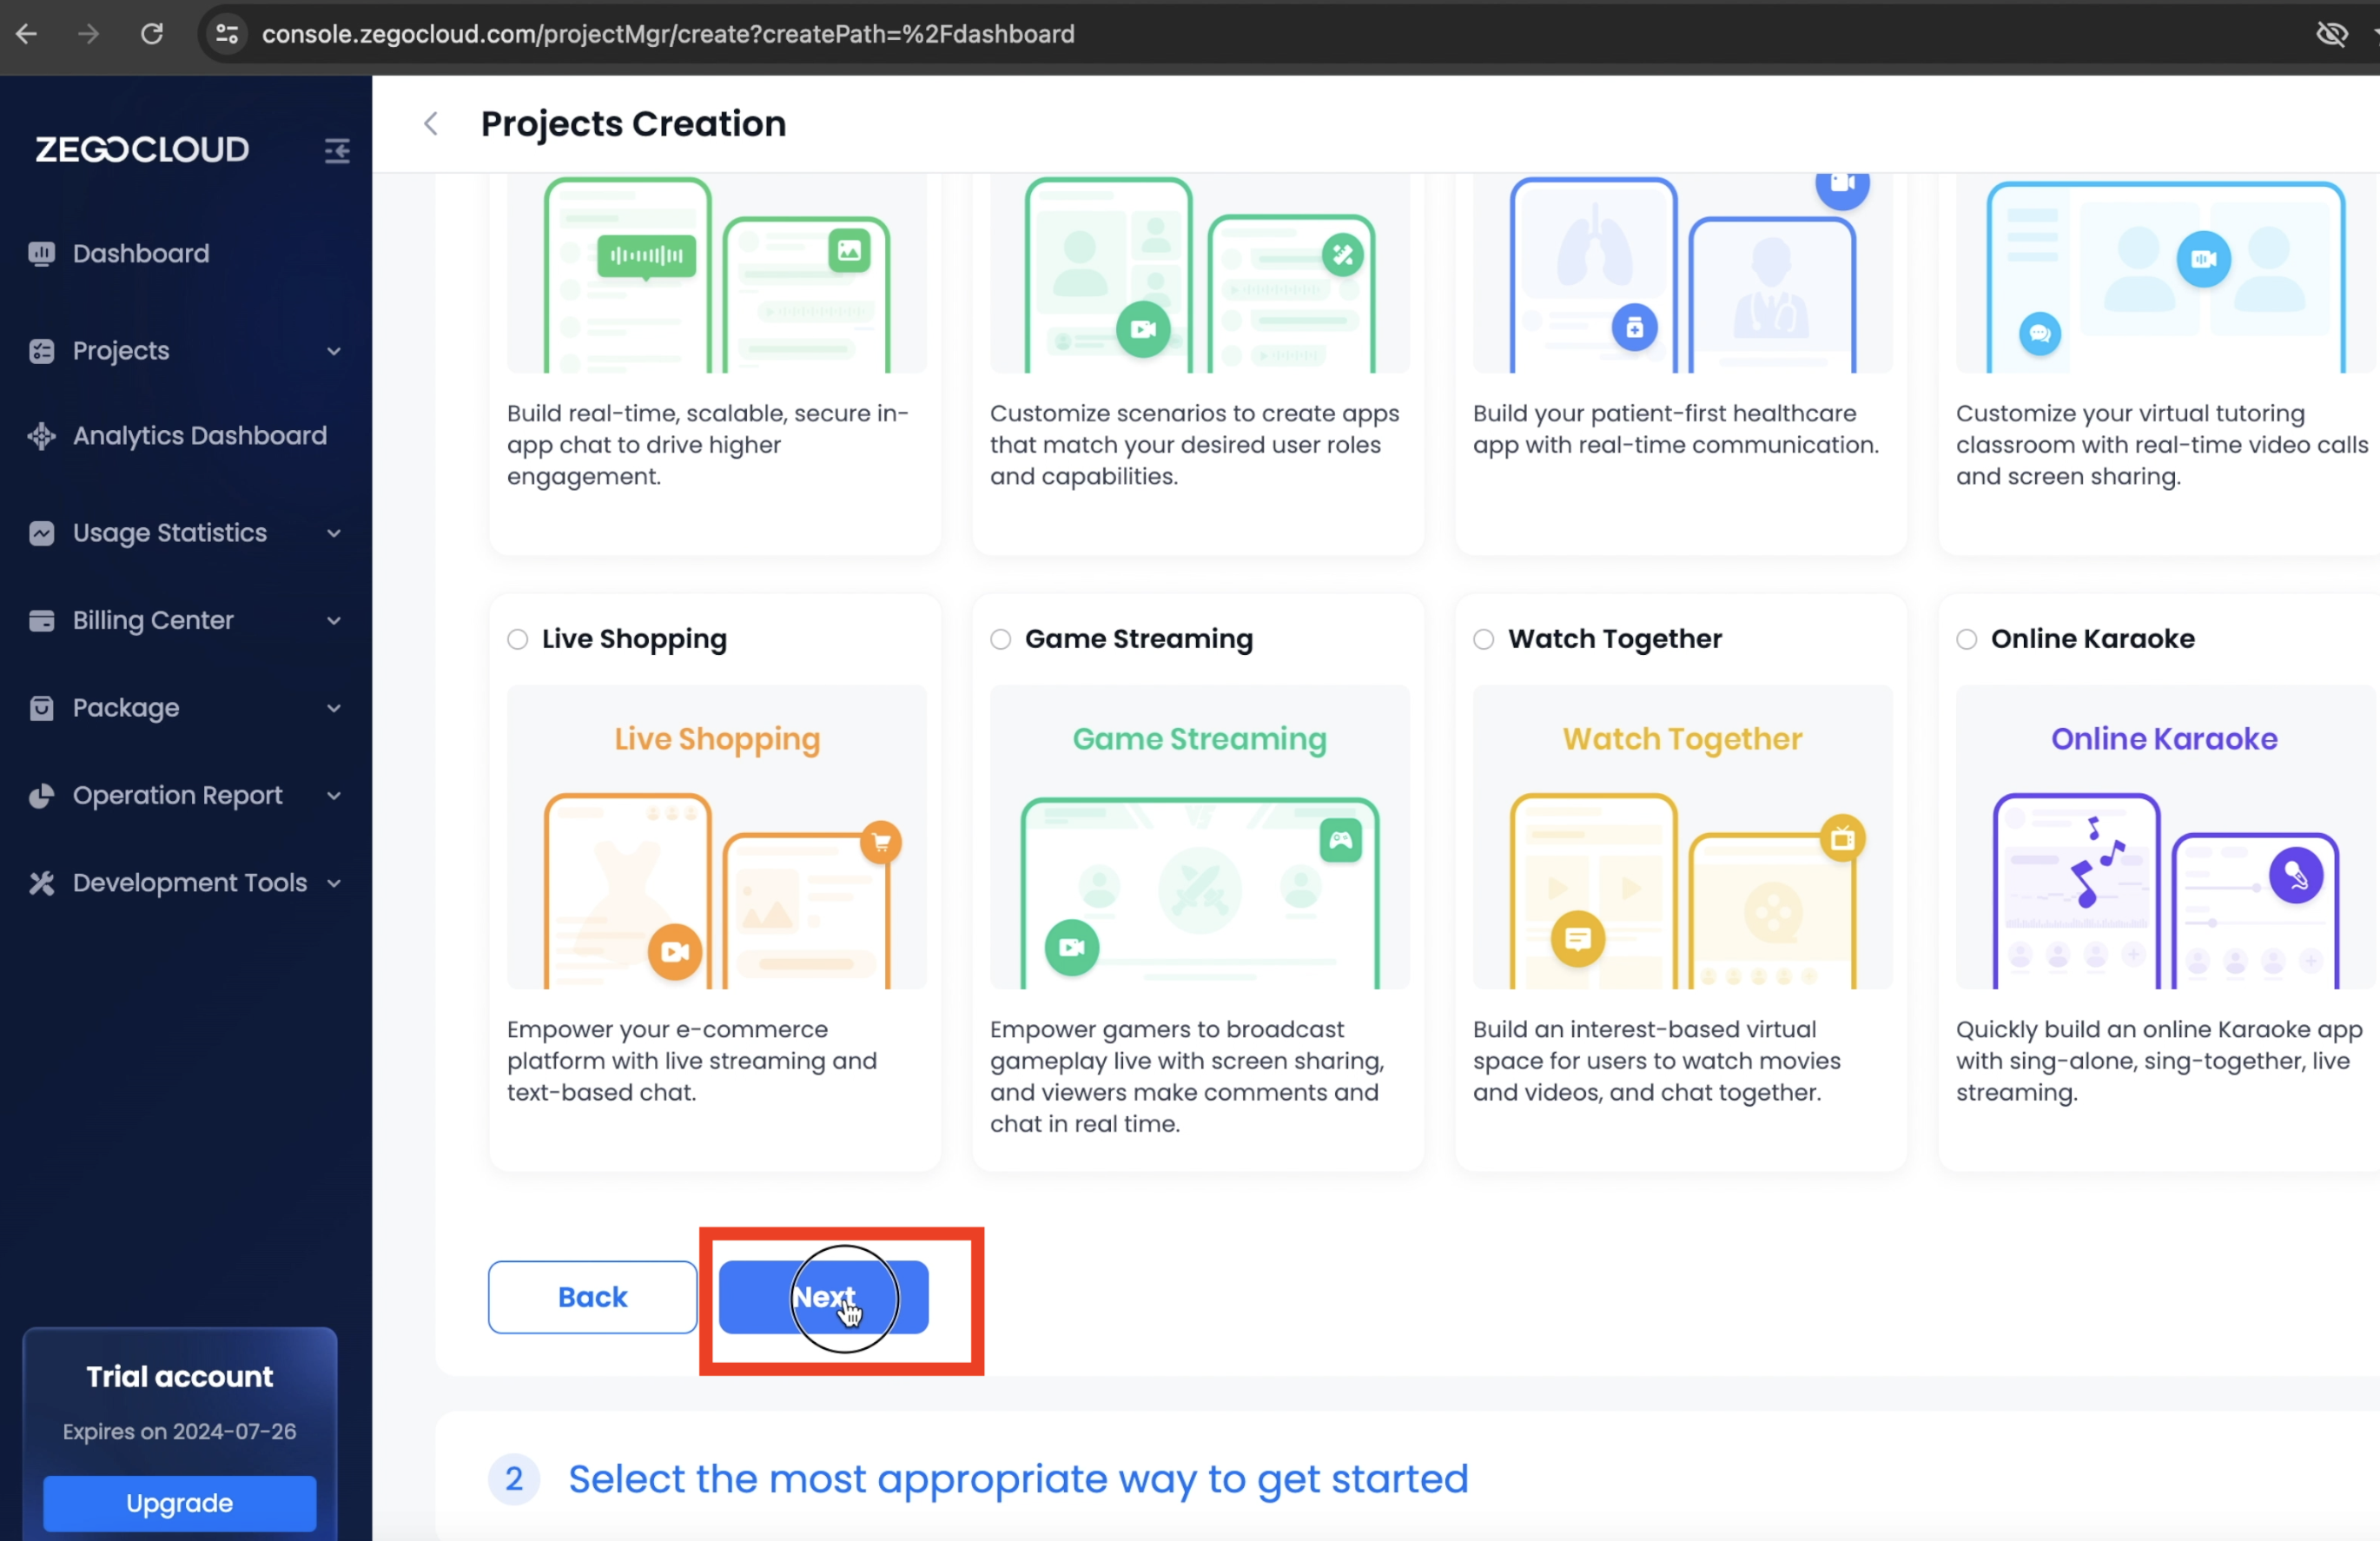
You will then see several use cases such as Voice & Video Call, Video Conference, Live Streaming, In-app Chat etc. Choose Voice & Video Call, then click Next.
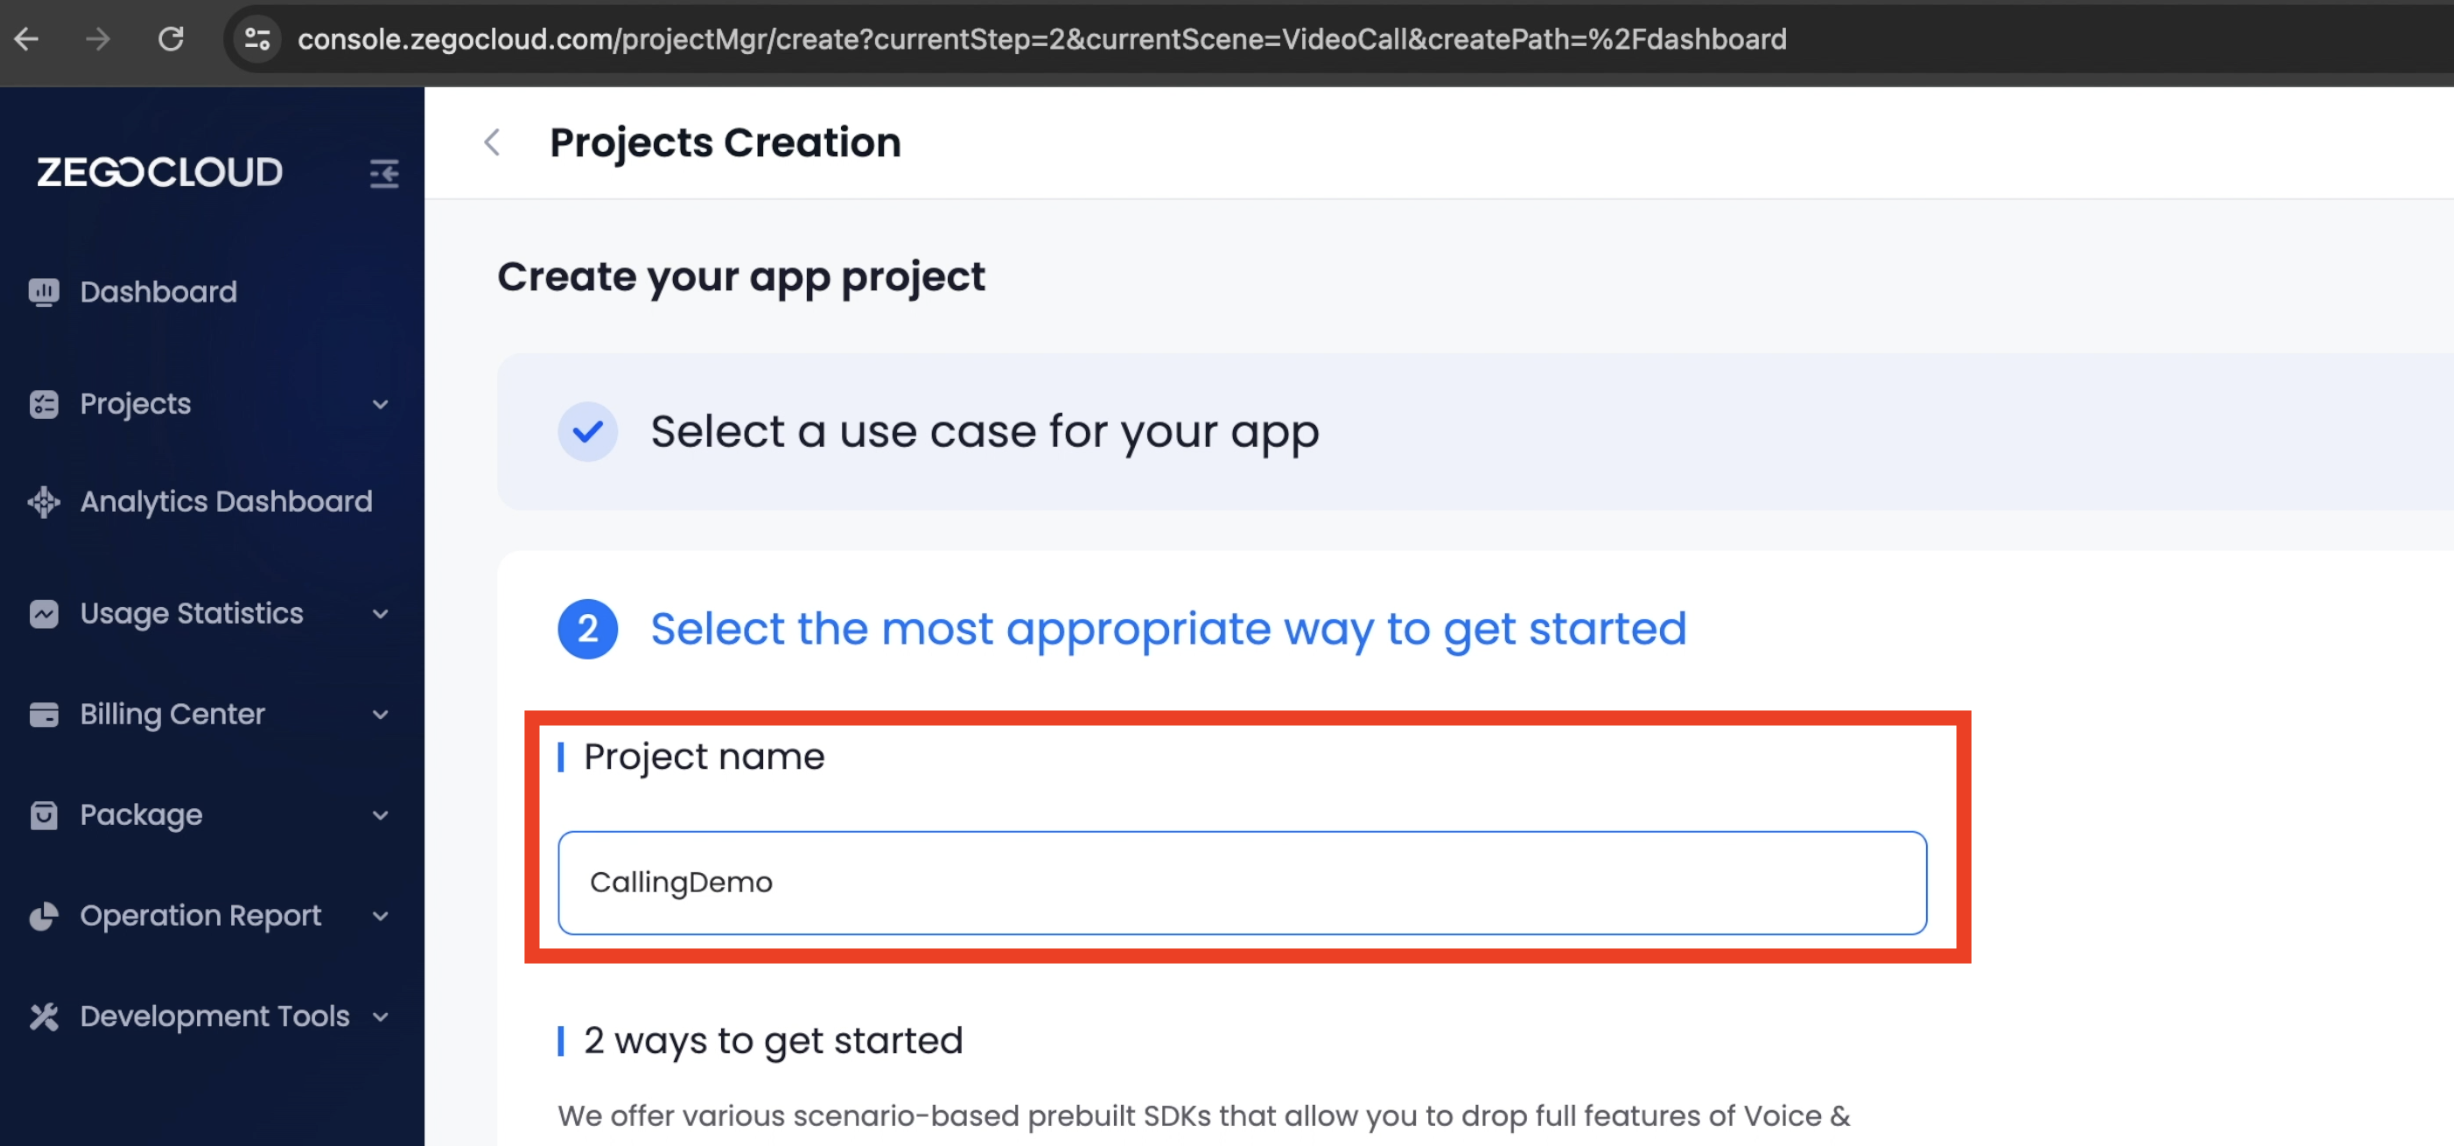
Enter a name for your project on the next screen.
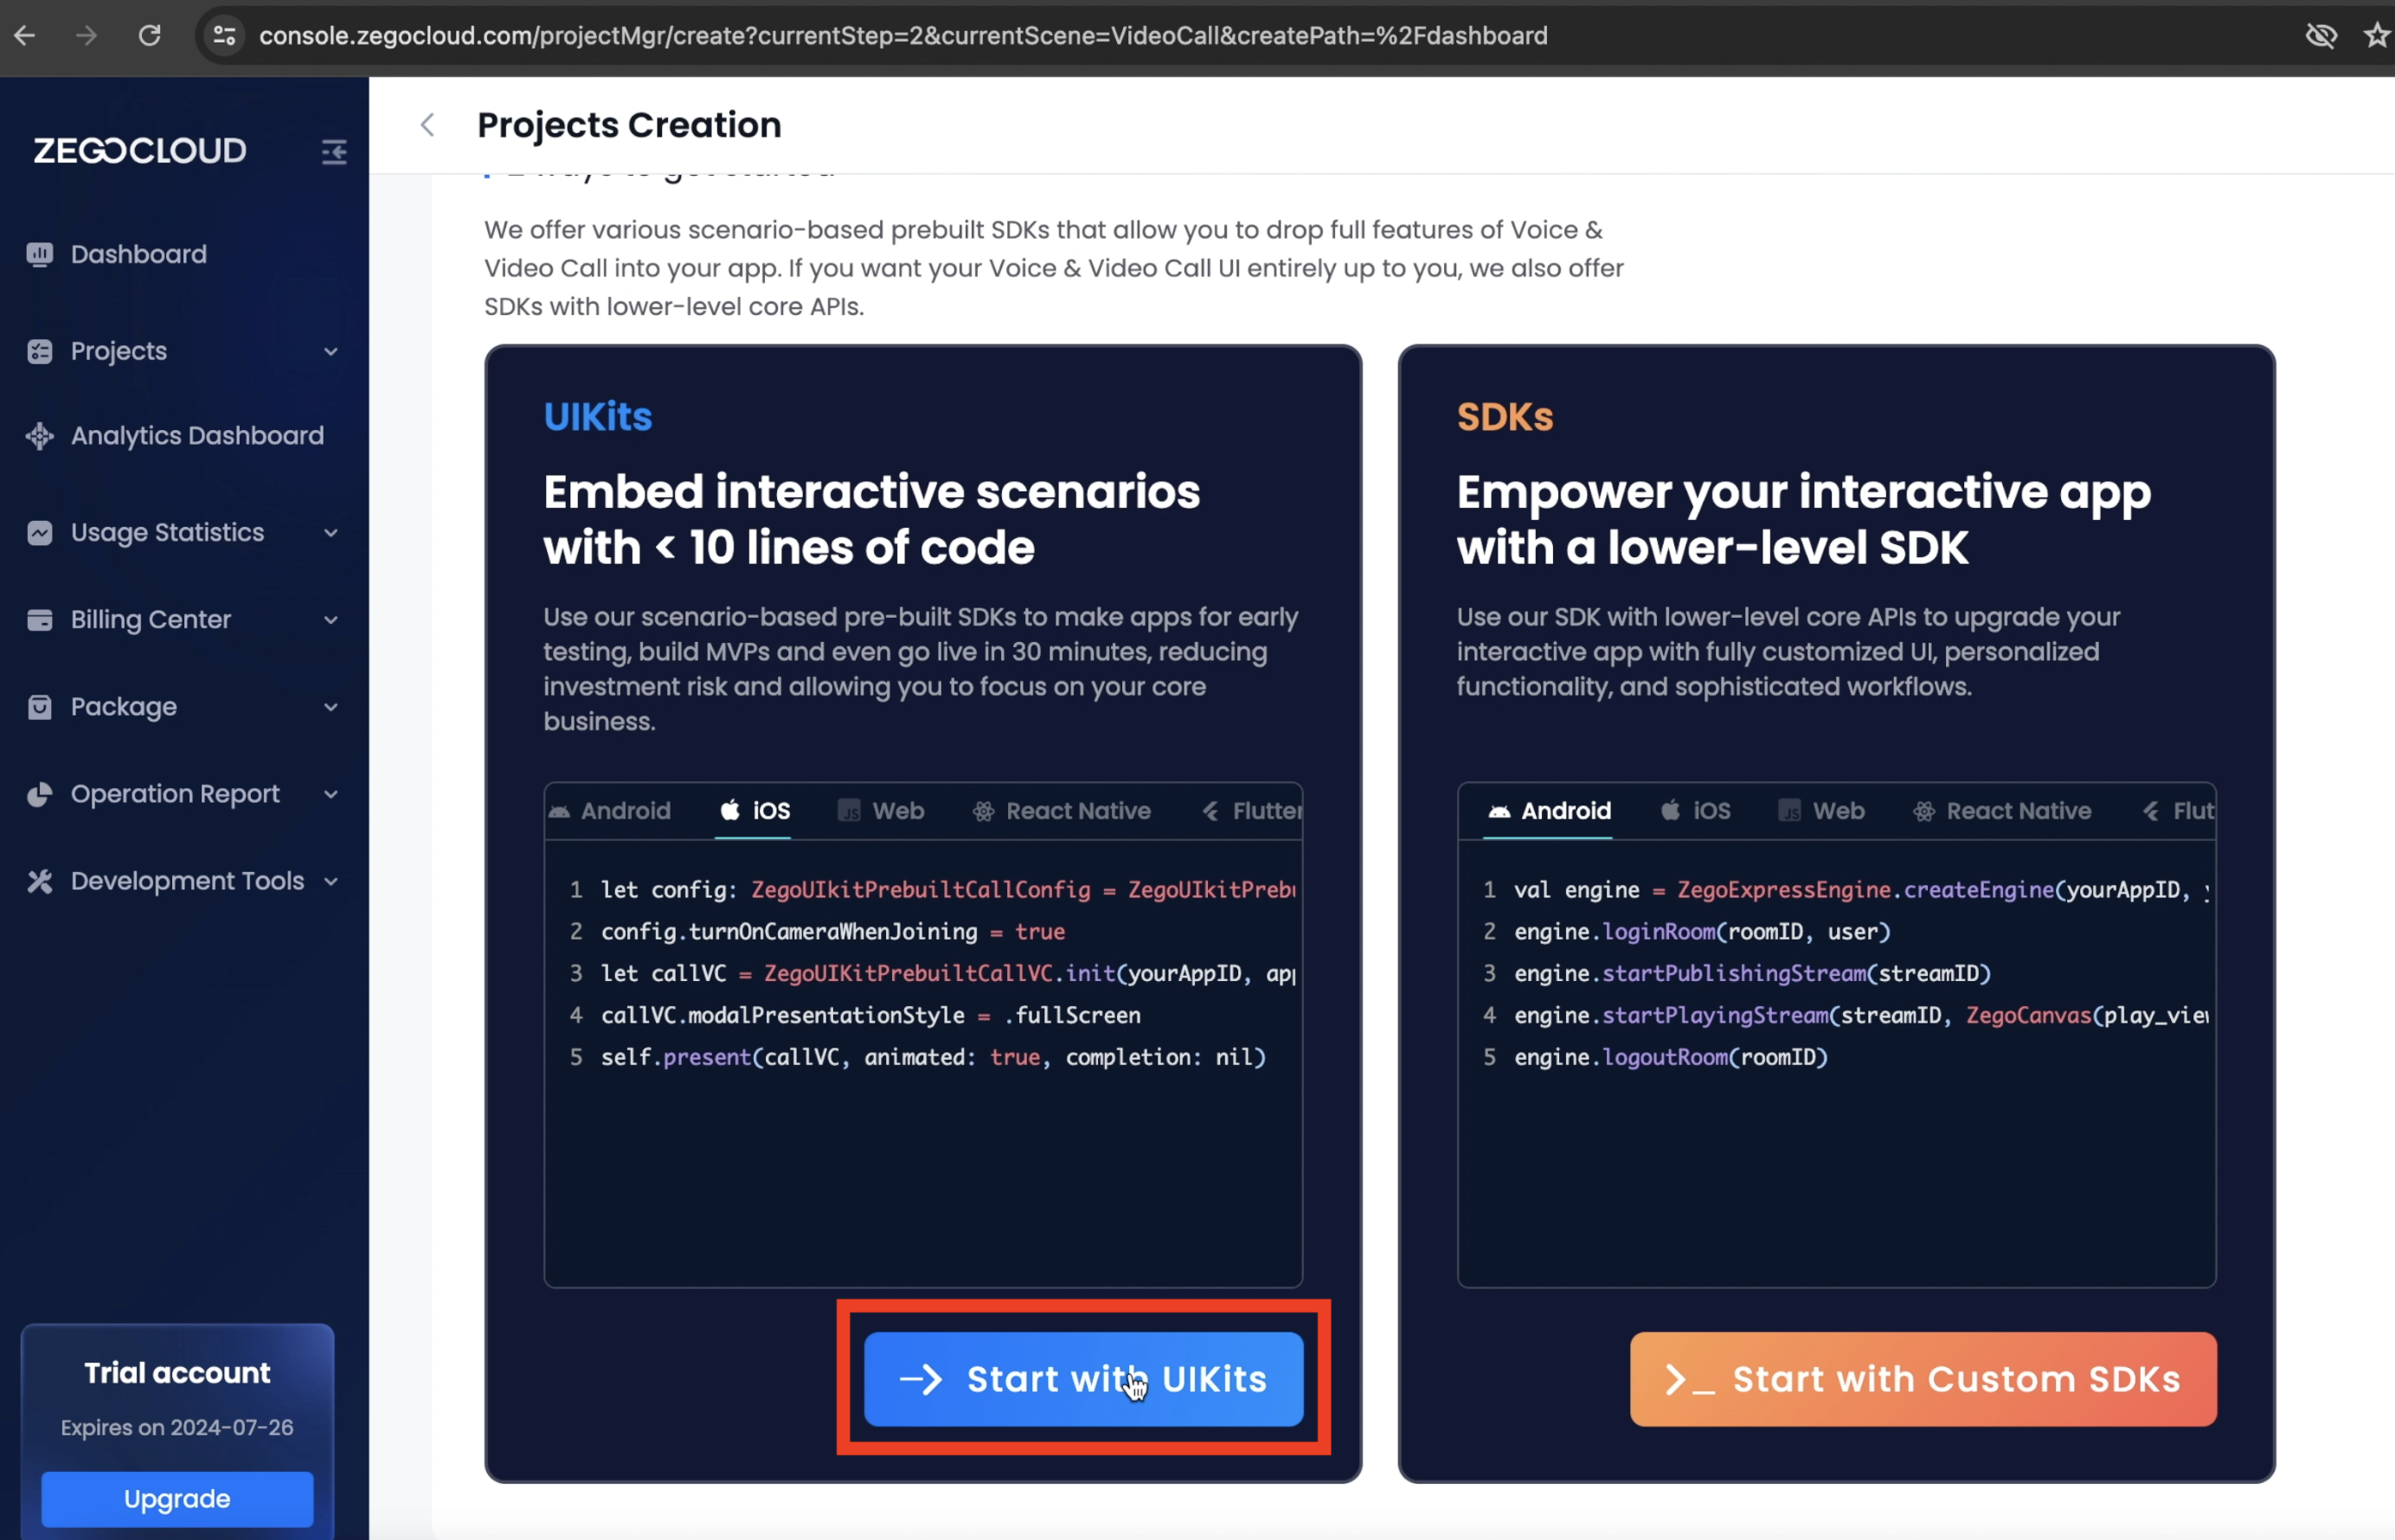
Scroll down & click on Start with UIKits option.
Wait for the project to be created
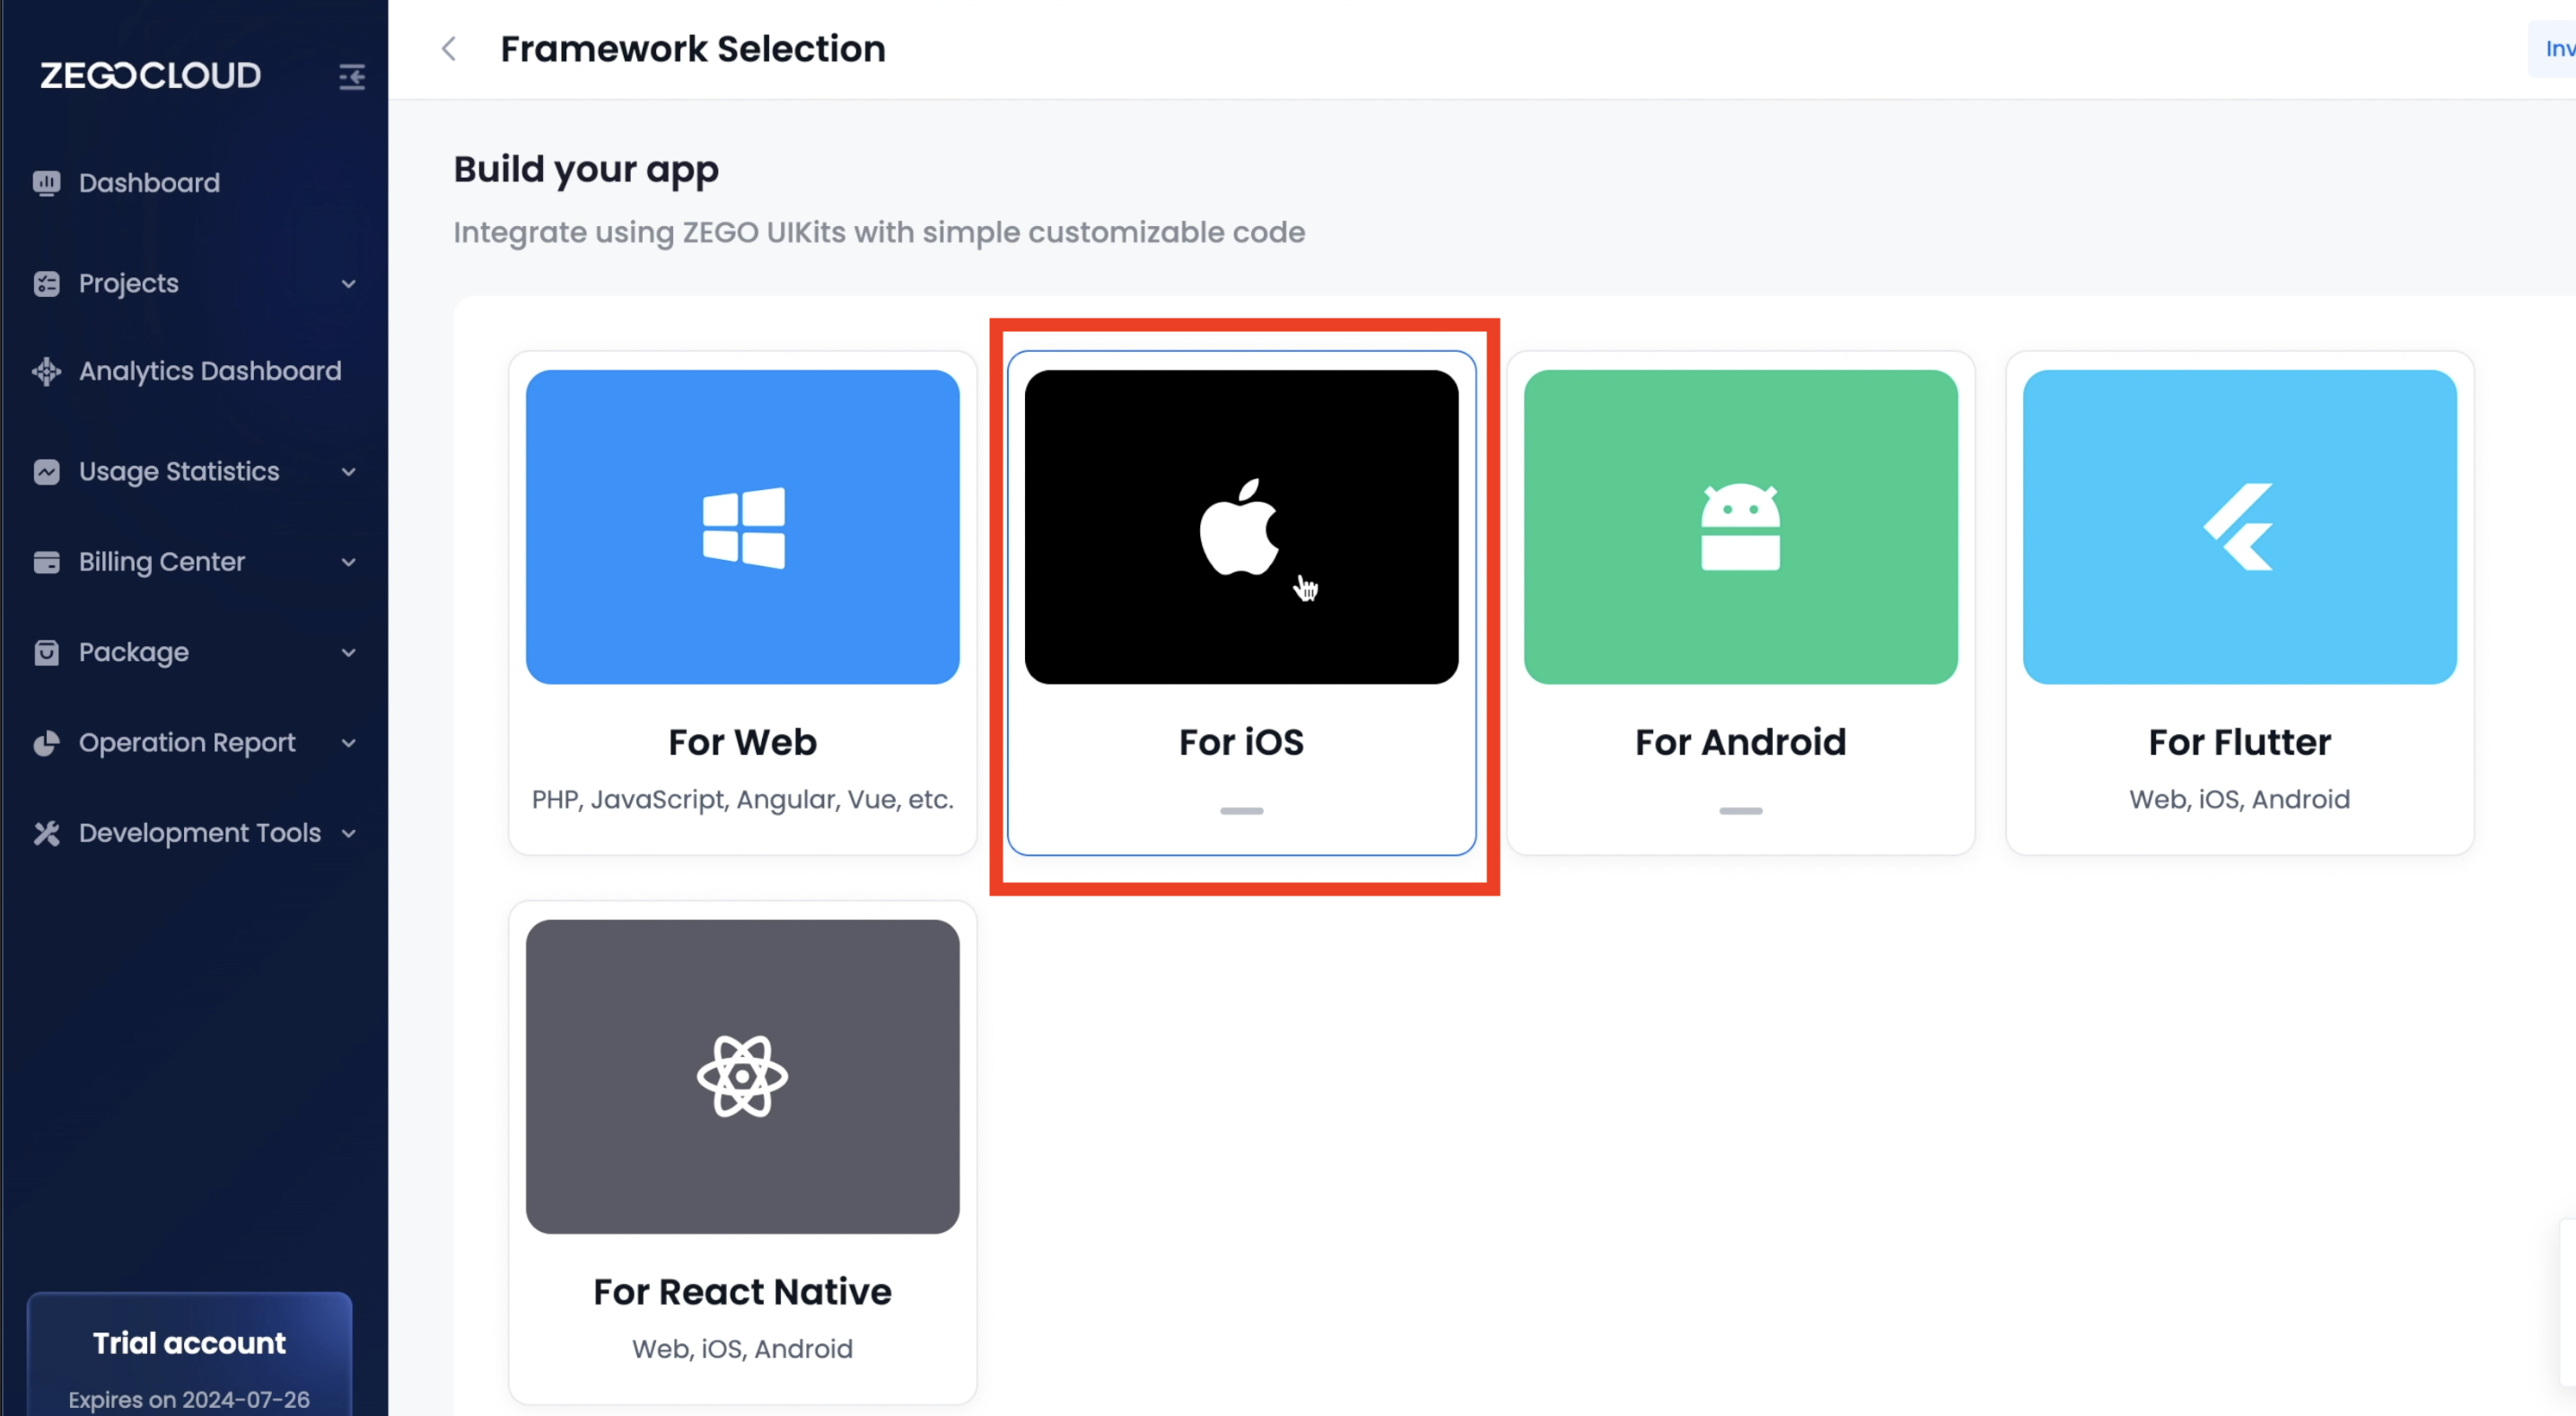
On the next screen, you will see the available supported frameworks by ZEGOCLOUD. Click on For iOS option.
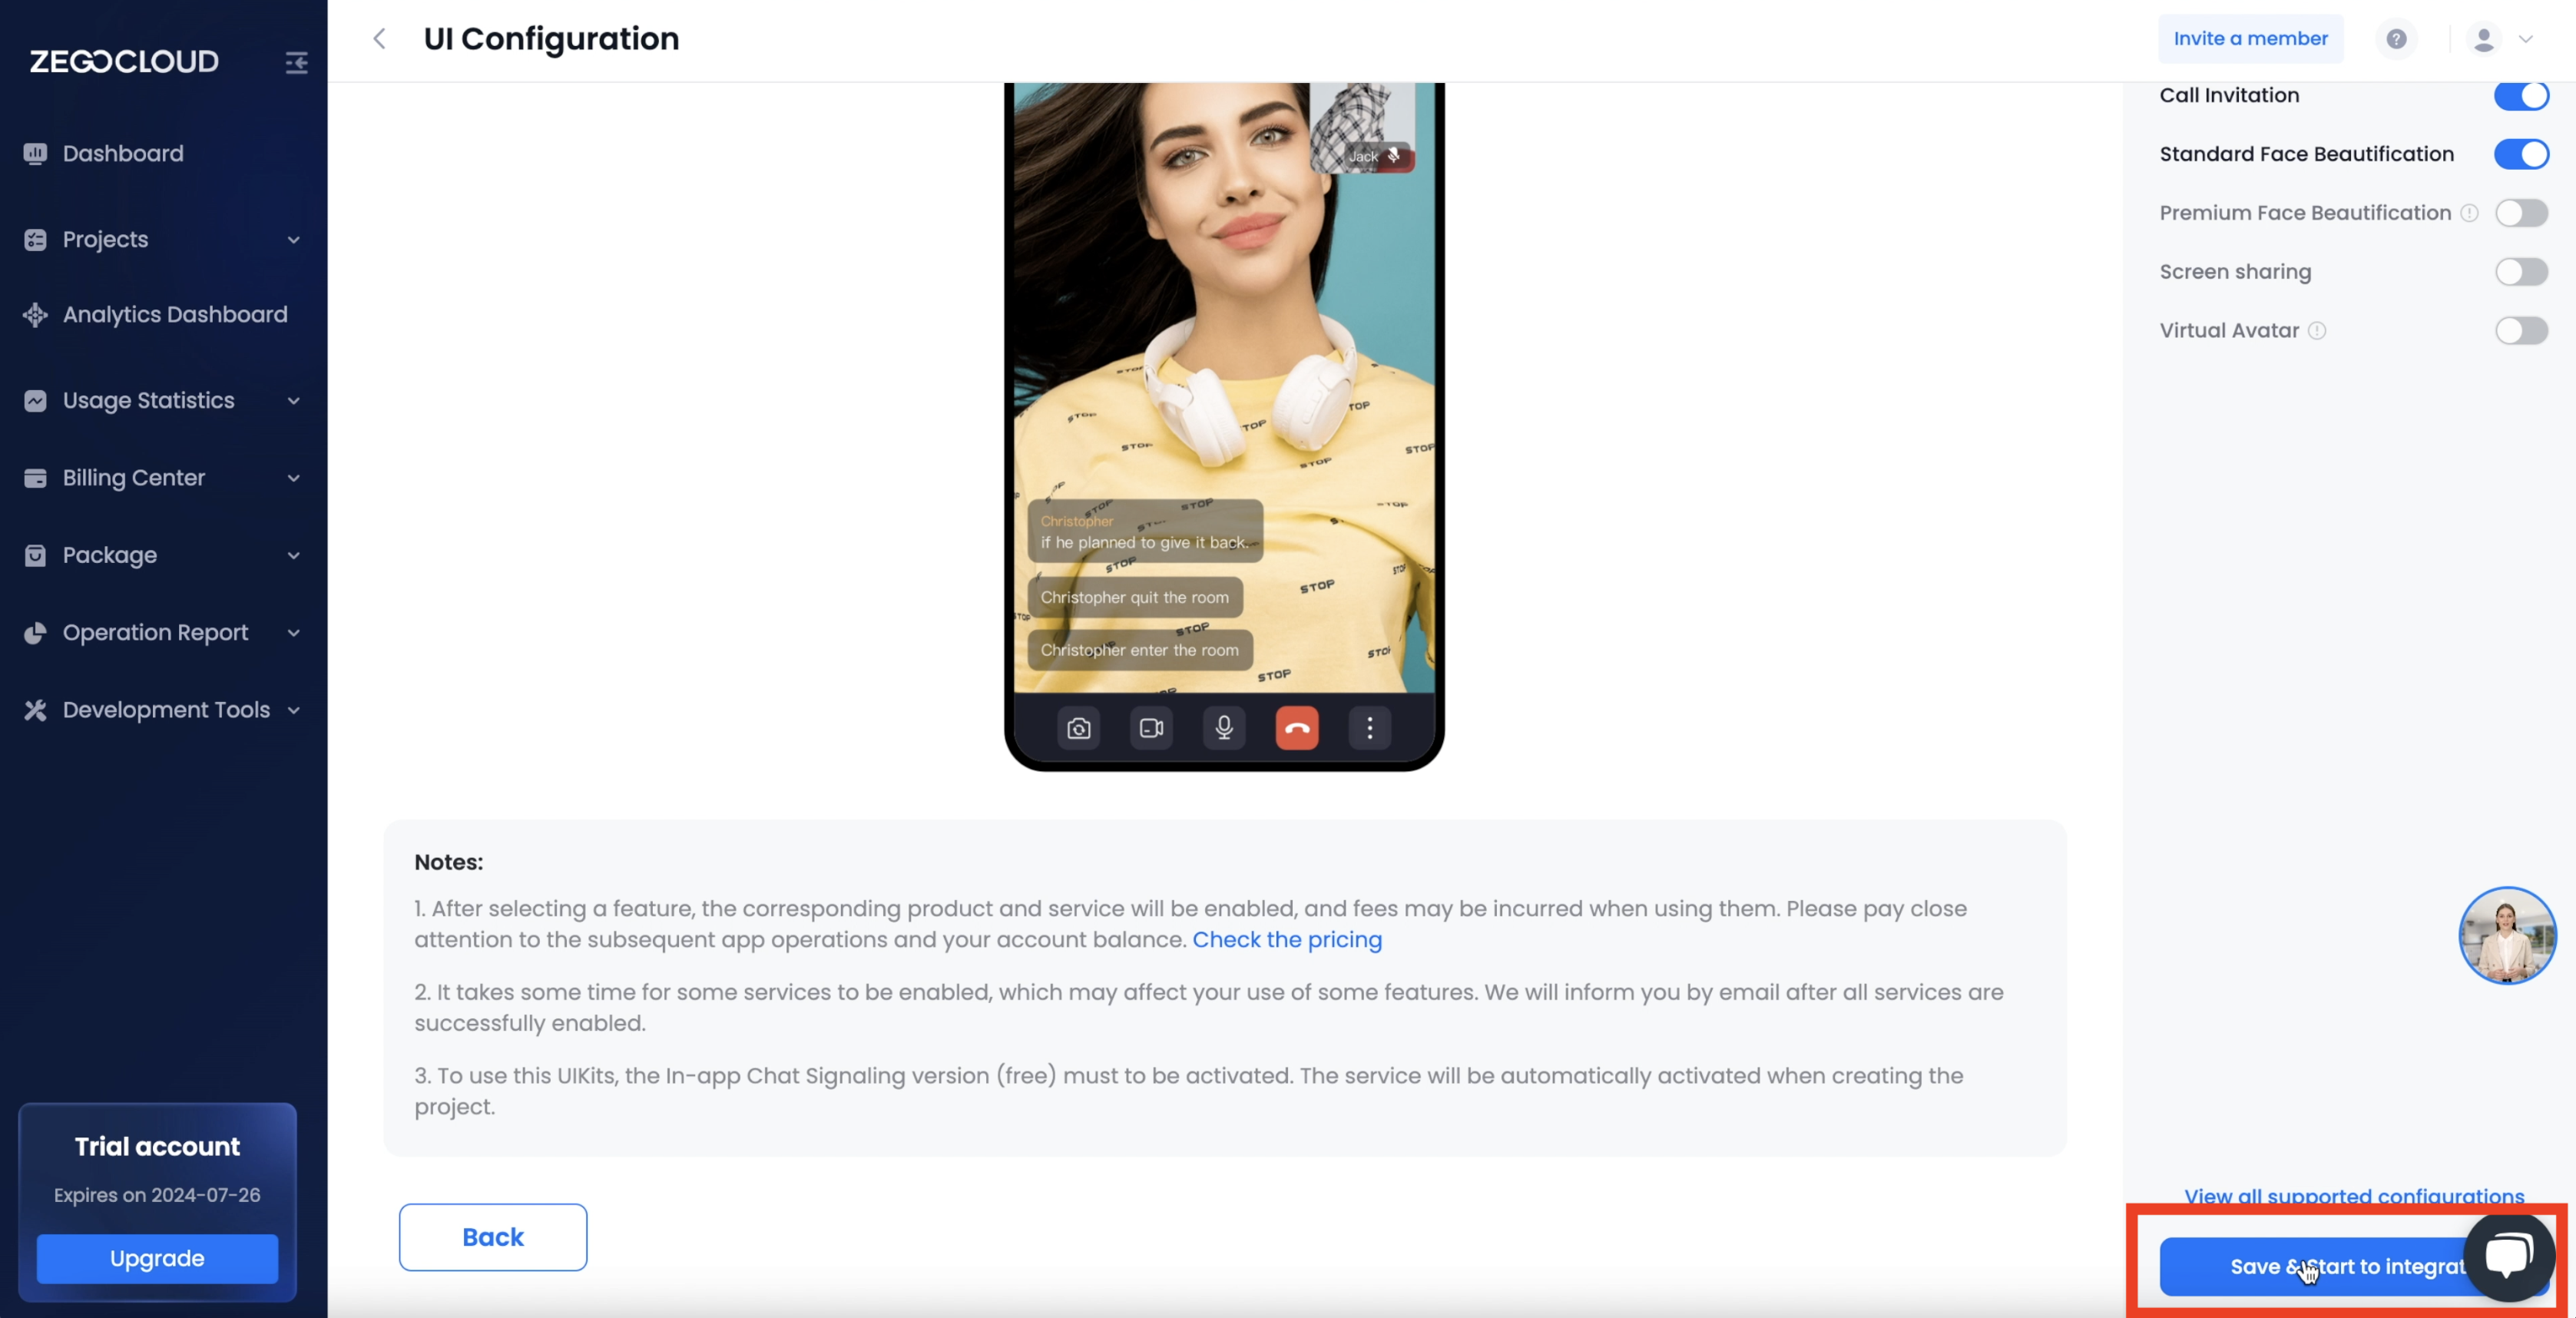
Next, you will see add-on options for 1-on-1 calls as well as Group Calls. We’ll leave these at their defaults. Click the Save & Start to Integrate option on the bottom right.
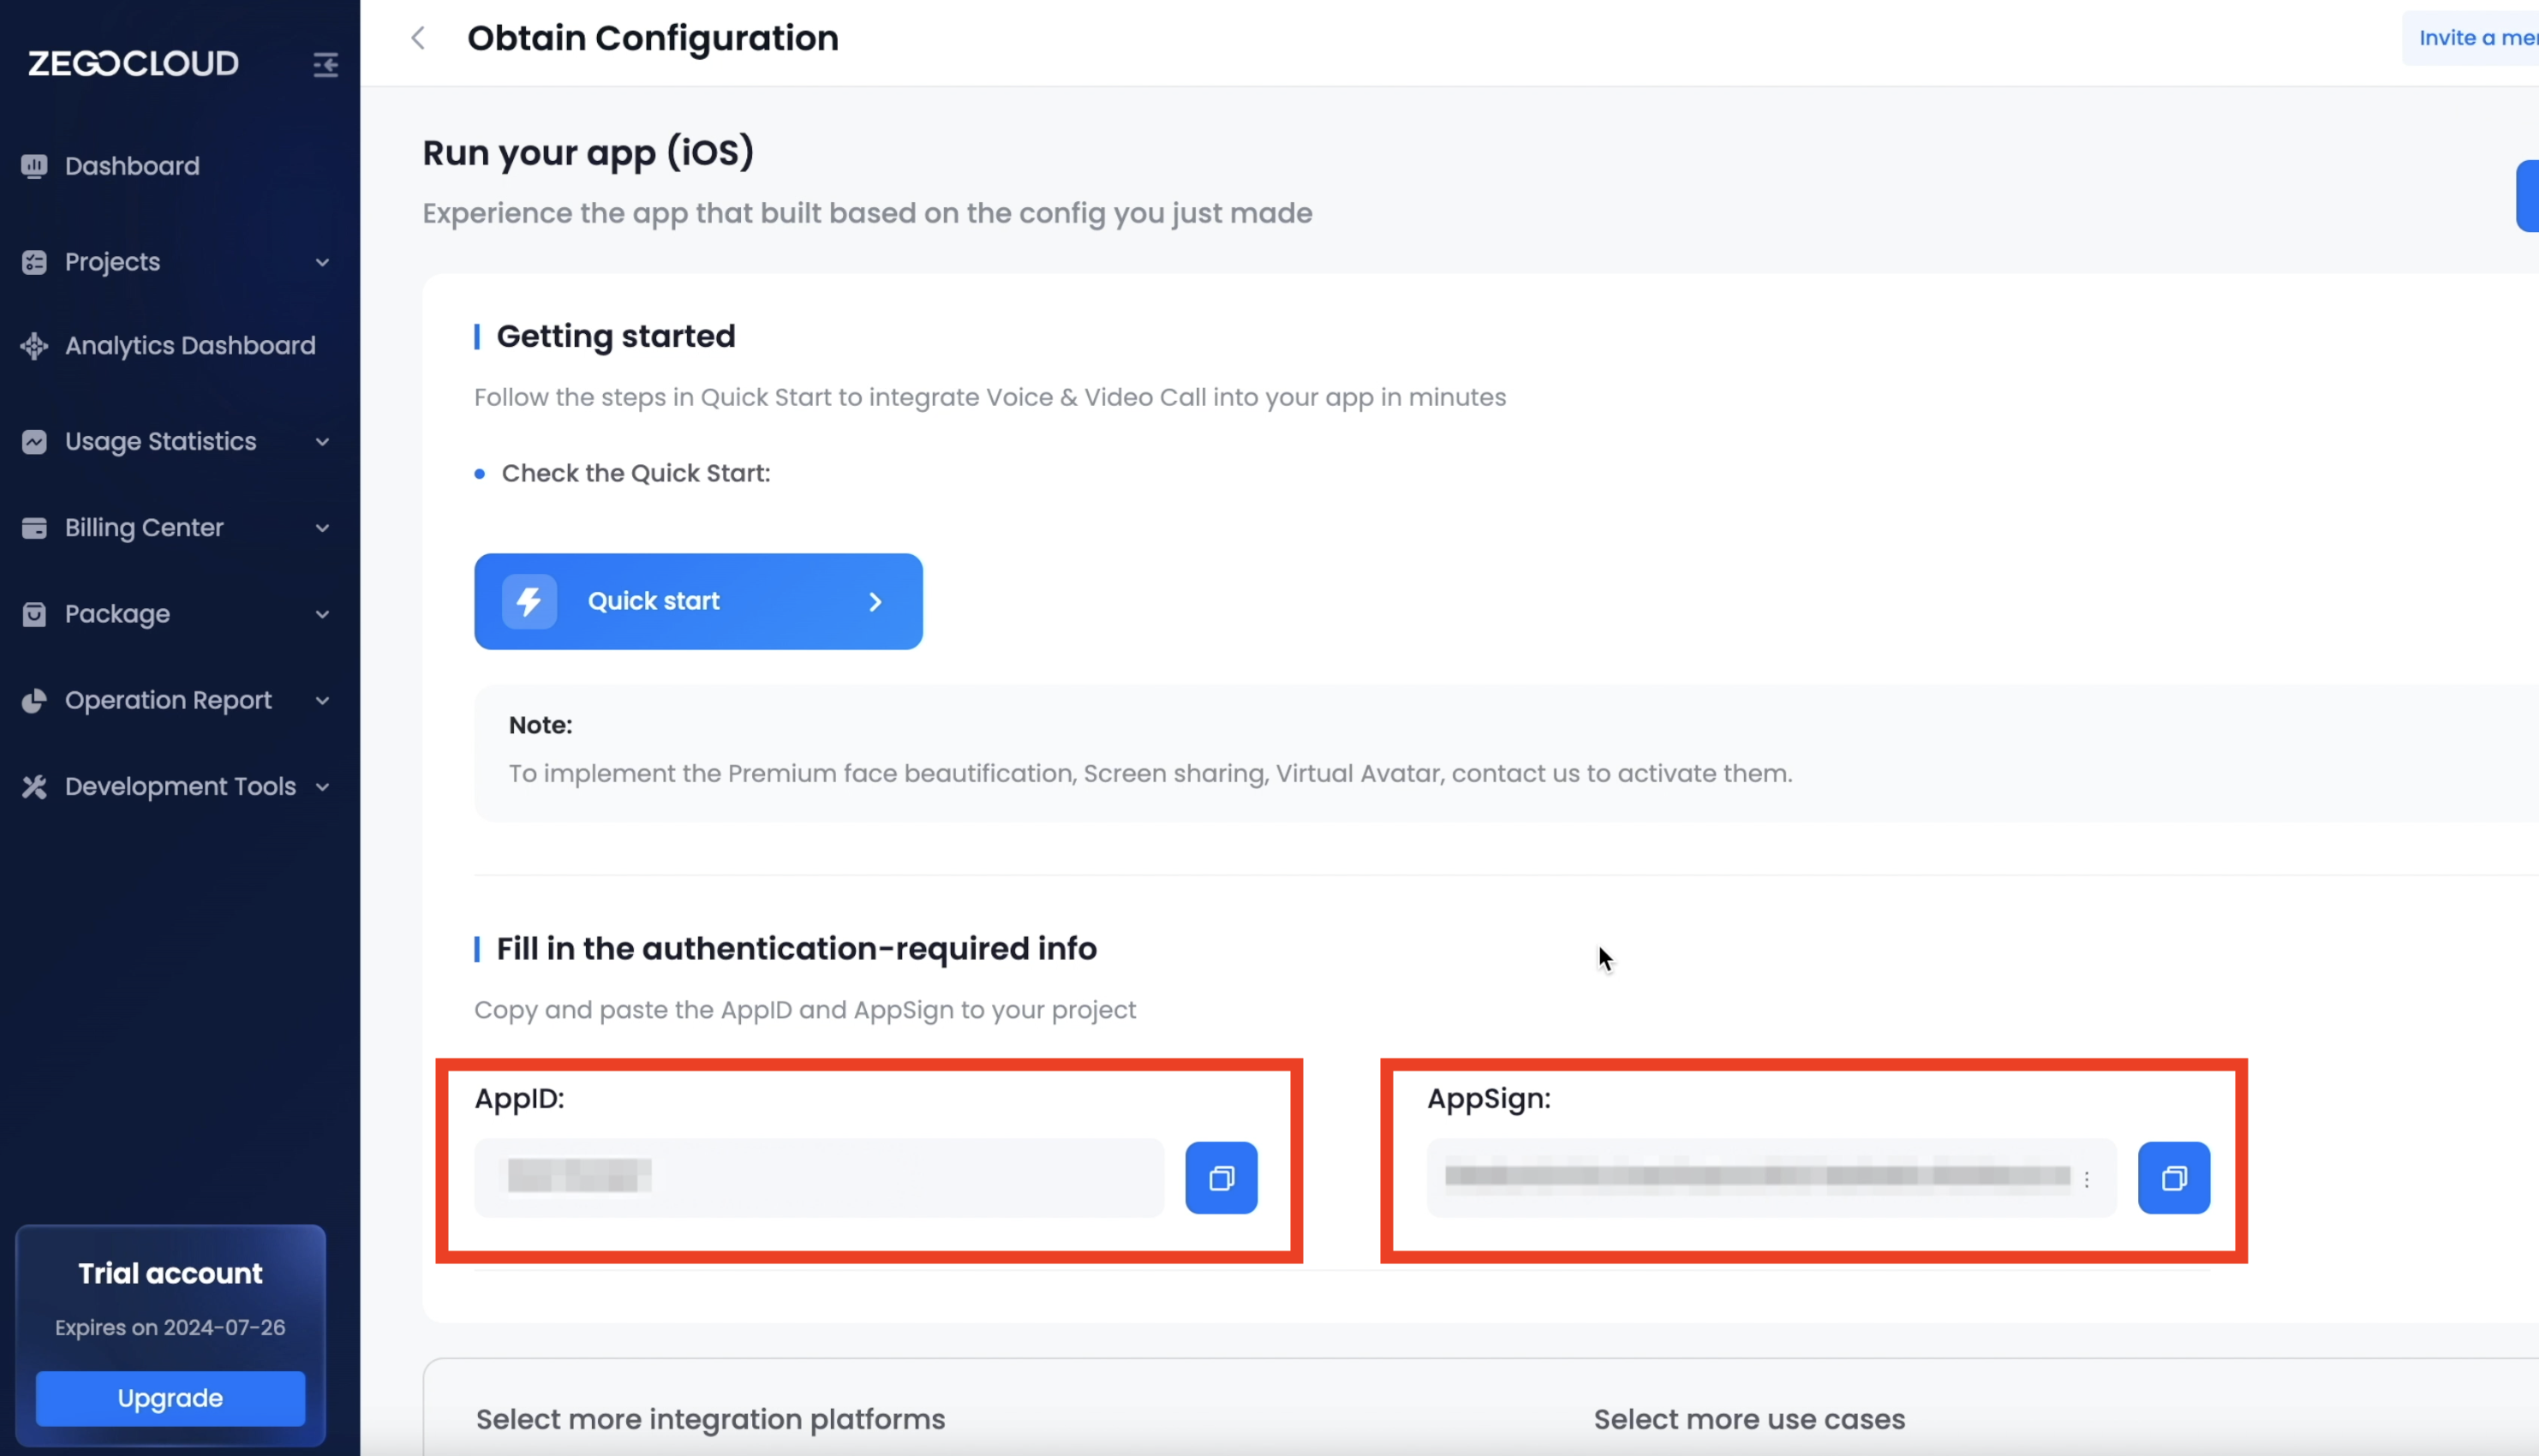
On the app configuration screen next, you will see your AppID & AppSign values. These are confidential to your app & required for it to work. We’ll see how in a while.
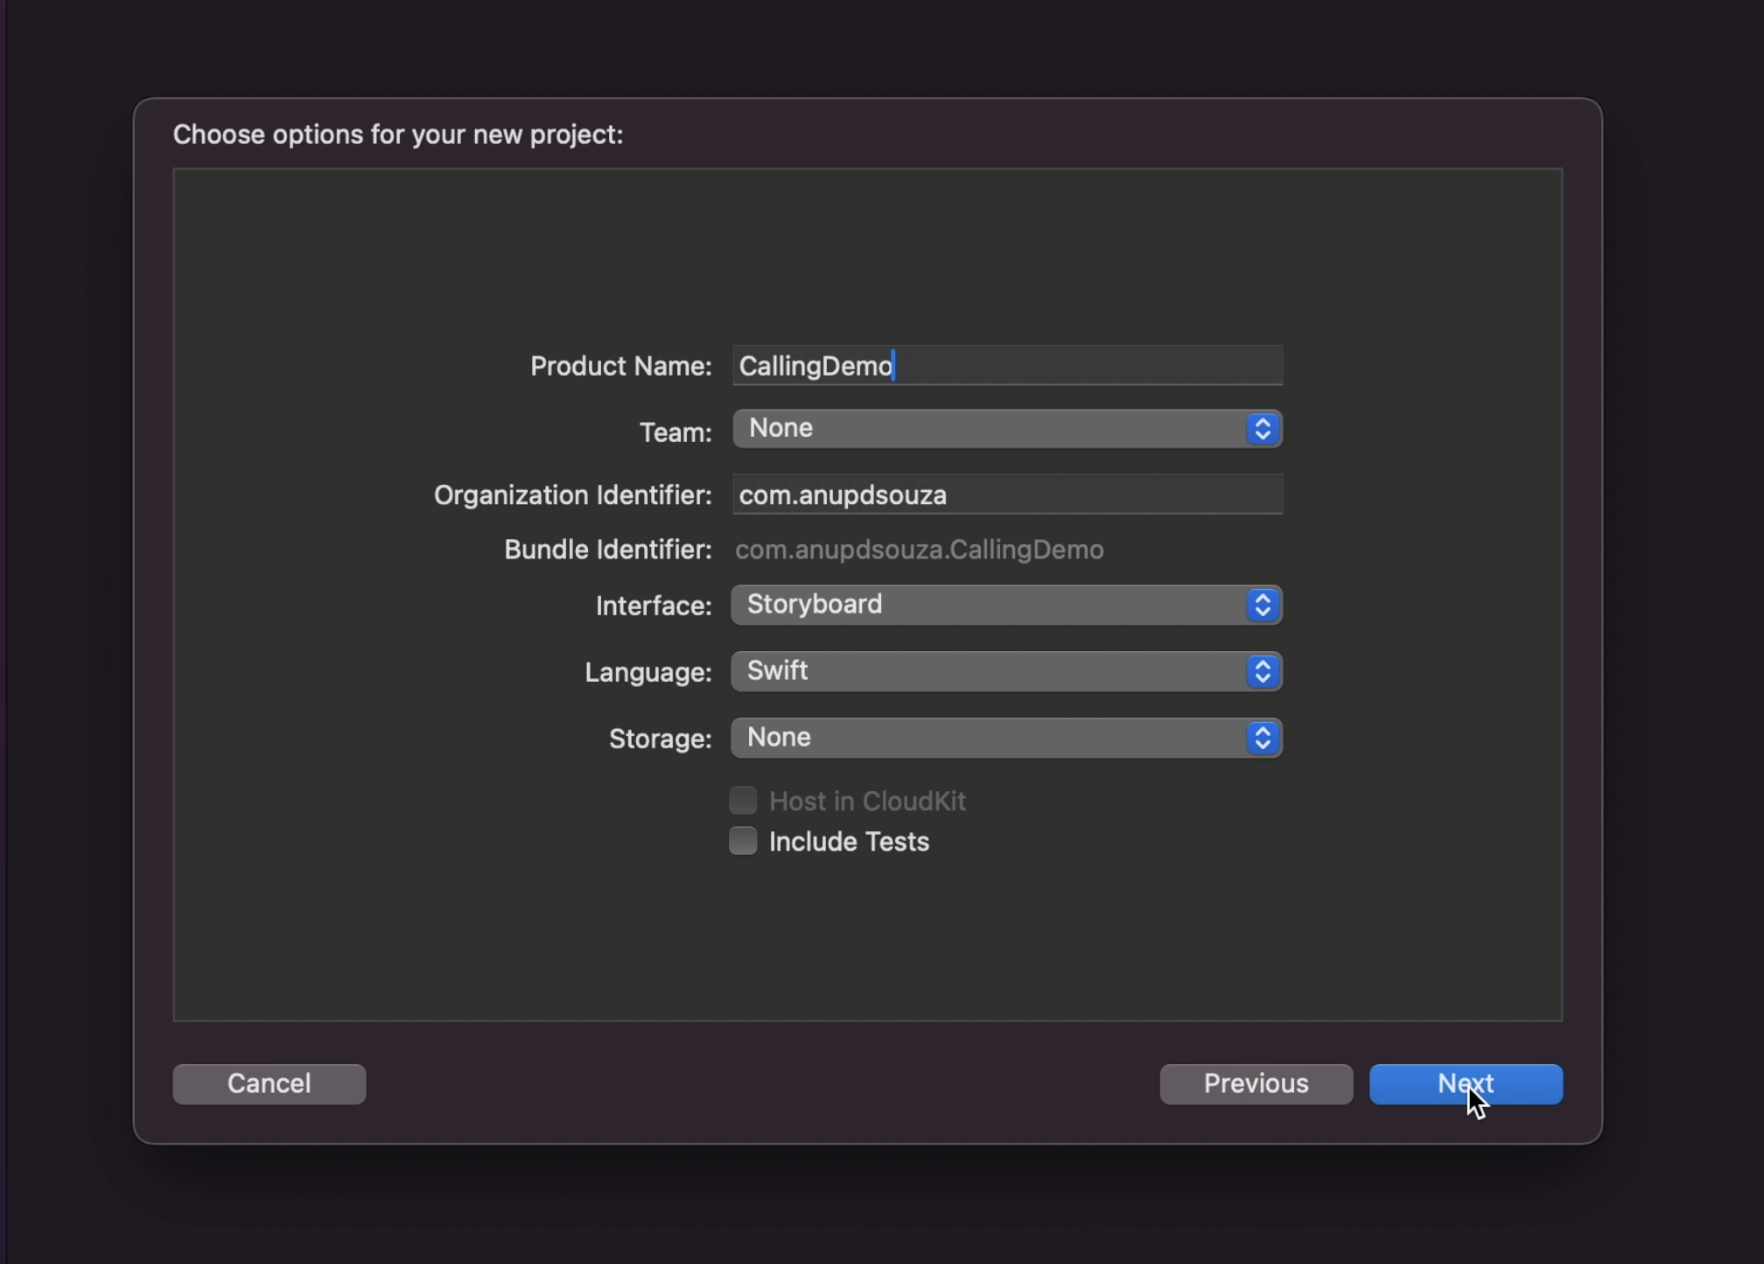
Open Xcode & Create a New Project & give it a name. For this demo, we’ll go with the Storyboard Interface option.
Next, open Terminal & change directory to your project folder. We’ll now install the ZEGOCLOUD dependencies via Cocoapods. Enter pod init command to create a Podfile.

Then open the Podfile in a text editor & add the following dependency:
pod 'ZegoUIKitPrebuiltCall'
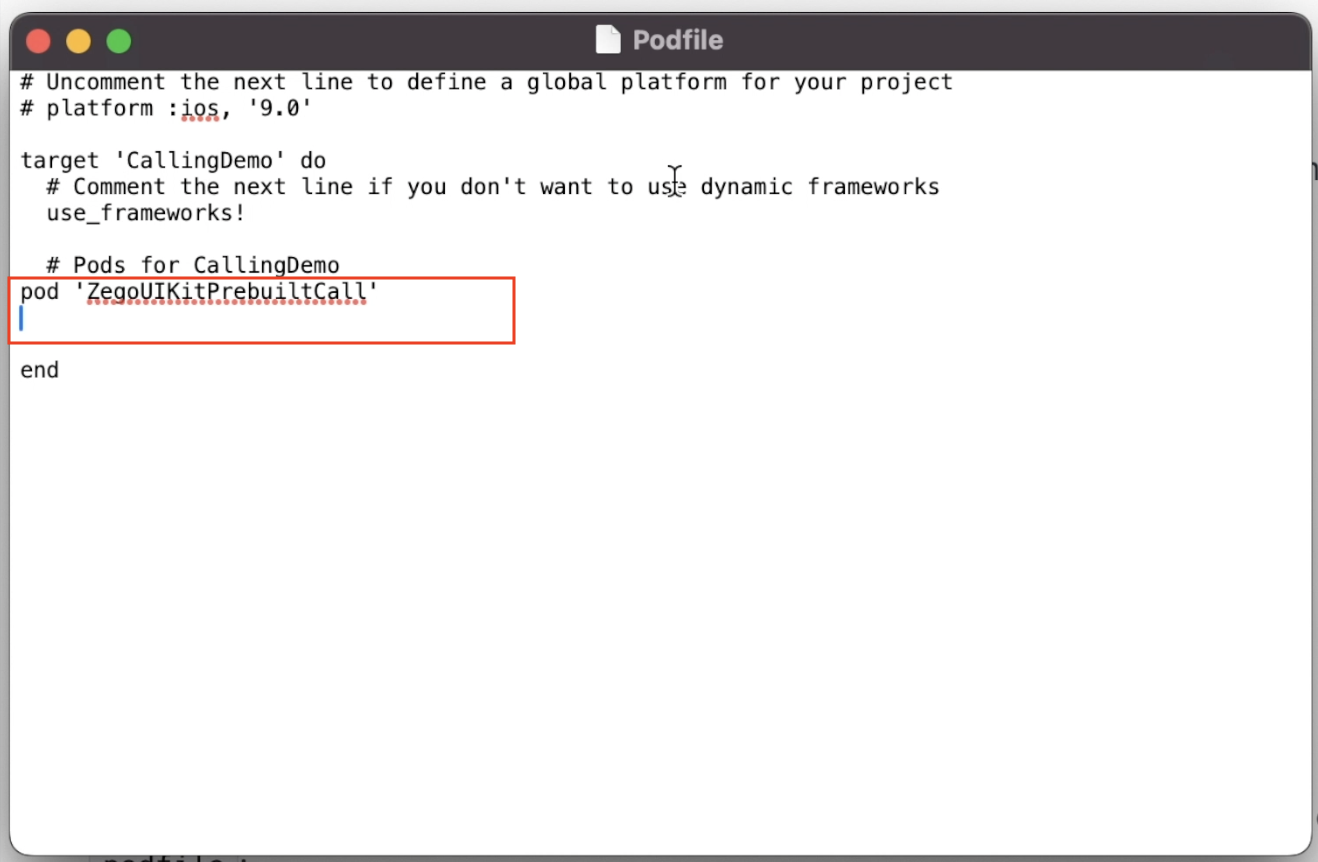
Save & close the Podfile & run pod install command in the Terminal.
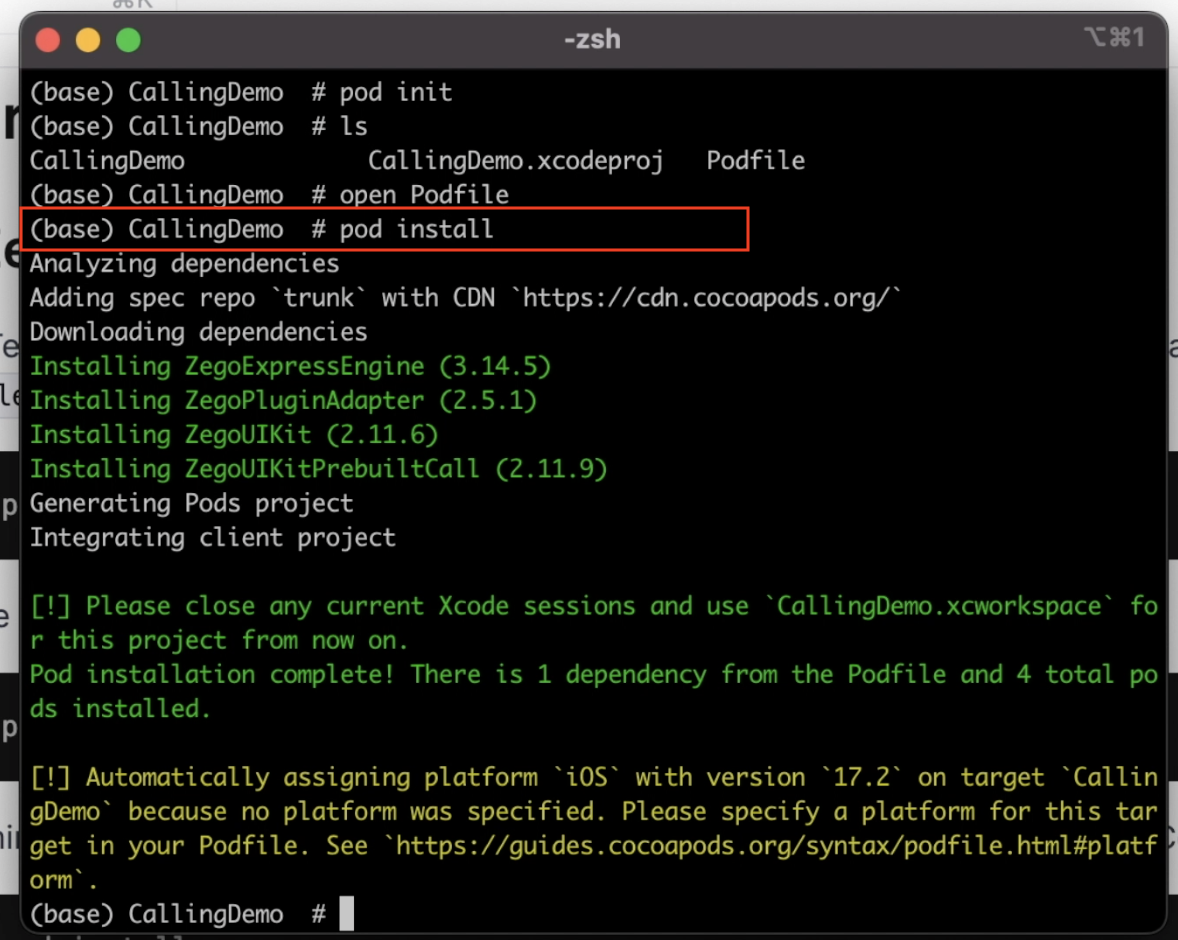
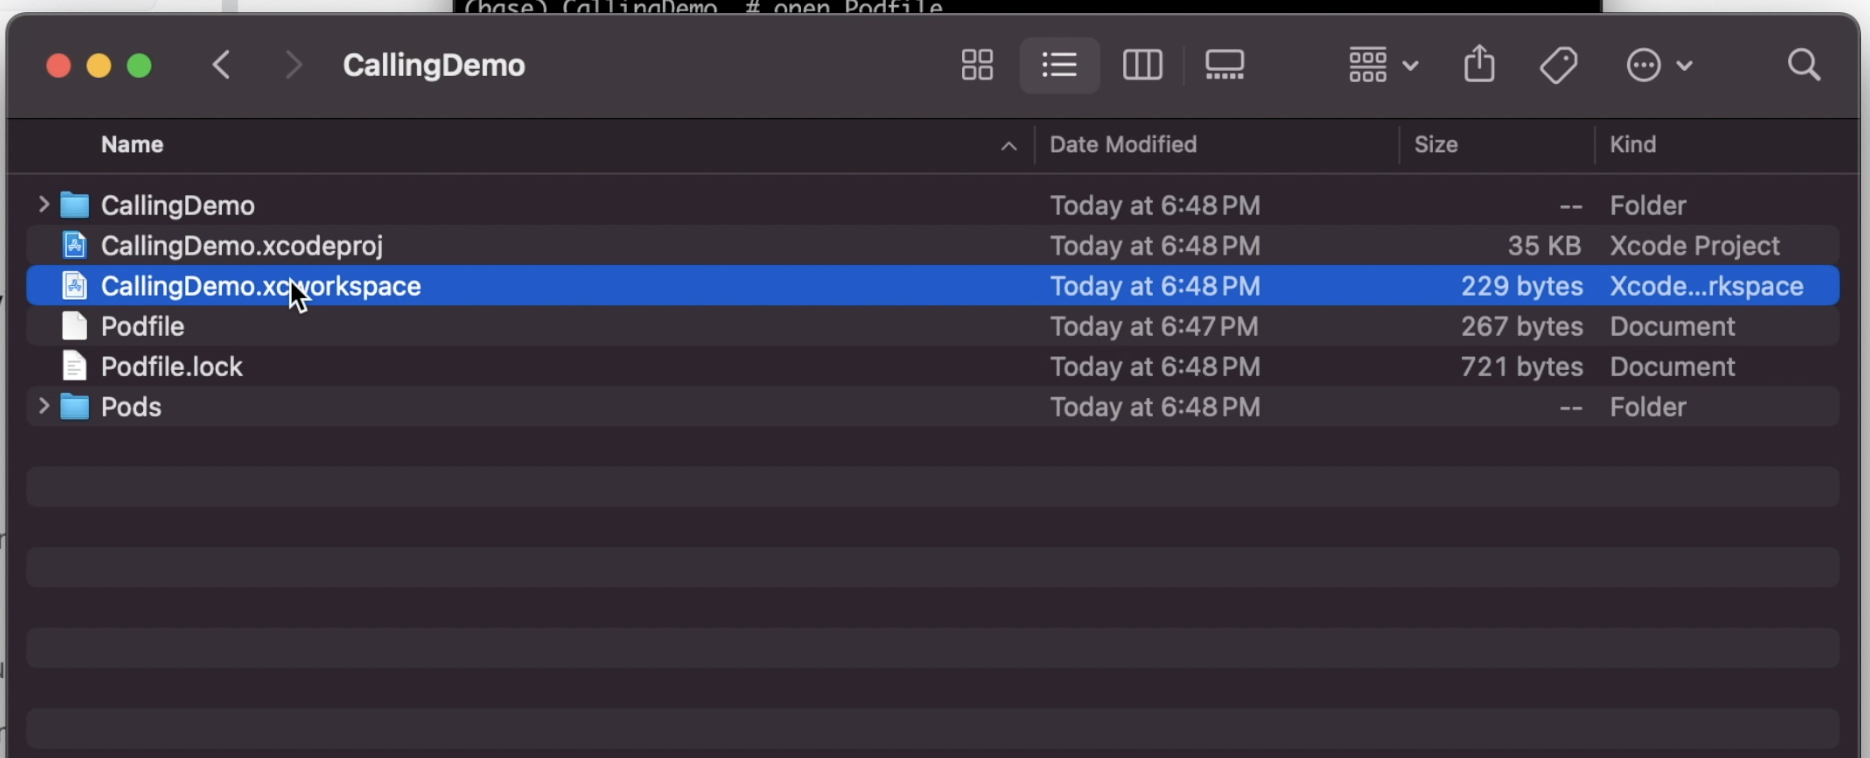
Wait for the dependencies to download, then open the Xcode project using the .xcworkspace file.
Open the ViewController.swift file & add the following import statements at the top
import ZegoUIKit
import ZegoUIKitPrebuiltCall
Add the following code inside the ViewController
private var userID: String = String(format: "zego_user_id_%d", Int.random(in: 0...1000))
private var callID: String = "1000"
private var appID: UInt32 = <YOUR APP ID>
private var appSign = "<YOUR APP SIGN>"
@IBOutlet private var usernameField: UITextField!
We’ve created a few variables to create a dynamic userID, then we assign a call ID 1000. Make sure to replace <YOUR APP ID> & <YOUR APP SIGN> with those from your app configuration page in the ZEGOCLOUD Console. Finally we added an IBOutlet to read custom usernames from a textfield.
Now add the following code that enables functionality to make a call on button press.
@IBAction func makeNewCall(_ sender: Any) {

        usernameField.resignFirstResponder()

        guard let username = usernameField.text else {
            print("Username not provided")
            return
        }

        // You can also use groupVideo/groupVoice/oneOnOneVoice to make more types of calls.
        let config: ZegoUIKitPrebuiltCallConfig = ZegoUIKitPrebuiltCallConfig.oneOnOneVideoCall()

        let callVC = ZegoUIKitPrebuiltCallVC.init(appID,
                                                  appSign: appSign,
                                                  userID: self.userID,
                                                  userName: username,
                                                  callID: self.callID,
                                                  config: config)
        callVC.modalPresentationStyle = .fullScreen
        self.present(callVC, animated: true, completion: nil)
    }
Our UI interface looks like this. Make sure to connect the IBOutlet to the usernameField text field & the makeNewCall action to the Join Call button.

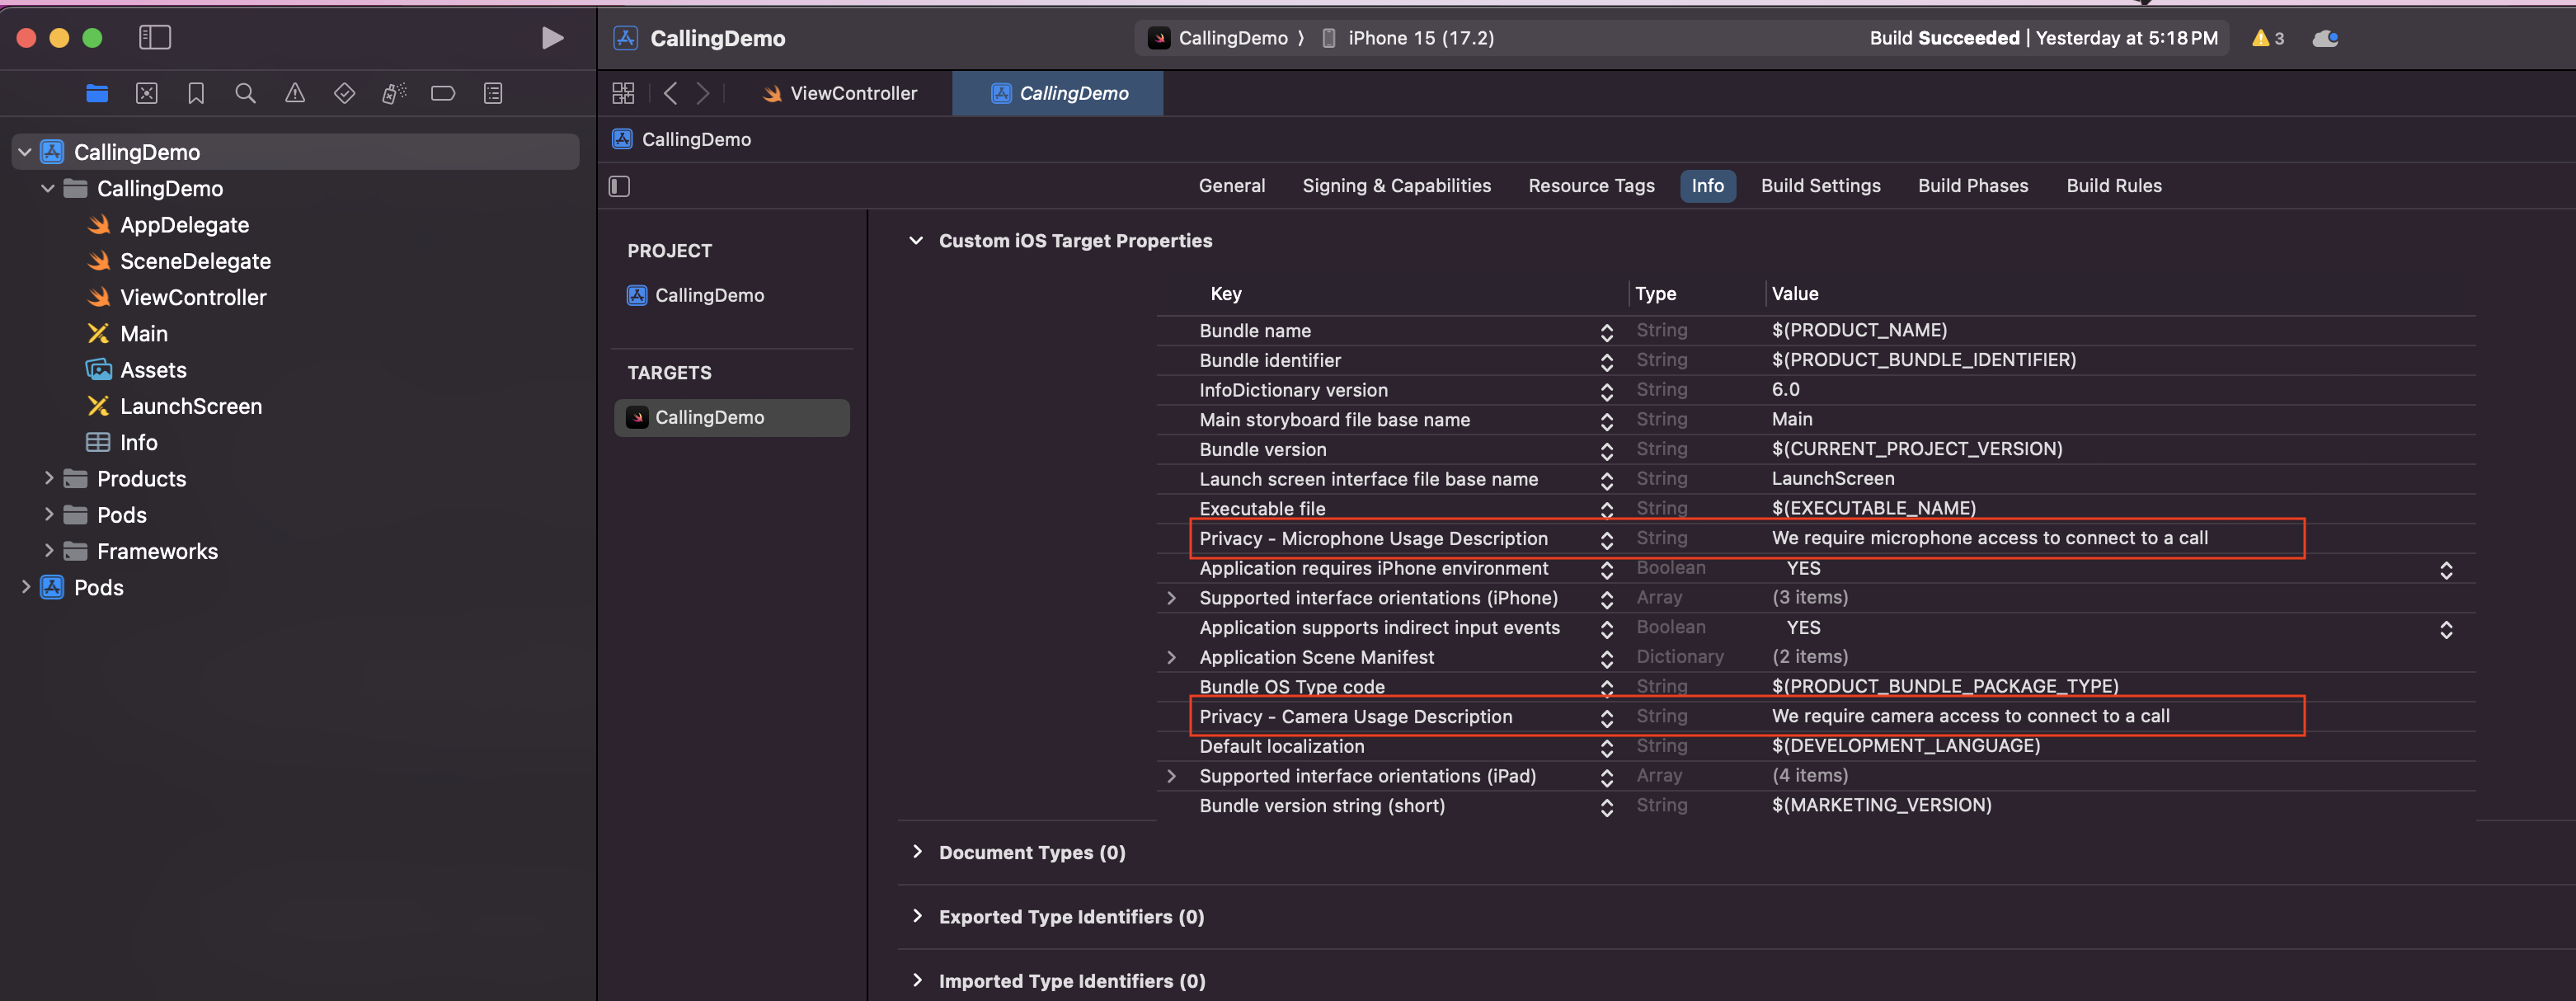
Finally, add the following key-values in the Info.plist to request access to the Camera & MIcrophone.
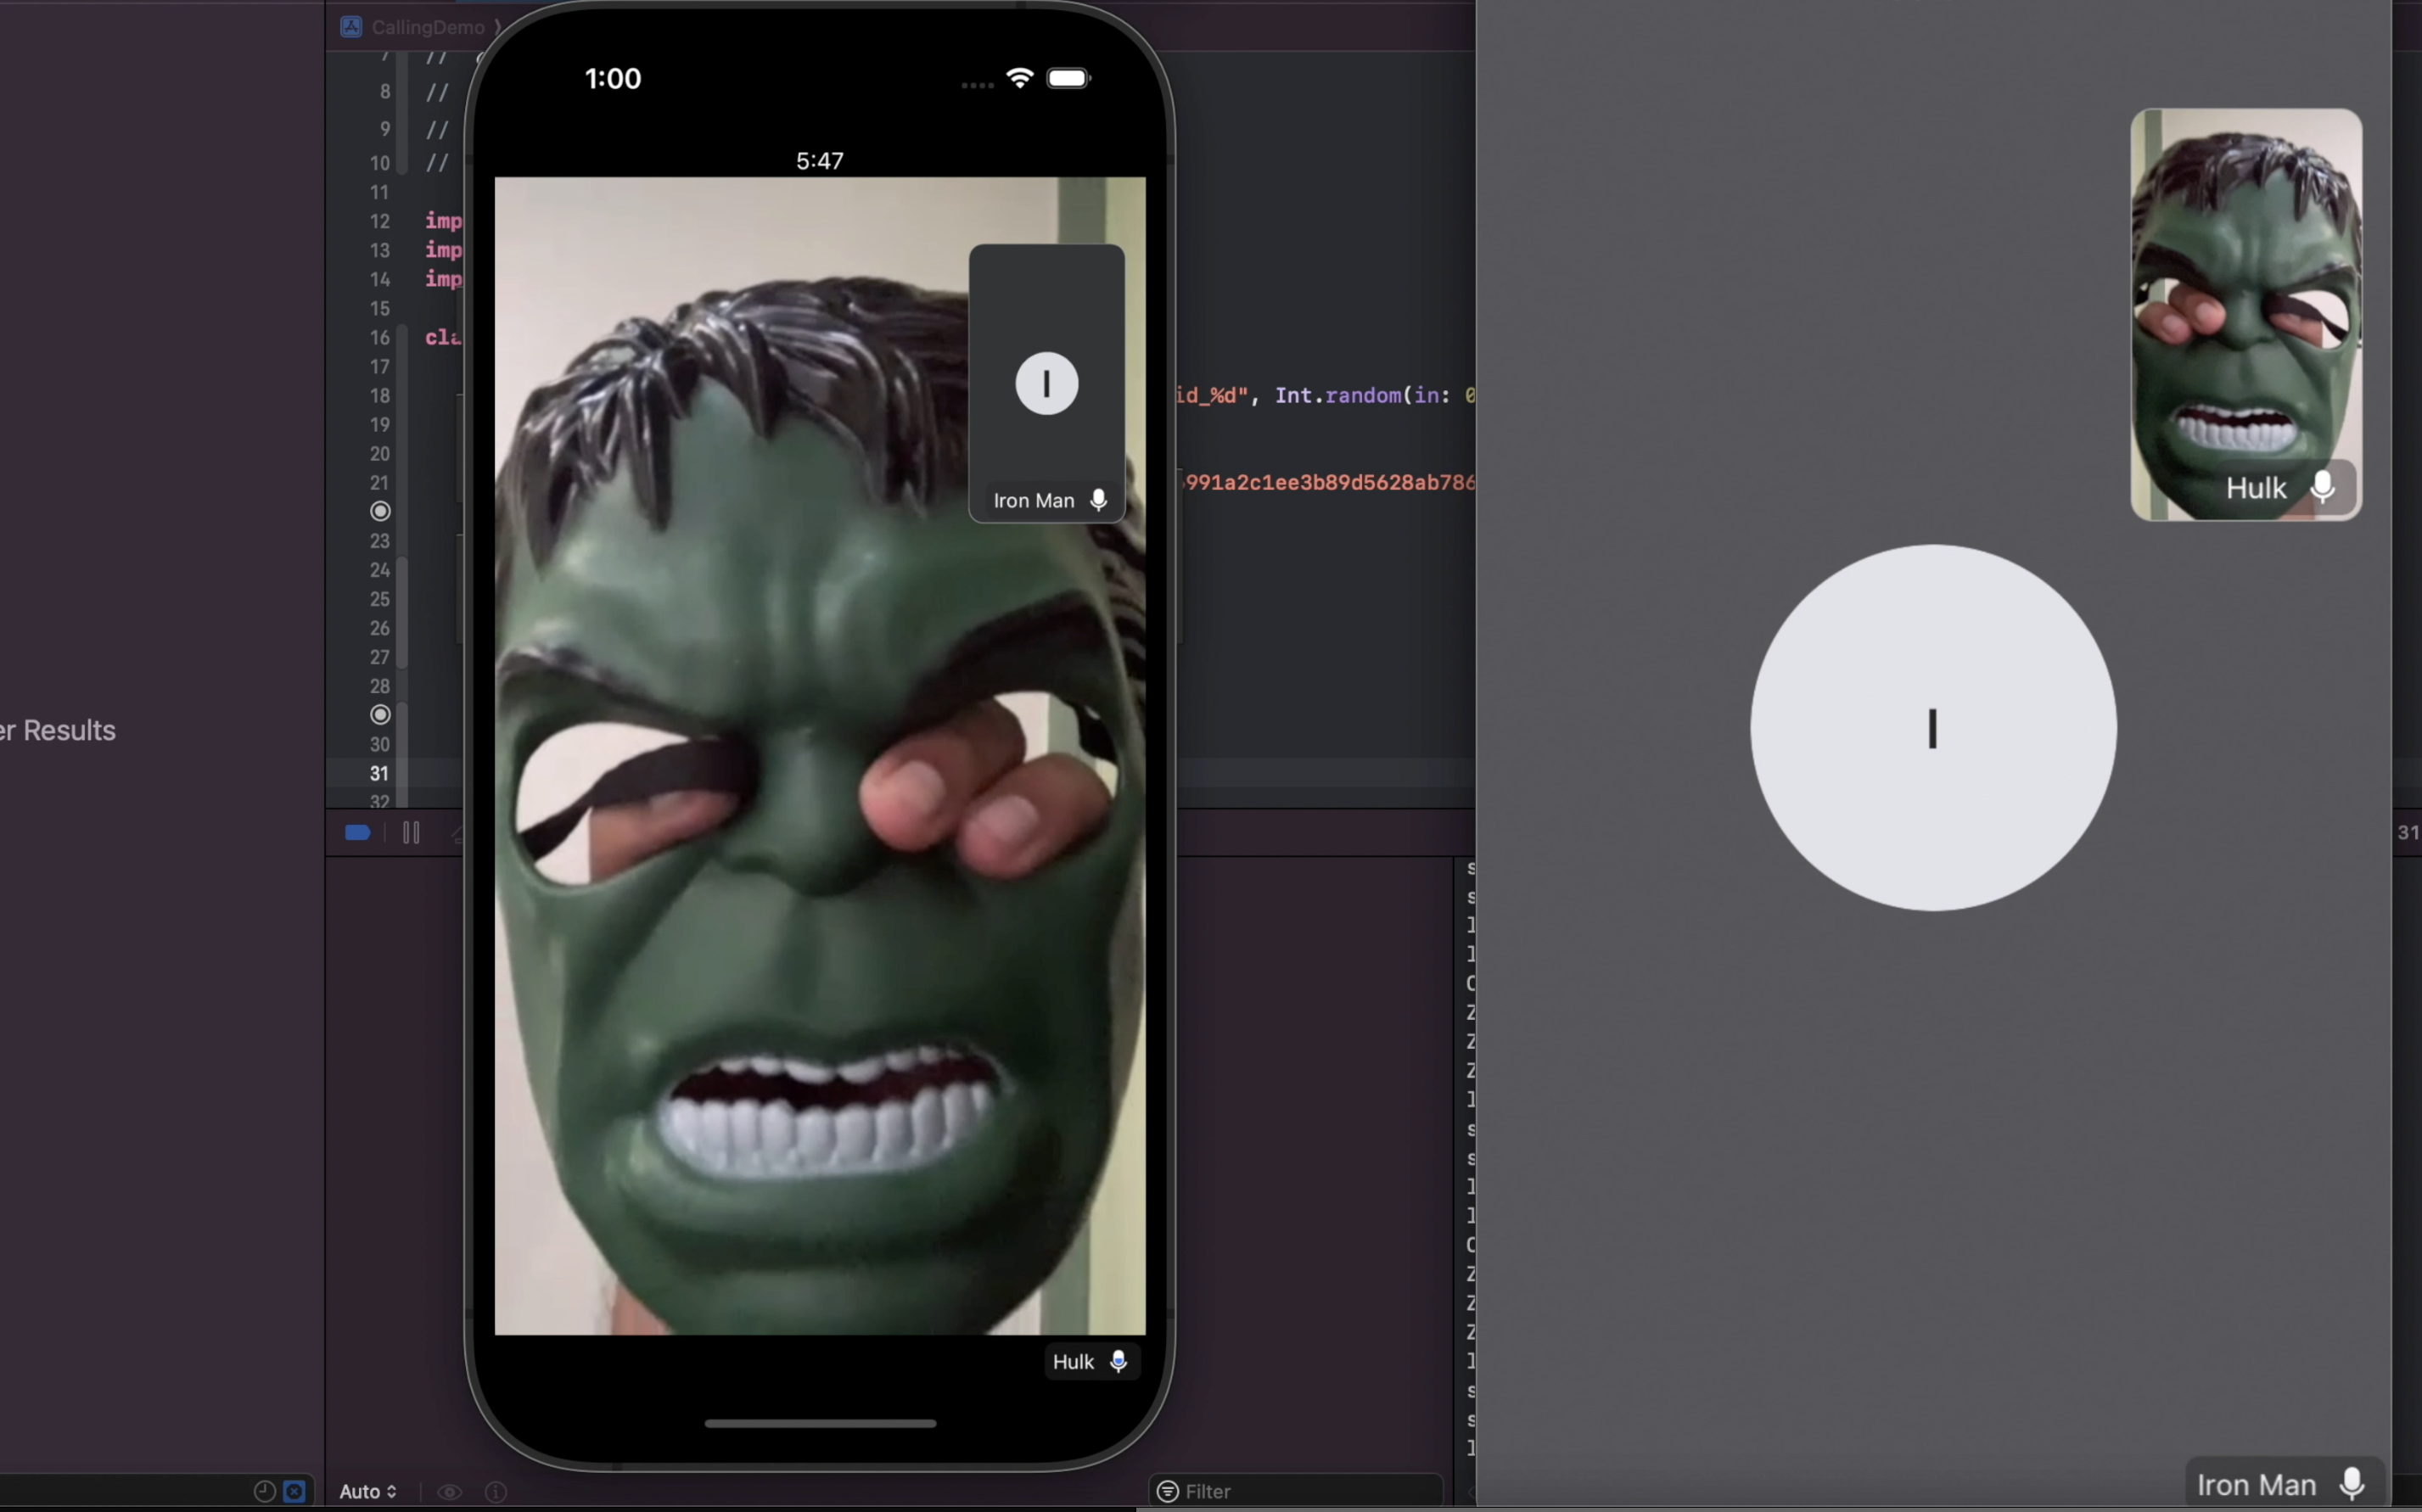
Build & run the app on the simulator, enter a user name & click on Join Call. Voila! The calling screen will be presented modally along with floating controls to control the video, camera, mic options etc.
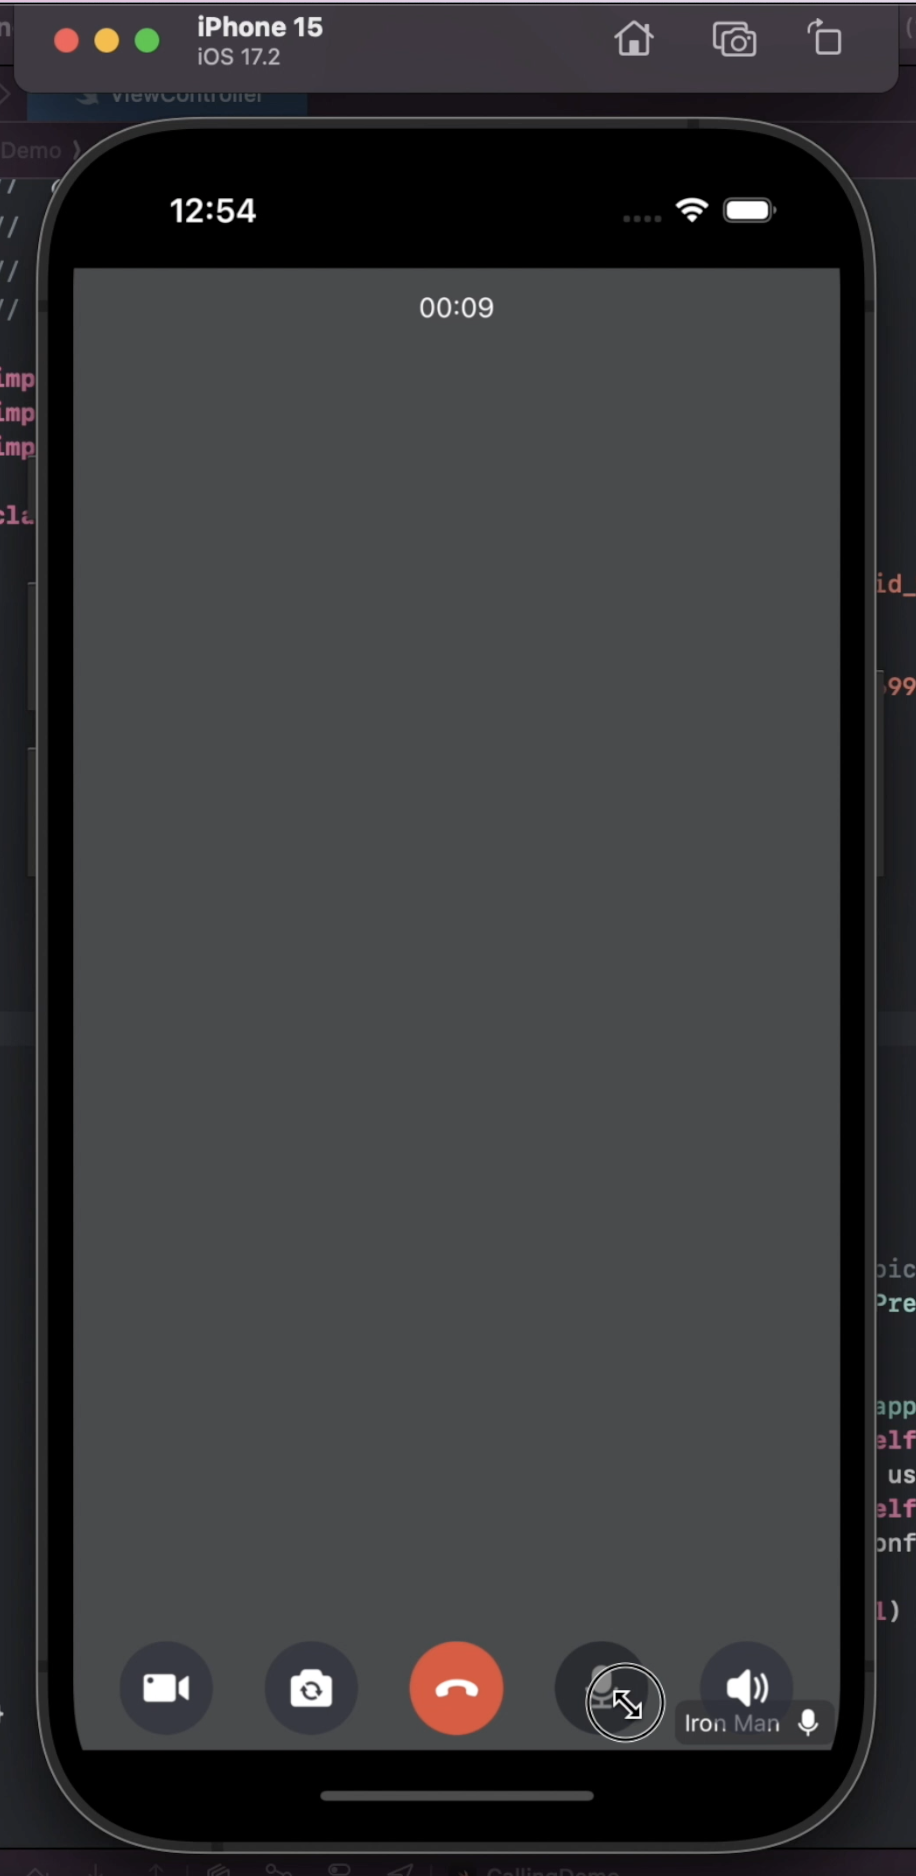
Here’s how it looks when running the app side by side on a device.
And that’s it for this post! As you have seen, with ZEGOCLOUD’S UIKit’s, its possible to integrate voice & video calling capabilities to your app within minutes! This enables developers to create immersive communication experiences. By leveraging ZEGOCLOUD, you can build high-quality, real-time video apps across various platforms. Whether for social networking, collaboration, or customer support, ZEGOCLOUD elevates iOS apps with enhanced interactivity and user engagement.
The complete code can be found here
Consider subscribing to my YouTube channel & follow me on X(Twitter) for more such information. Leave a comment if you have any questions.
Share this article if you found it useful !
References:
- https://www.zegocloud.com/docs/uikit/callkit-ios/overview (ios)
