
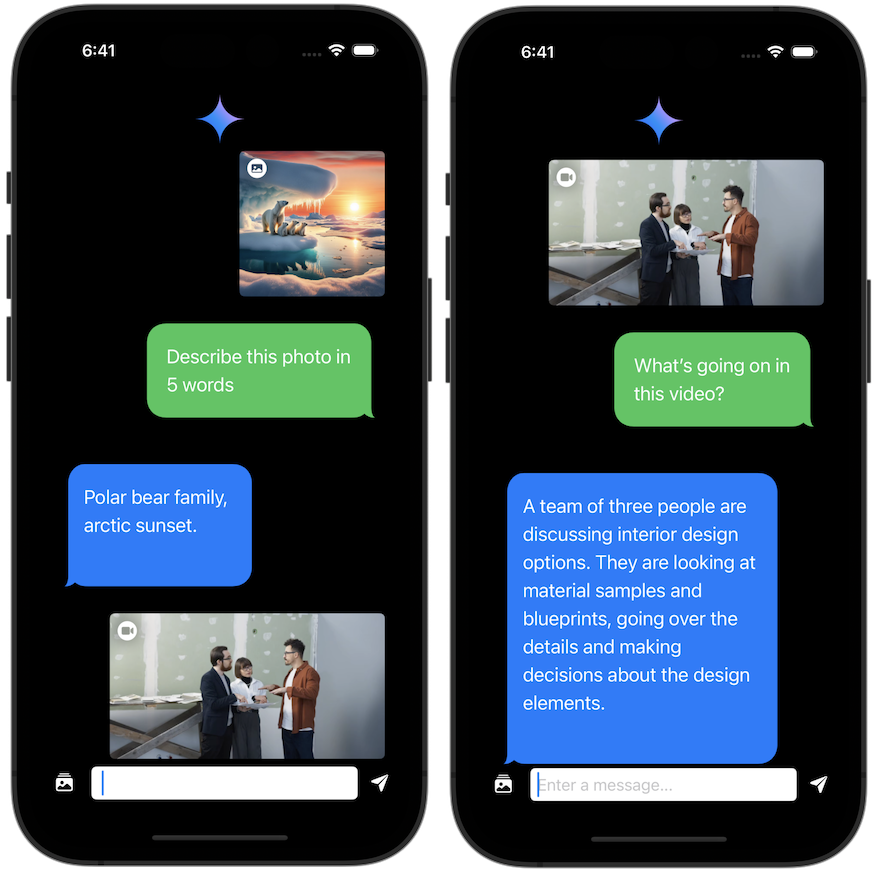
Complete guide to building a Multimodal Chatbot with Gemini API using the Vertex AI for Firebase SDK
Watch the video or follow along with the post below.
Previously we’ve seen how to use the Gemini AI Generative Swift SDK to chat with the LLM using text-based requests. We then explored how to use the Firebase extension in order to interface with Gemini. In this post we’ll see yet another way to interact with Gemini API using Vertex AI for Firebase SDK’s. The Firebase setup is similar to using the extension so if you’ve been following my posts, the next few steps should feel familiar.
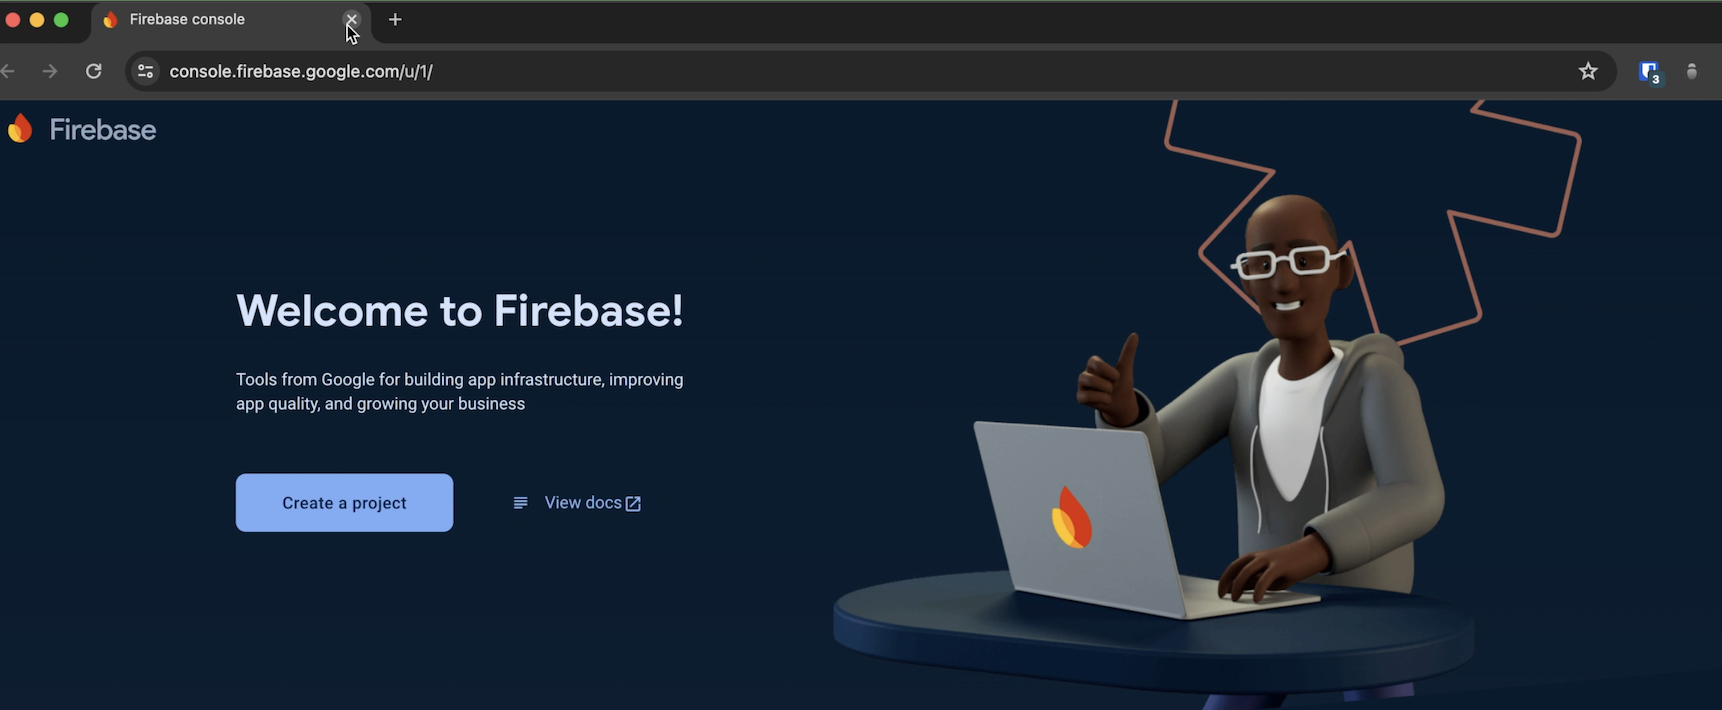
Head on over to https://console.firebase.google.com & sign in with your Google account.
- Select
Go to Console

- Select an existing iOS+ project. If you don’t have one, select
Add ProjectorCreate a project
- Give your project a name & hit
Continue

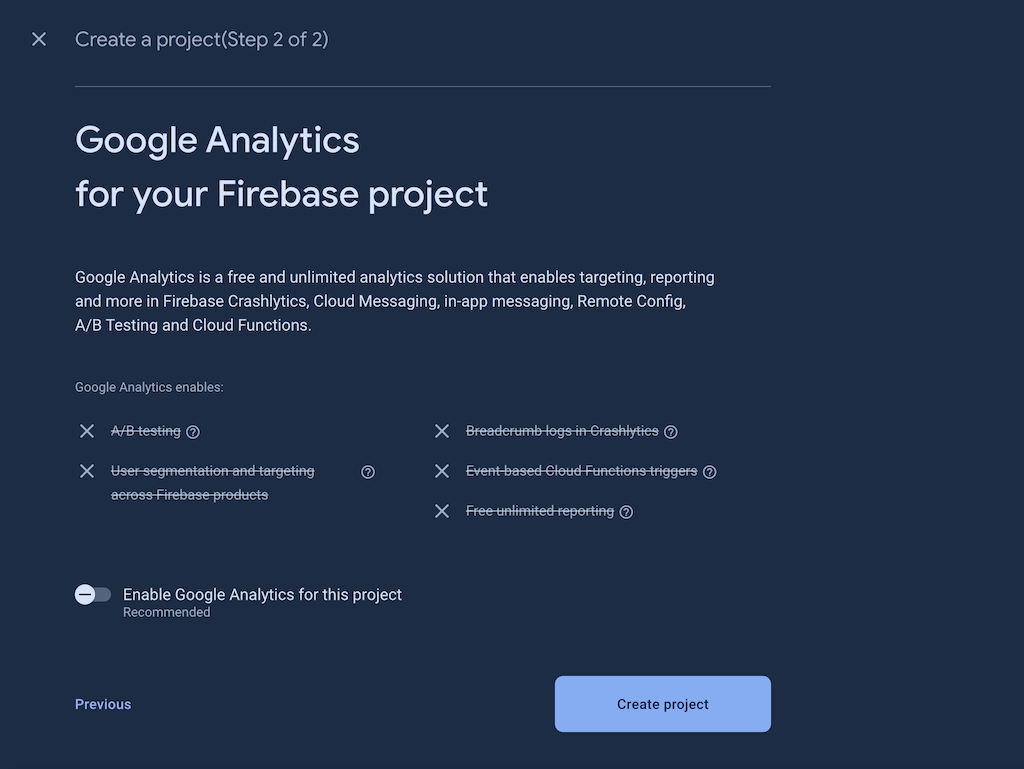
- The next step will recommend that you enable Google Analytics for your project. It is not required for this guide, so you can turn off the toggle & select
Create project. Wait a while as the project is created. If you do choose to enable Google Analytics, you will be asked to select a Google Analytics account in the next step before you create the project.
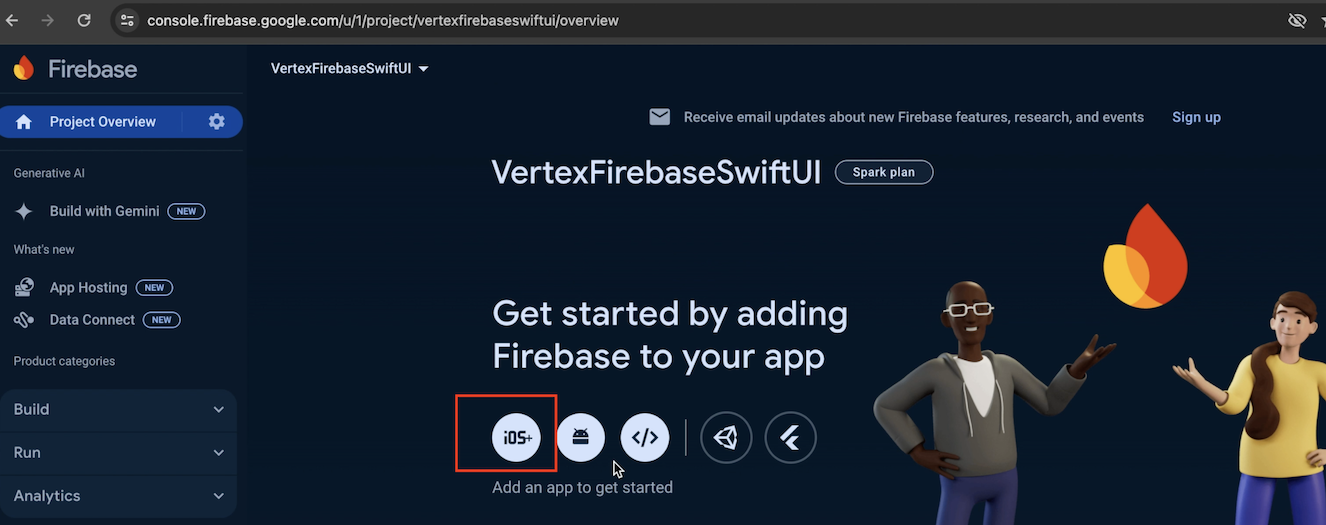
- You will now see the project overview panel. Select the
iOS+option to create an Apple app in Firebase.
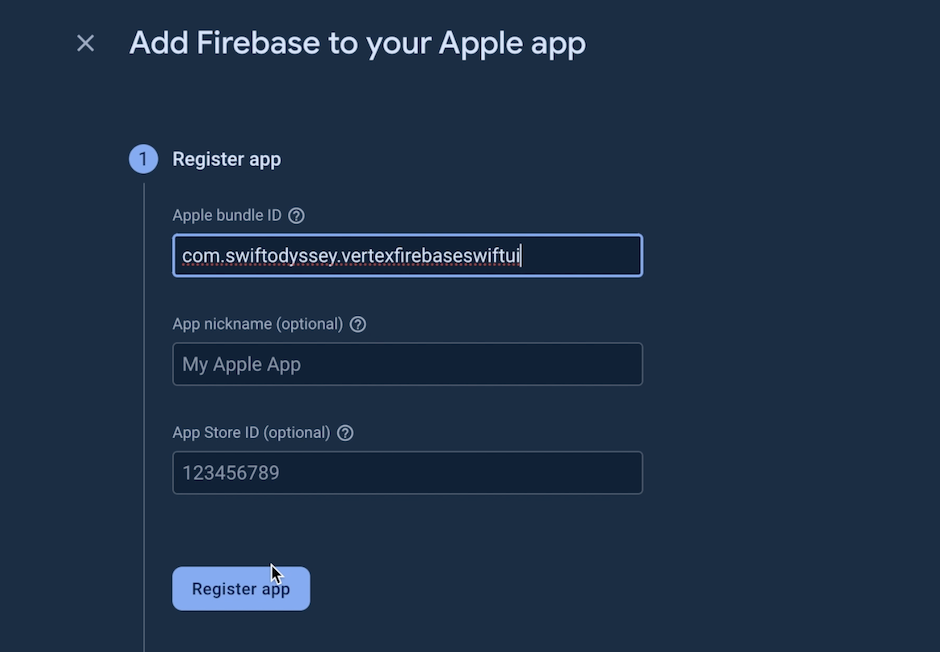
- Add a bundle id & note it down somewhere to create an Xcode project with the same bundle id later. Select
Register app
- Download the
GoogleService-Info.plistfile on your system. SelectNext
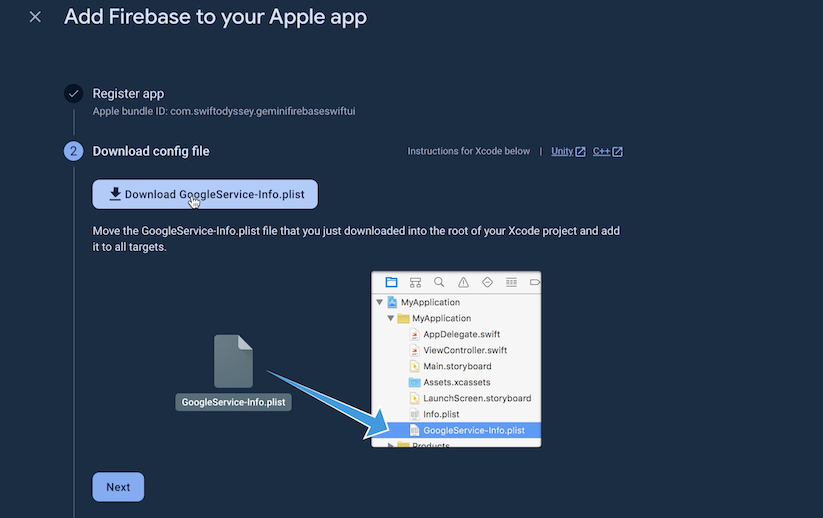
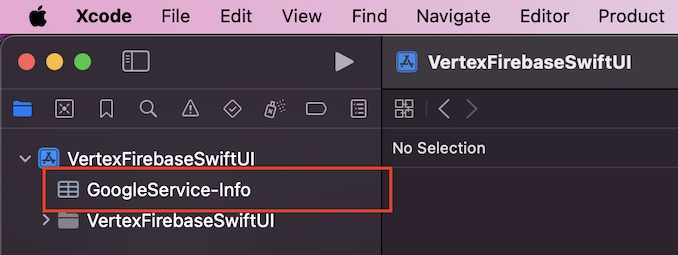
- Open Xcode & create a new project in SwiftUI with the bundle identifier you entered earlier. Drag & drop the
GoogleService-Info.plistyou downloaded in the previous step into your Xcode project.
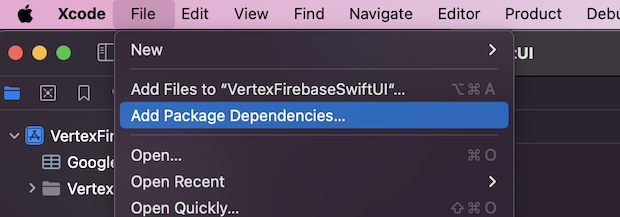
- While still in Xcode, go to
File > Add Package Dependencies...to add the Firebase SDK.
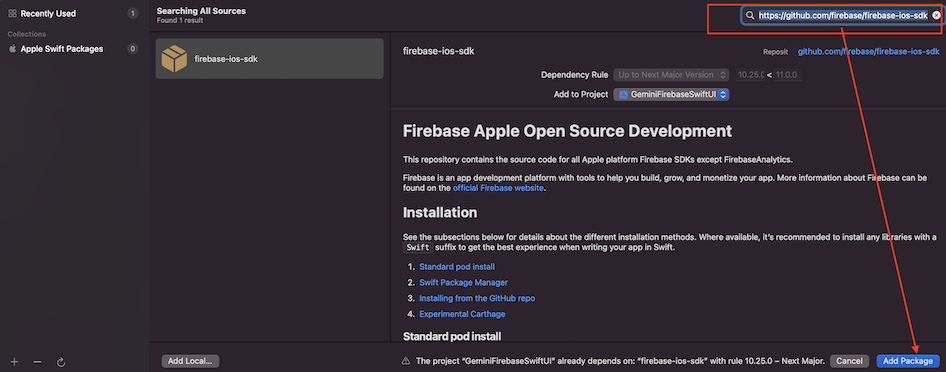
- Enter the following url in the package search bar
https://github.com/firebase/firebase-ios-sdk& selectAdd Package.
- Go back to the Firebase console to
Add initialisation code
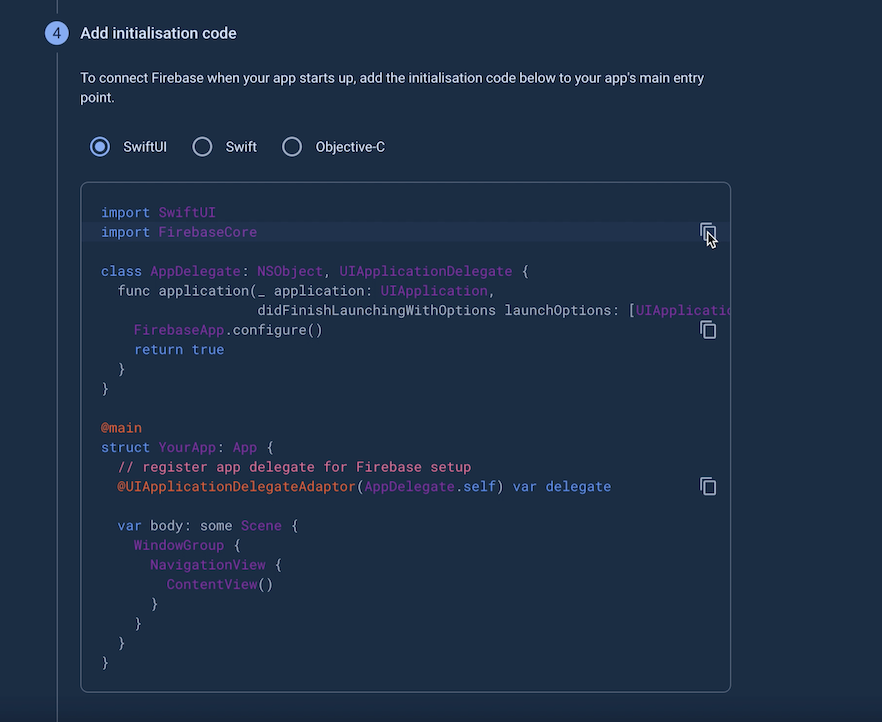
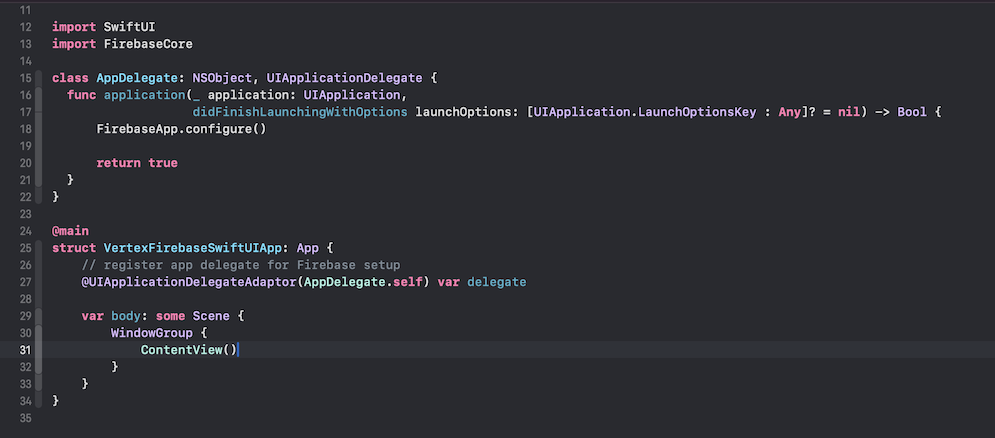
- Copy the code snippet as you see & add it your Xcode project’s
App.swiftfile.
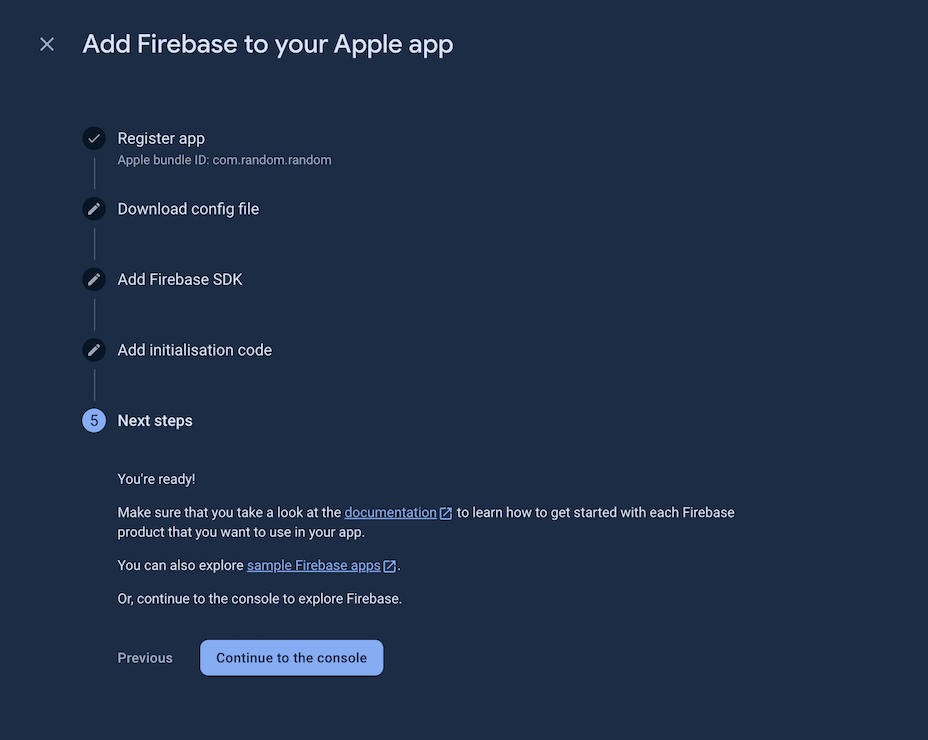
- Go back to the Firebase console, Click
Next& then clickContinue to the console
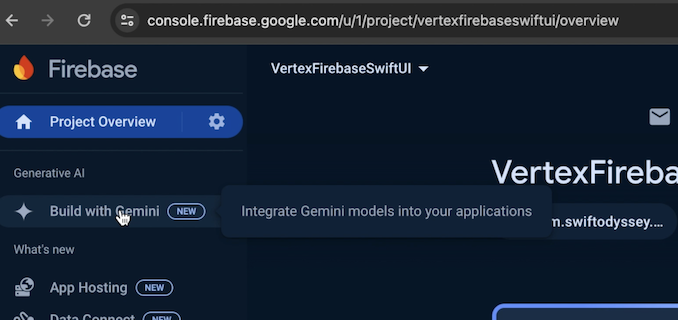
- In the console, you will see your
Project Overview. Click theBuild with Geminioption in the side bar.
- Once the pane loads, scroll to the bottom & click on
Get startedin theBuild AI-powered apps with the Gemini APIpane.

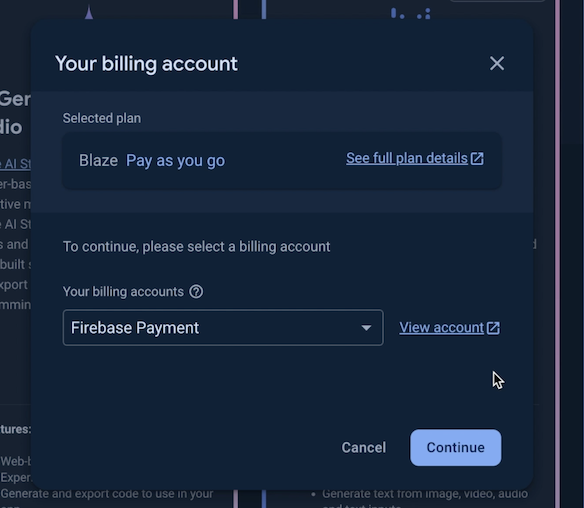
- Select your billing account in the popup window that opens & click
Continue. Proceed to select a budget to complete upgrading your project. (Refer to my previous post if you need help with setting up billing for your project from scratch)
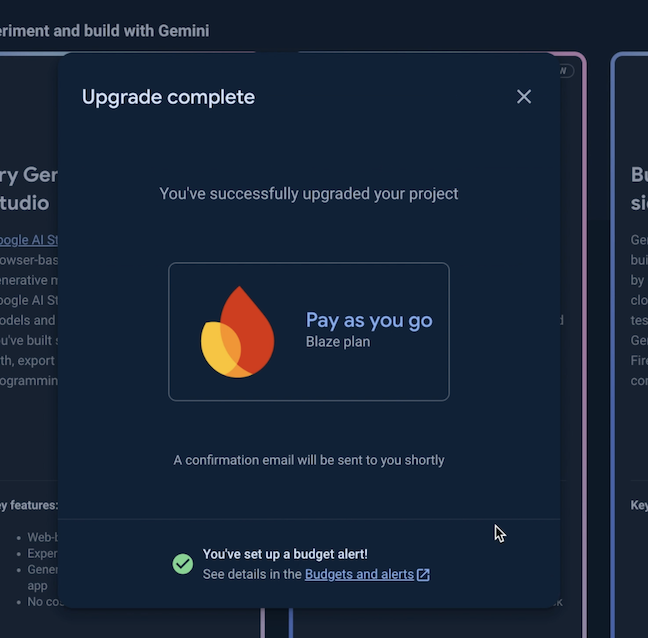
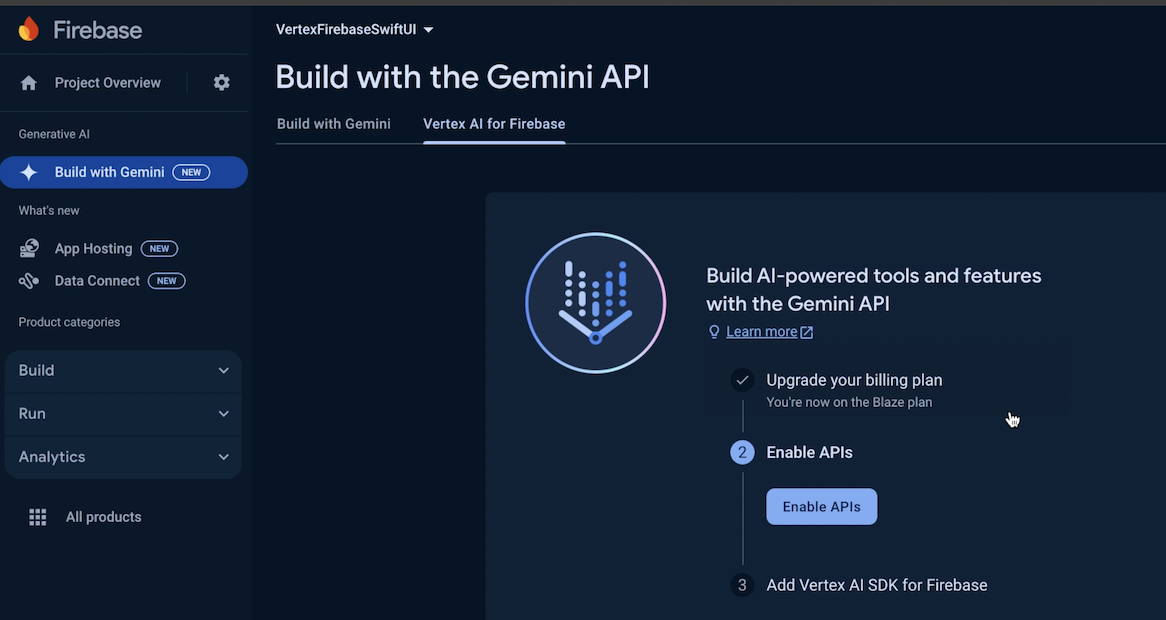
- Close the
Upgrade Completedialog above & then click onEnable APIsin theBuild with the Gemini APIpane.
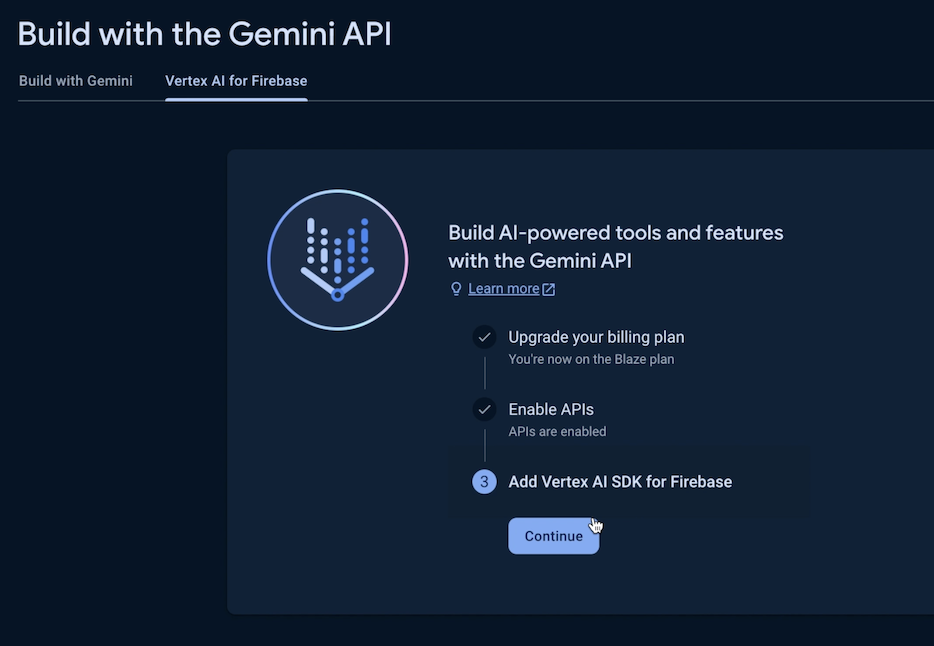
- Then click
Continuein step 3 toAdd Vertex AI SDK for Firebase.
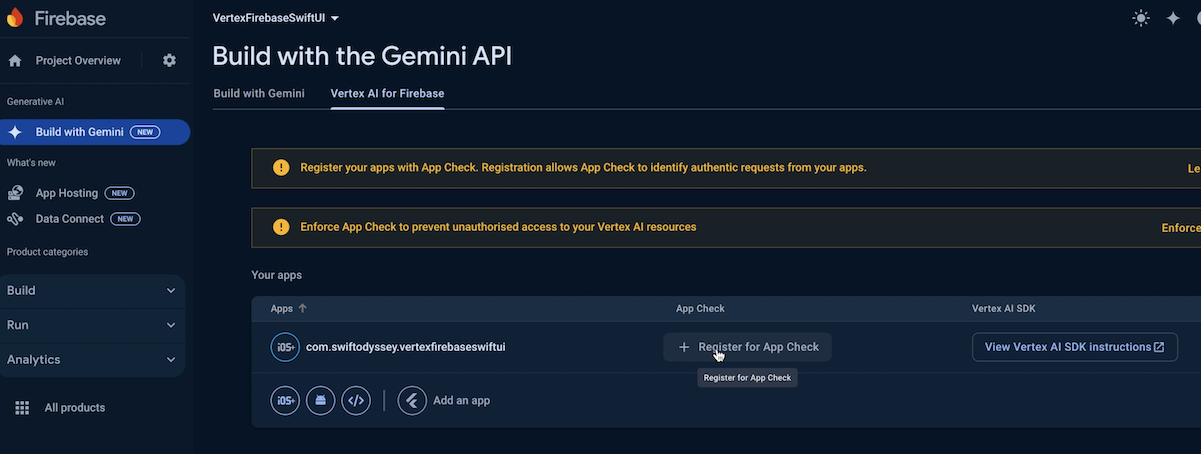
- Select
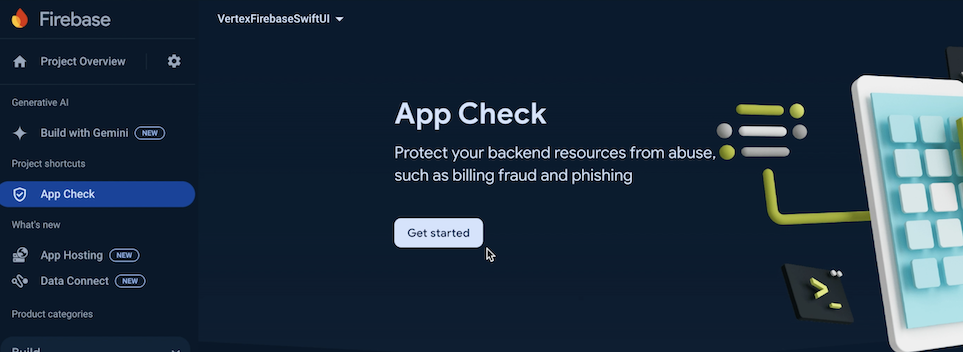
+ Register for App Checkin the next pane. This is an important auth step to prevent unauthorized access to backend resources. On iOS you can do so usingDeviceCheckorAppAttestwhich is recommended. However for the sake of this tutorial we will setup debug app check for the iOS Simulator. ClickGet startedin theApp Checkpane.
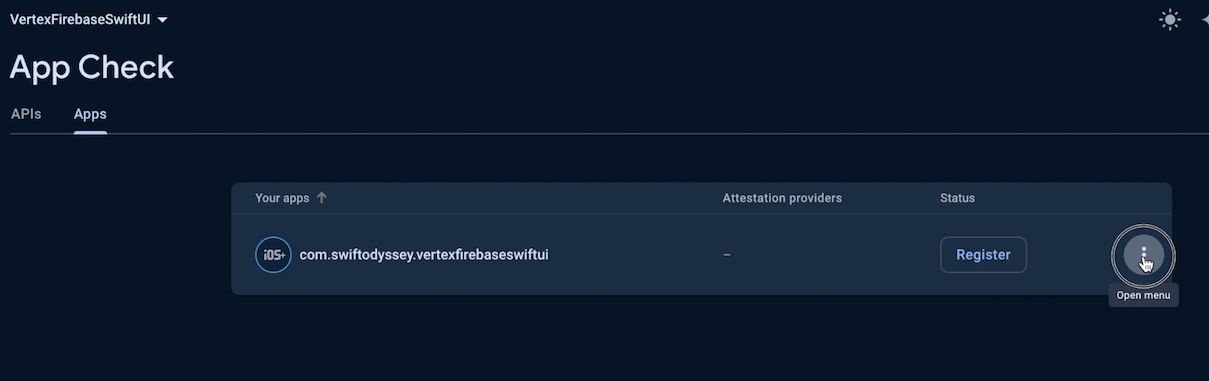
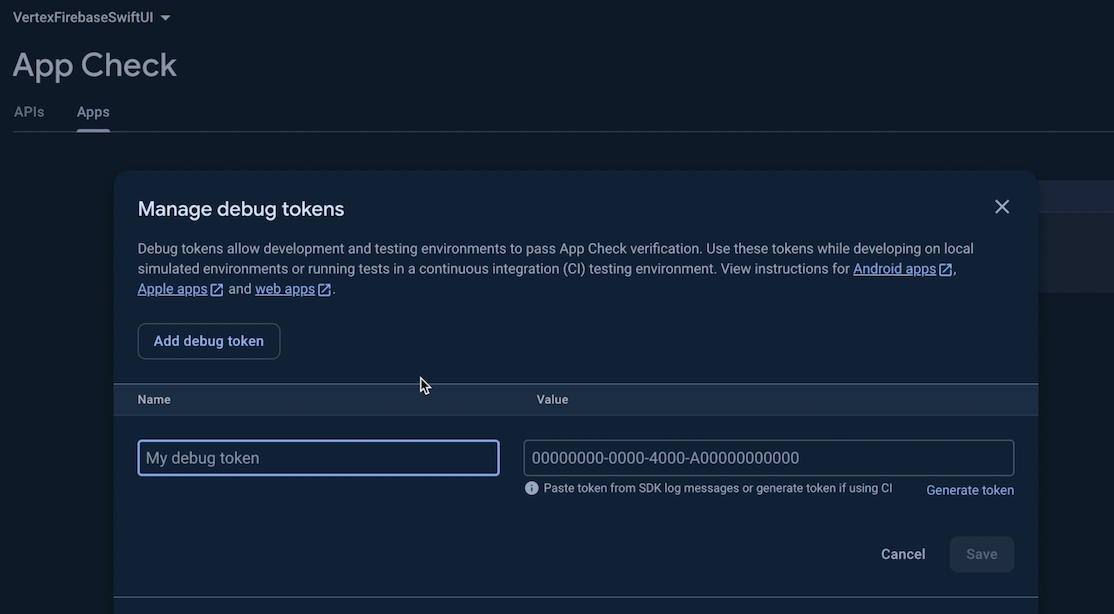
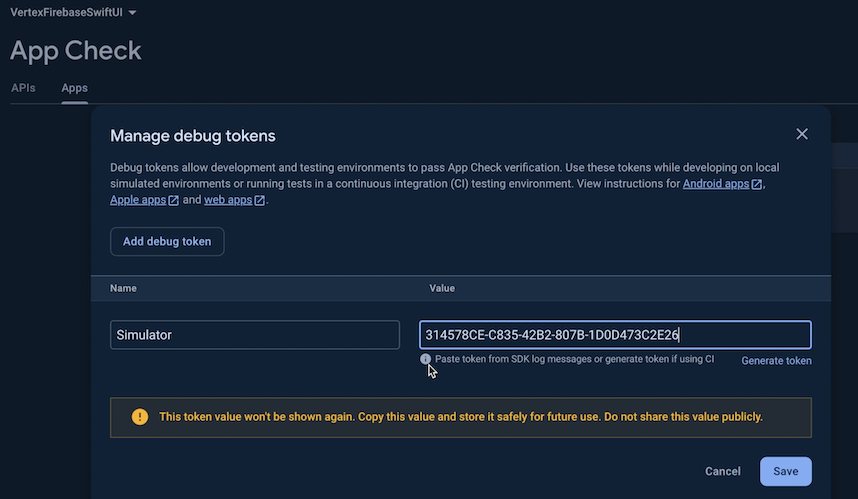
- Click on the 3-vertical dots to Open the menu against your app. Then click on
Manage debug tokens.

- Click
Add debug token
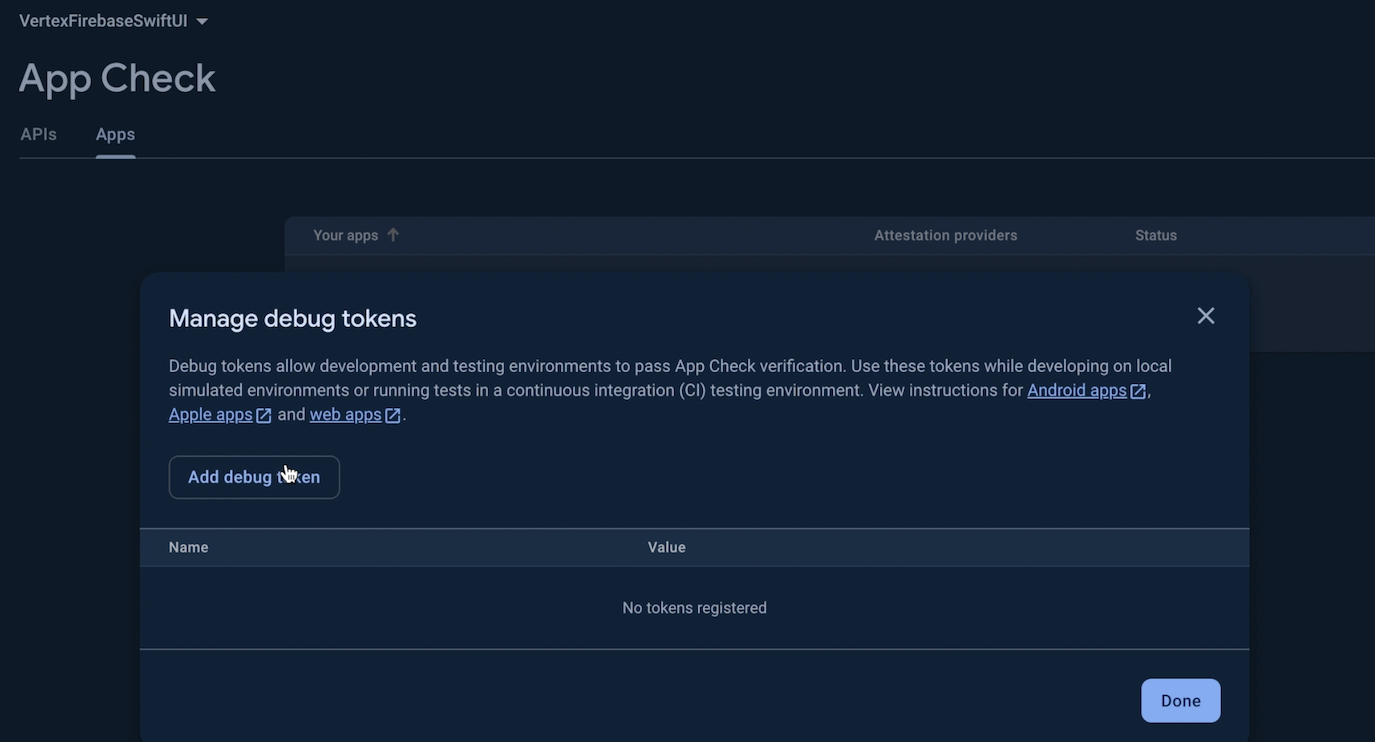
- Enter a name in the
My debug tokenfield, say,Simulator. For theValuewe will get this from our iOS app.
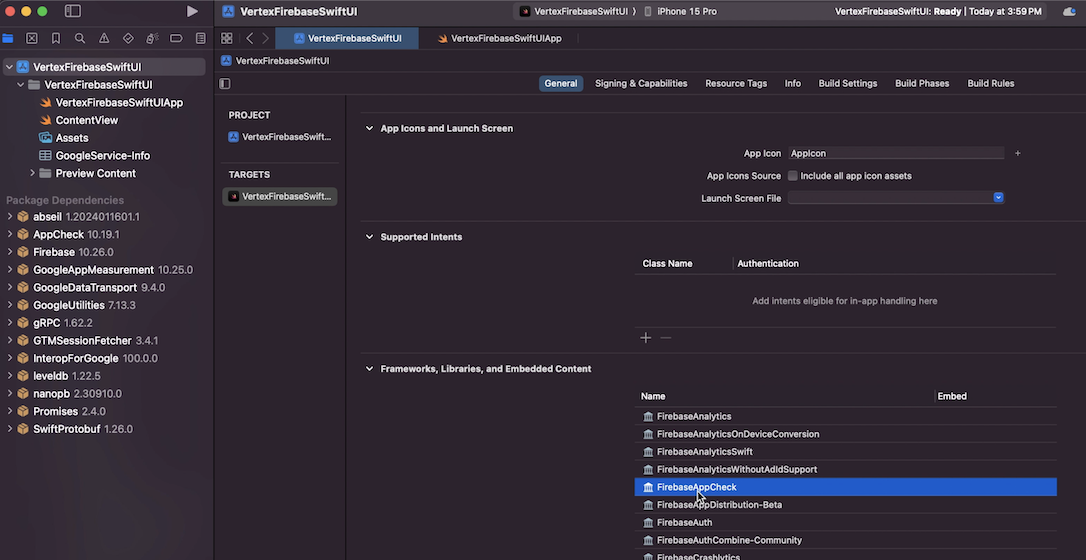
- Go back to your Xcode project & ensure that the
FirebaseAppCheckframework is linked.
- Switch to your
App.swiftfile & add the following code to setupAppCheckDebugProviderFactory.

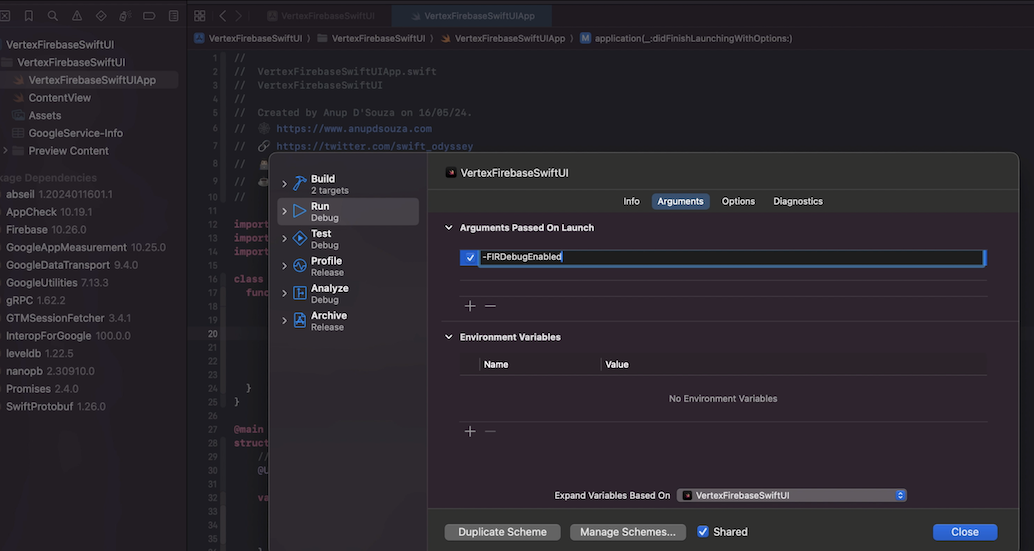
- Add
-FIRDebugEnabledin the project scheme. This will enable verbose Firebase logging in the console & allow us to see the app check debug token.
- Run the app & search for
App Check debug tokenin the console. Copy the value that you see next to it.
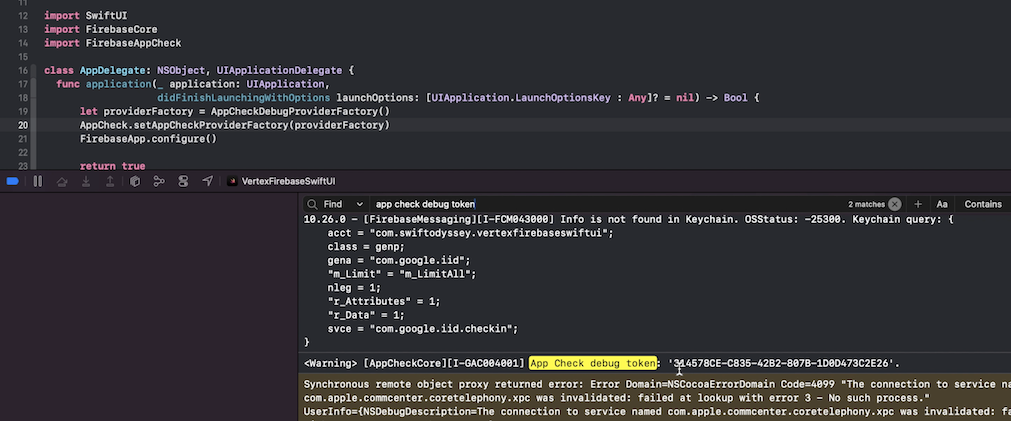
- Paste this value in the
Valuefield back in the browser. ClickSave, then clickDone.
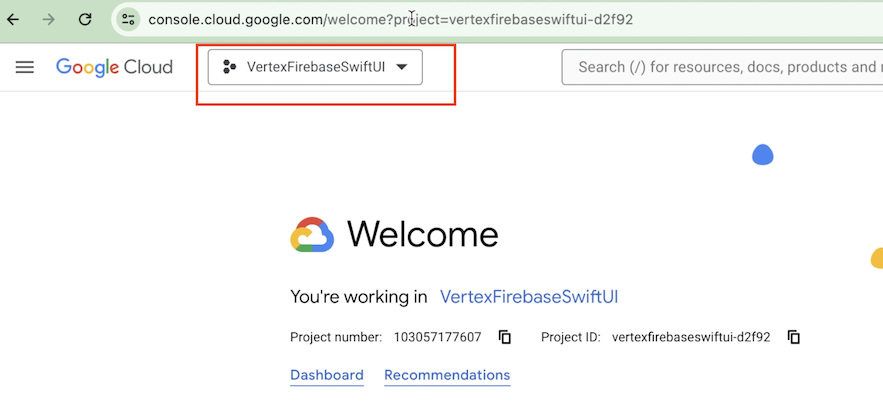
- Next, open
https://console.cloud.google.com, & select your Firebase project from the dropdown menu.
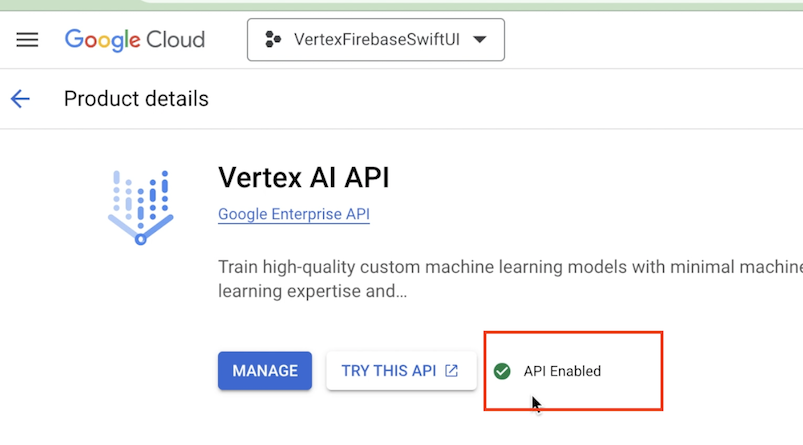
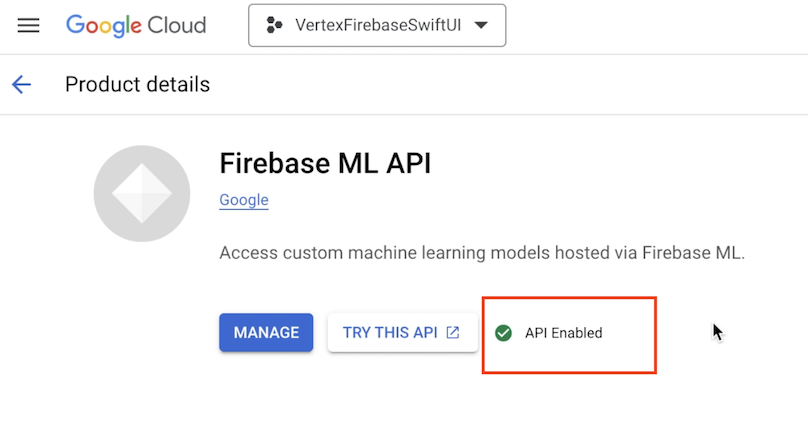
- Select the hamburger menu on the left >
Solutions>All products. Then search forVertex AI API&Firebase ML APIrespectively & ensure that these are enabled for your project.
This concludes the Firebase Vertex AI setup. Let’s build the client iOS app now. There are 2 parts to this, the chat UI which is pretty much the same as we have built in the past & the chat service in order to coordinate sending & receiving messages. We’ll focus only on the ChatService. As in previous implementations, we need to initialise an instance of the model:
private var model = VertexAI.vertexAI().generativeModel(modelName: "gemini-1.5-pro-preview-0409")
Next, in order to send messages the method is essentially the same as working with the Gemini Generative AI Swift SDK. We need to send a multipart request with the actual message & media if any was selected.
We define our Media model as follows in order to capture the mimeType, the actual media data & a thumbnail created for use in the chat UI.
struct Media {
    let mimeType: String
    let data: Data
    let thumbnail: UIImage
}
We then send images &/or video, make an async request to the model & extract the response text received as follows::
var chatMedia = [any ThrowingPartsRepresentable]()
// Append image data
chatMedia.append(ModelContent.Part.jpeg(mediaItem.data))
// Append video data
chatMedia.append(ModelContent.Part.data(mimetype: mediaItem.mimeType, mediaItem.data))

let response = try await model.generateContent(message, chatMedia)

guard let text = response.text else { return }
print(text)
We use the received response text to construct our custom chat messages & display in the UI. If you’d like you can also stream the response so as to provide a more real time experience.
Coming back to working with the media be it image or video, one needs to ensure that the file size is within acceptable limits. As per the documentation, the maximum request size is 20 MB. You get an error if you exceed this. When sending media data inline, it is encoded to base64 further increasing the size of the request. If you’d like to send media that is larger in size, consider using a Cloud Storage for Firebase URL to include in the request. For chat display as well as to reduce media data size in the request we process the image by resizing the image thumbnail & compressing it. For video, we use AVFoundation’s AVAssetImageGenerator class to extract a frame of the video. Checkout the ThumbnailService code in the source code linked below for more info.
Run the app & chat on!
And that’s it for this post! The complete code can be found here
Leave a comment if you have any questions!
Resources:
- https://firebase.google.com/docs/vertex-ai/get-started?platform=ios
- https://firebase.google.com/docs/vertex-ai/text-gen-from-multimodal?platform=ios#text-&-multi-images
- https://firebase.google.com/docs/app-check/ios/debug-provider?authuser=0
- https://github.com/firebase/firebase-ios-sdk/tree/main/FirebaseVertexAI