How to clean a carrom board?
Cleaning a carrom board
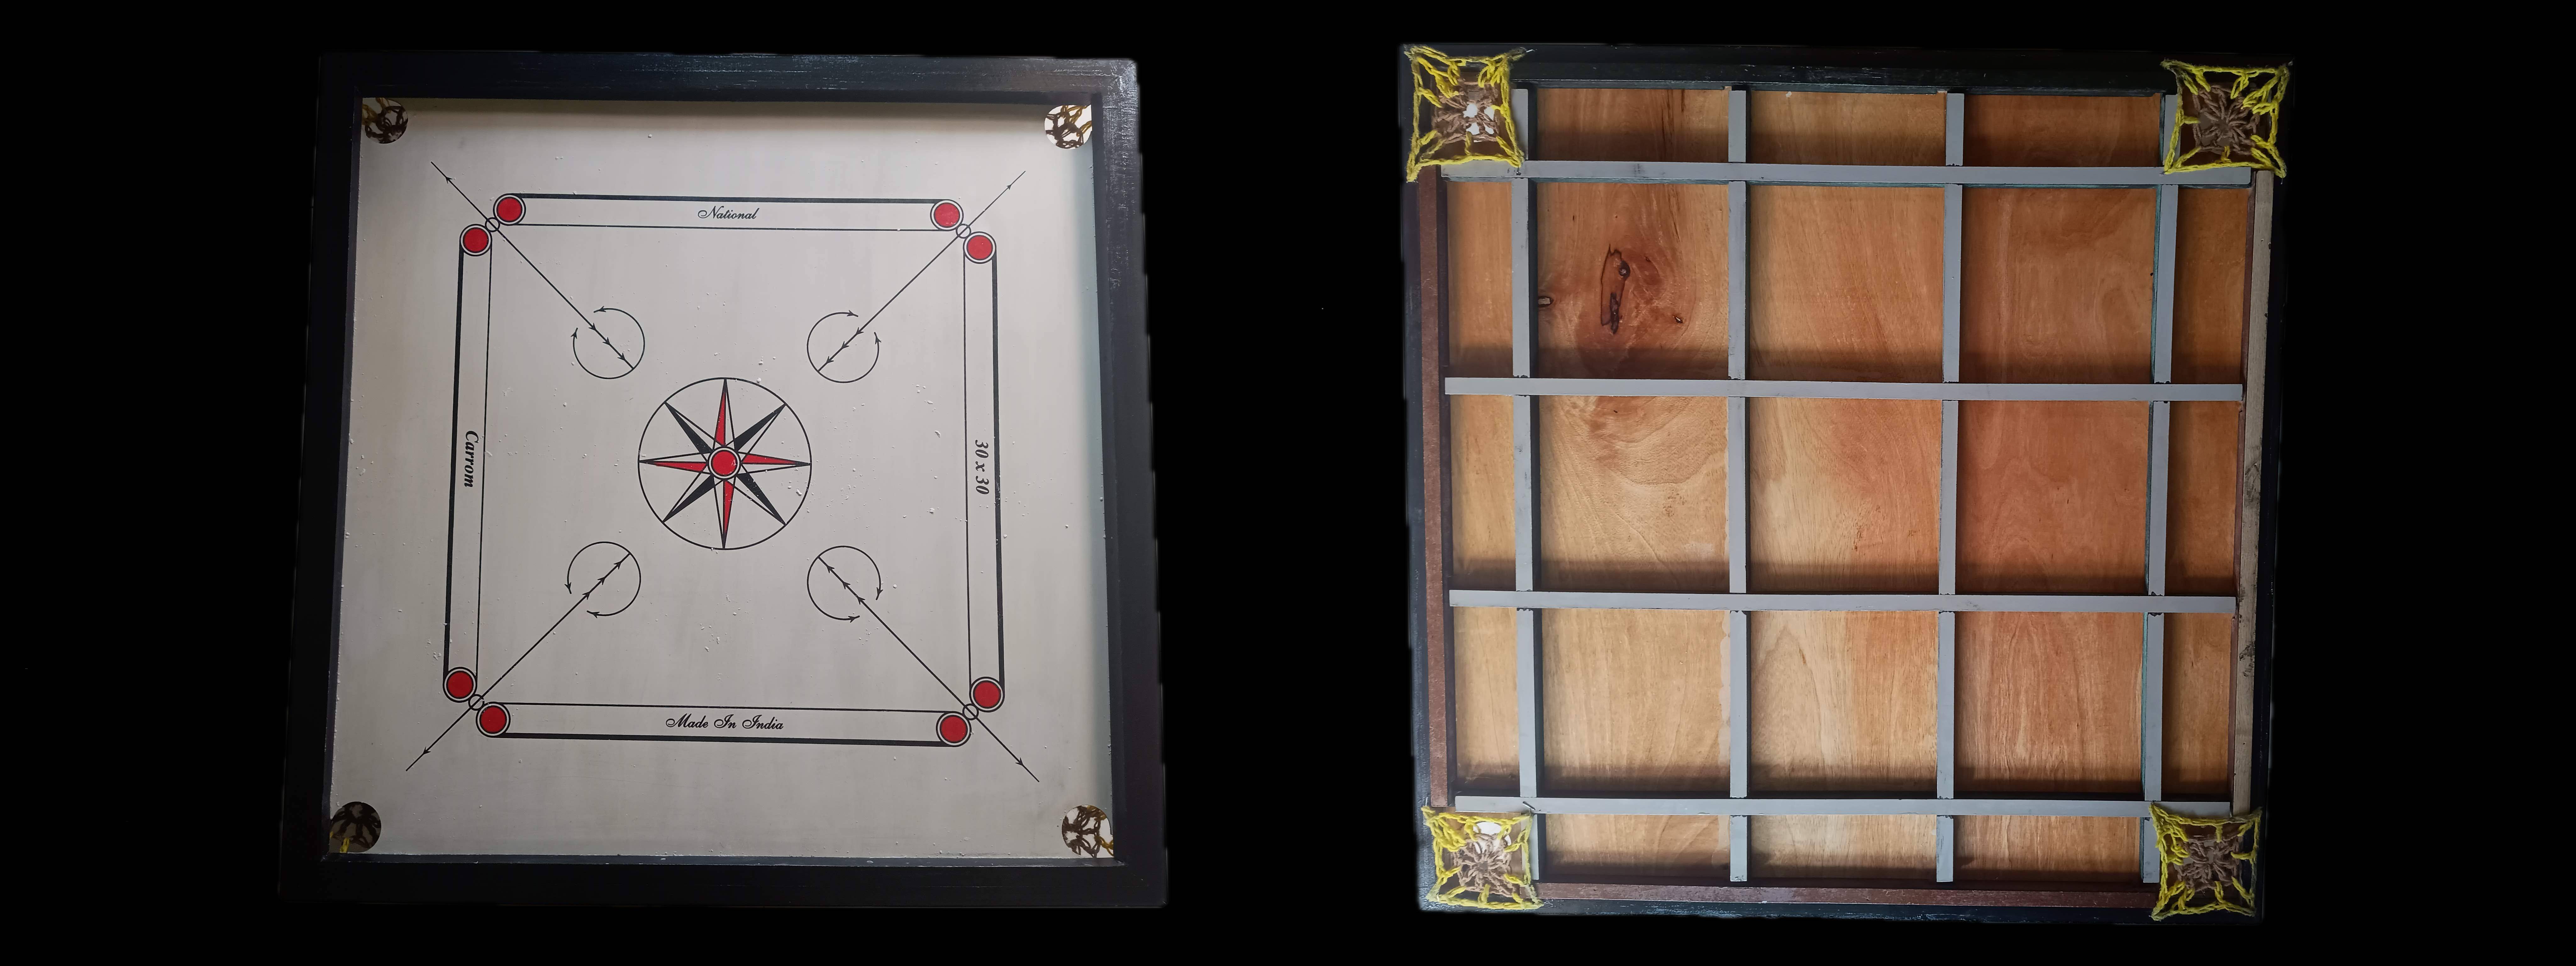
Carrom boards require a lot of care in order to maintain a smooth playing surface. However, despite your best efforts, boards do often run into issues & require regular cleaning. Recently, my carrom board went unused for about 2 weeks during a period of continuous rain & humidity. As a result, I found fine mold starting to grow on both the front & back sides of the board. Naturally, that led me to research on carrom board care and I’m glad to share the process I followed to restore the board to its former glory.
Before we begin, a few important points.
Note
- The following only works with Indian Ply carrom boards.
Disclaimer
Proceed at your own risk. I shall not be held responsible for any damage occurring as a result of following the procedure given below. If you do choose to follow the steps, only do so under adult supervision & make sure to wear appropriate safety equipment such as gloves, eye protection goggles an a breathable mask.
What you will need:
- Multiple paint brushes
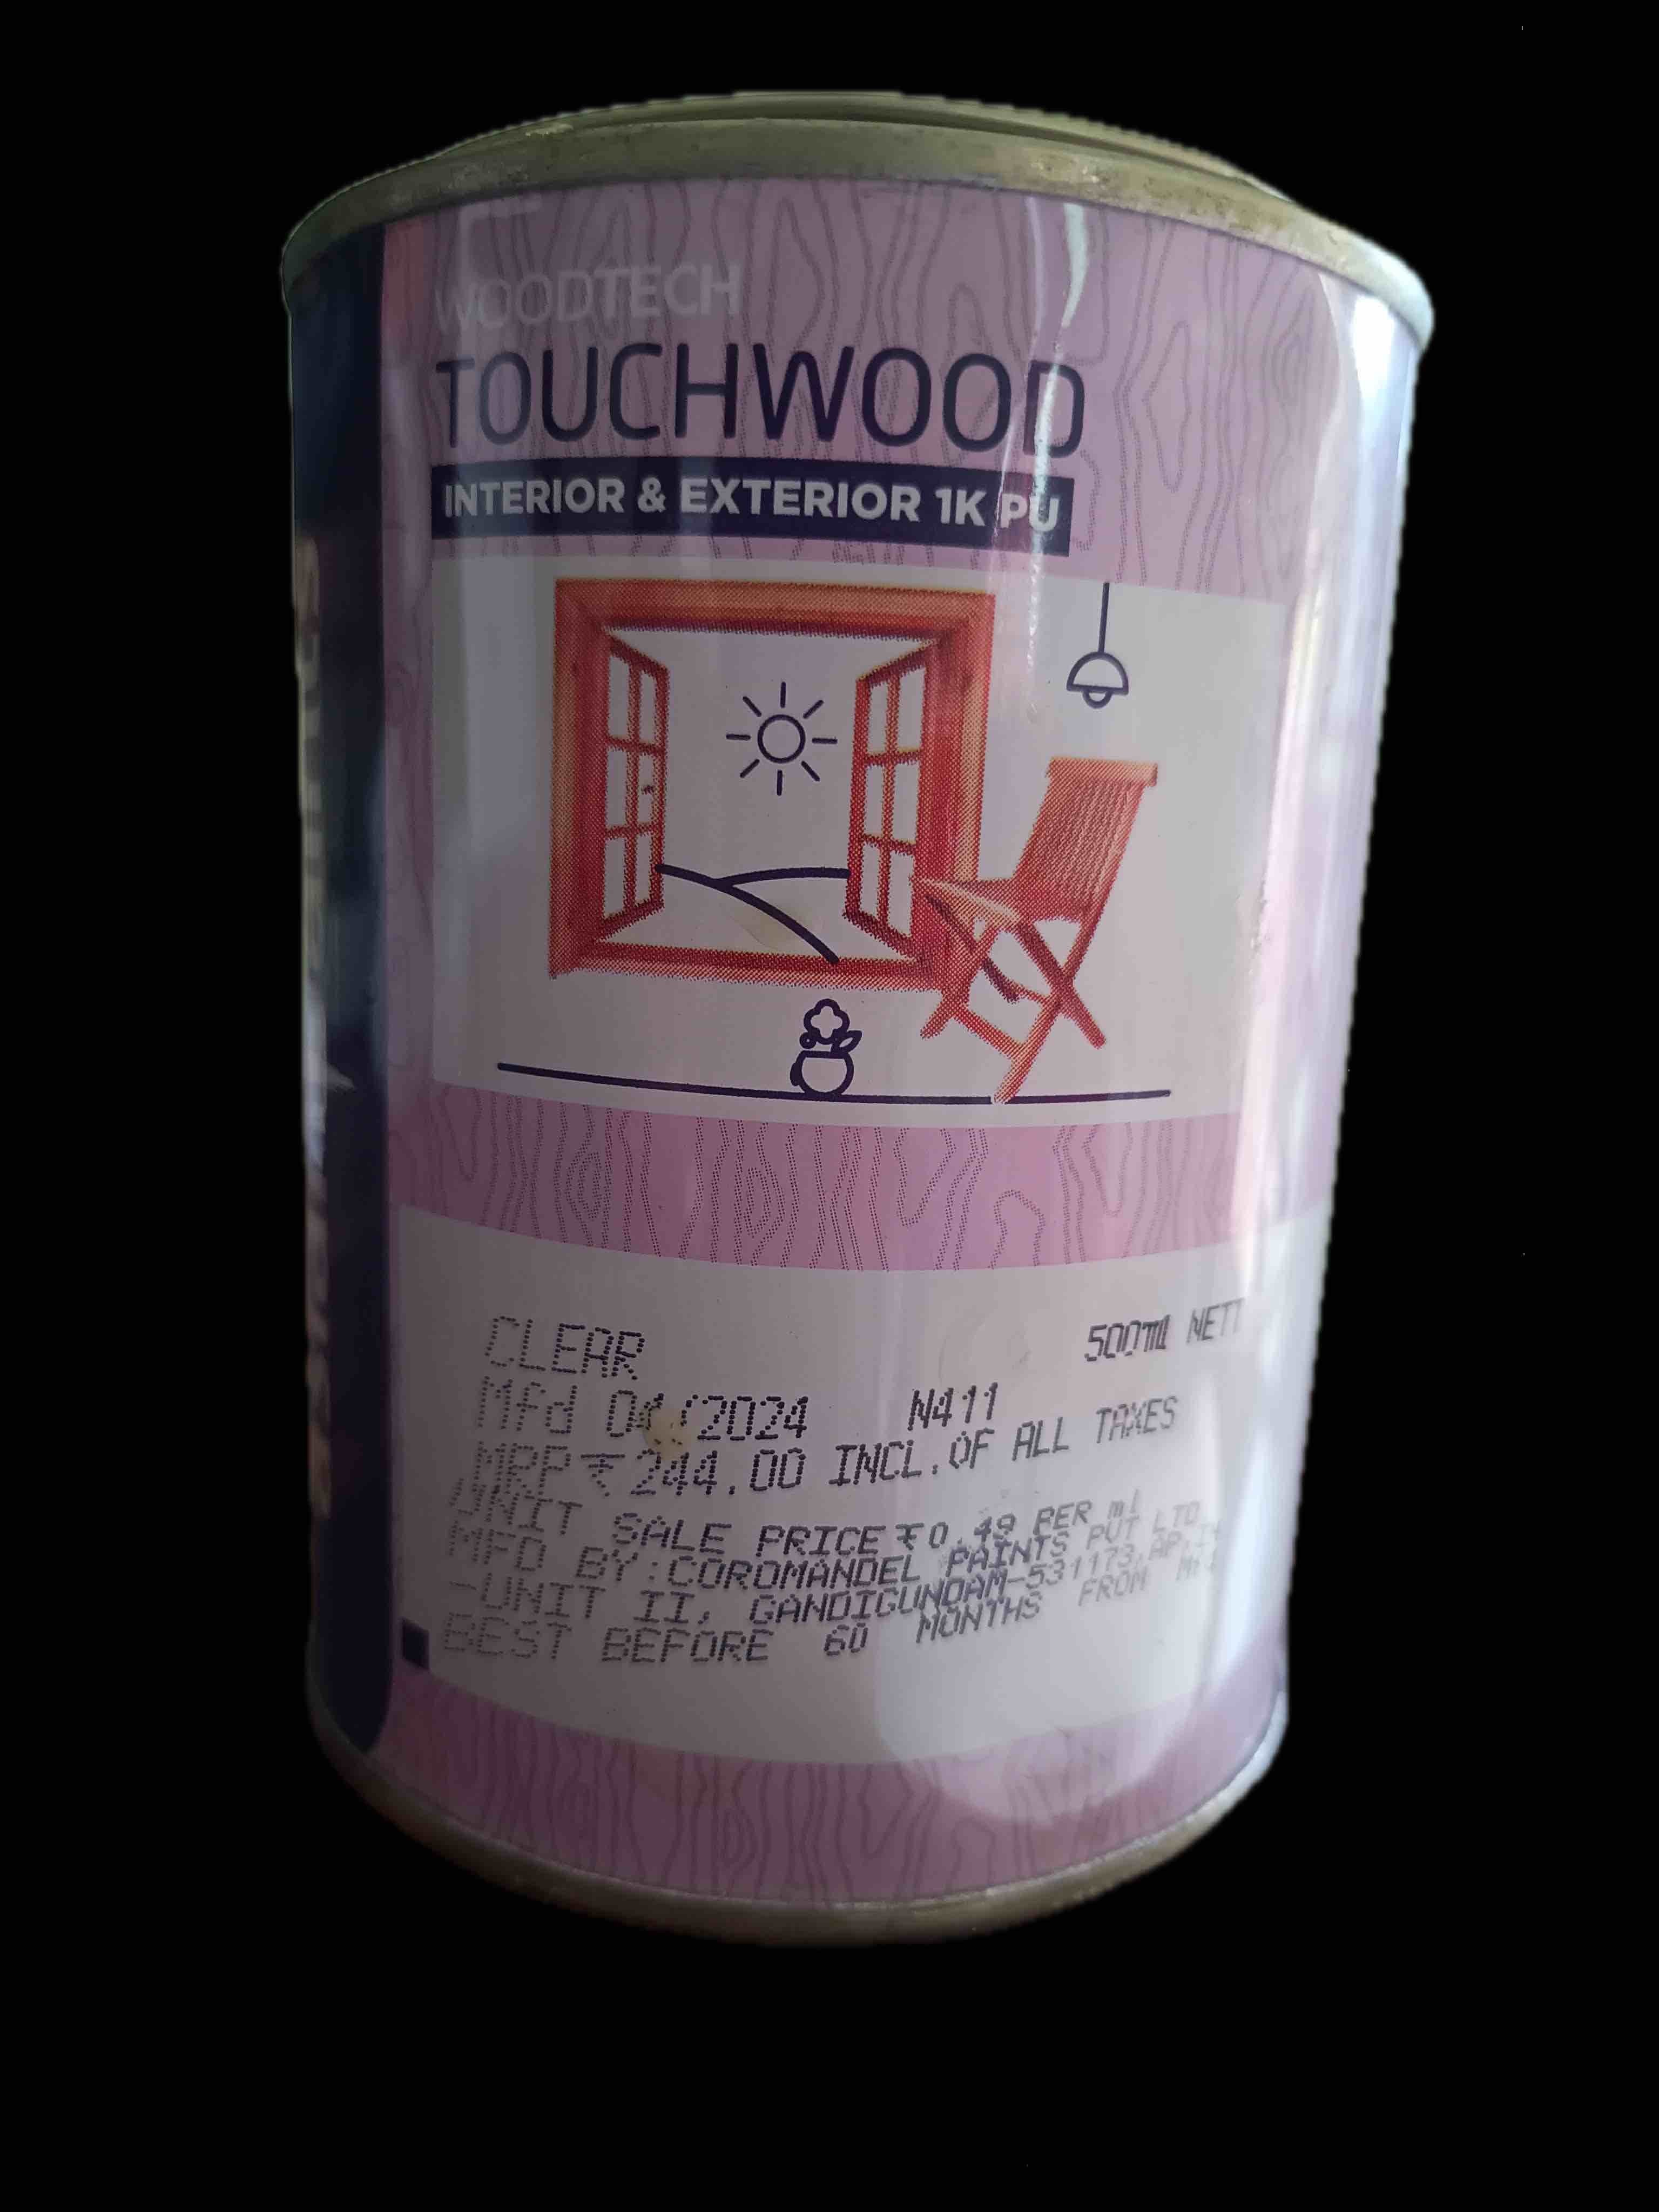
- A can of oil based varnish ~ 200 ml
- Sand paper, 180 grit
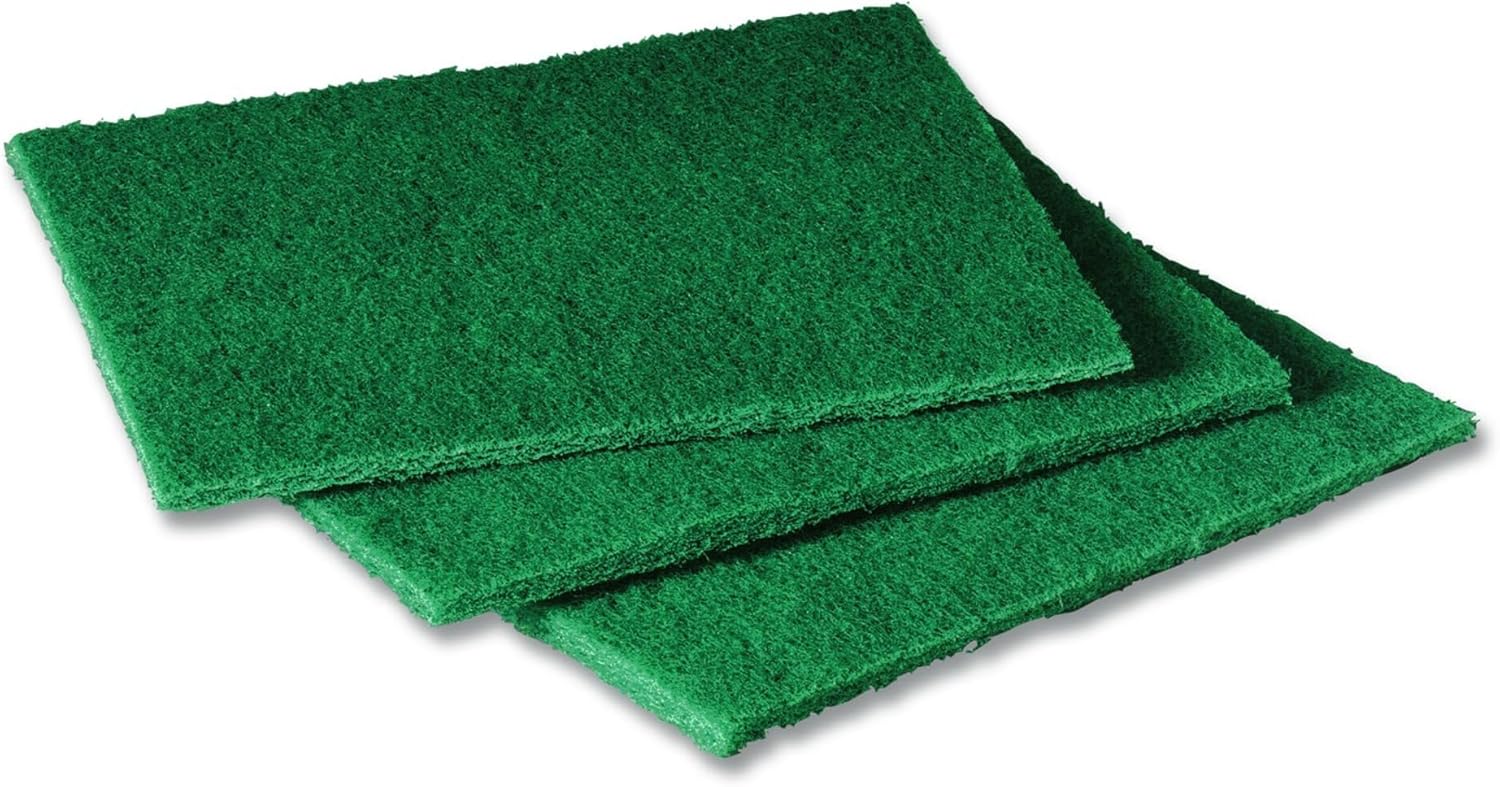
- Scrub pads
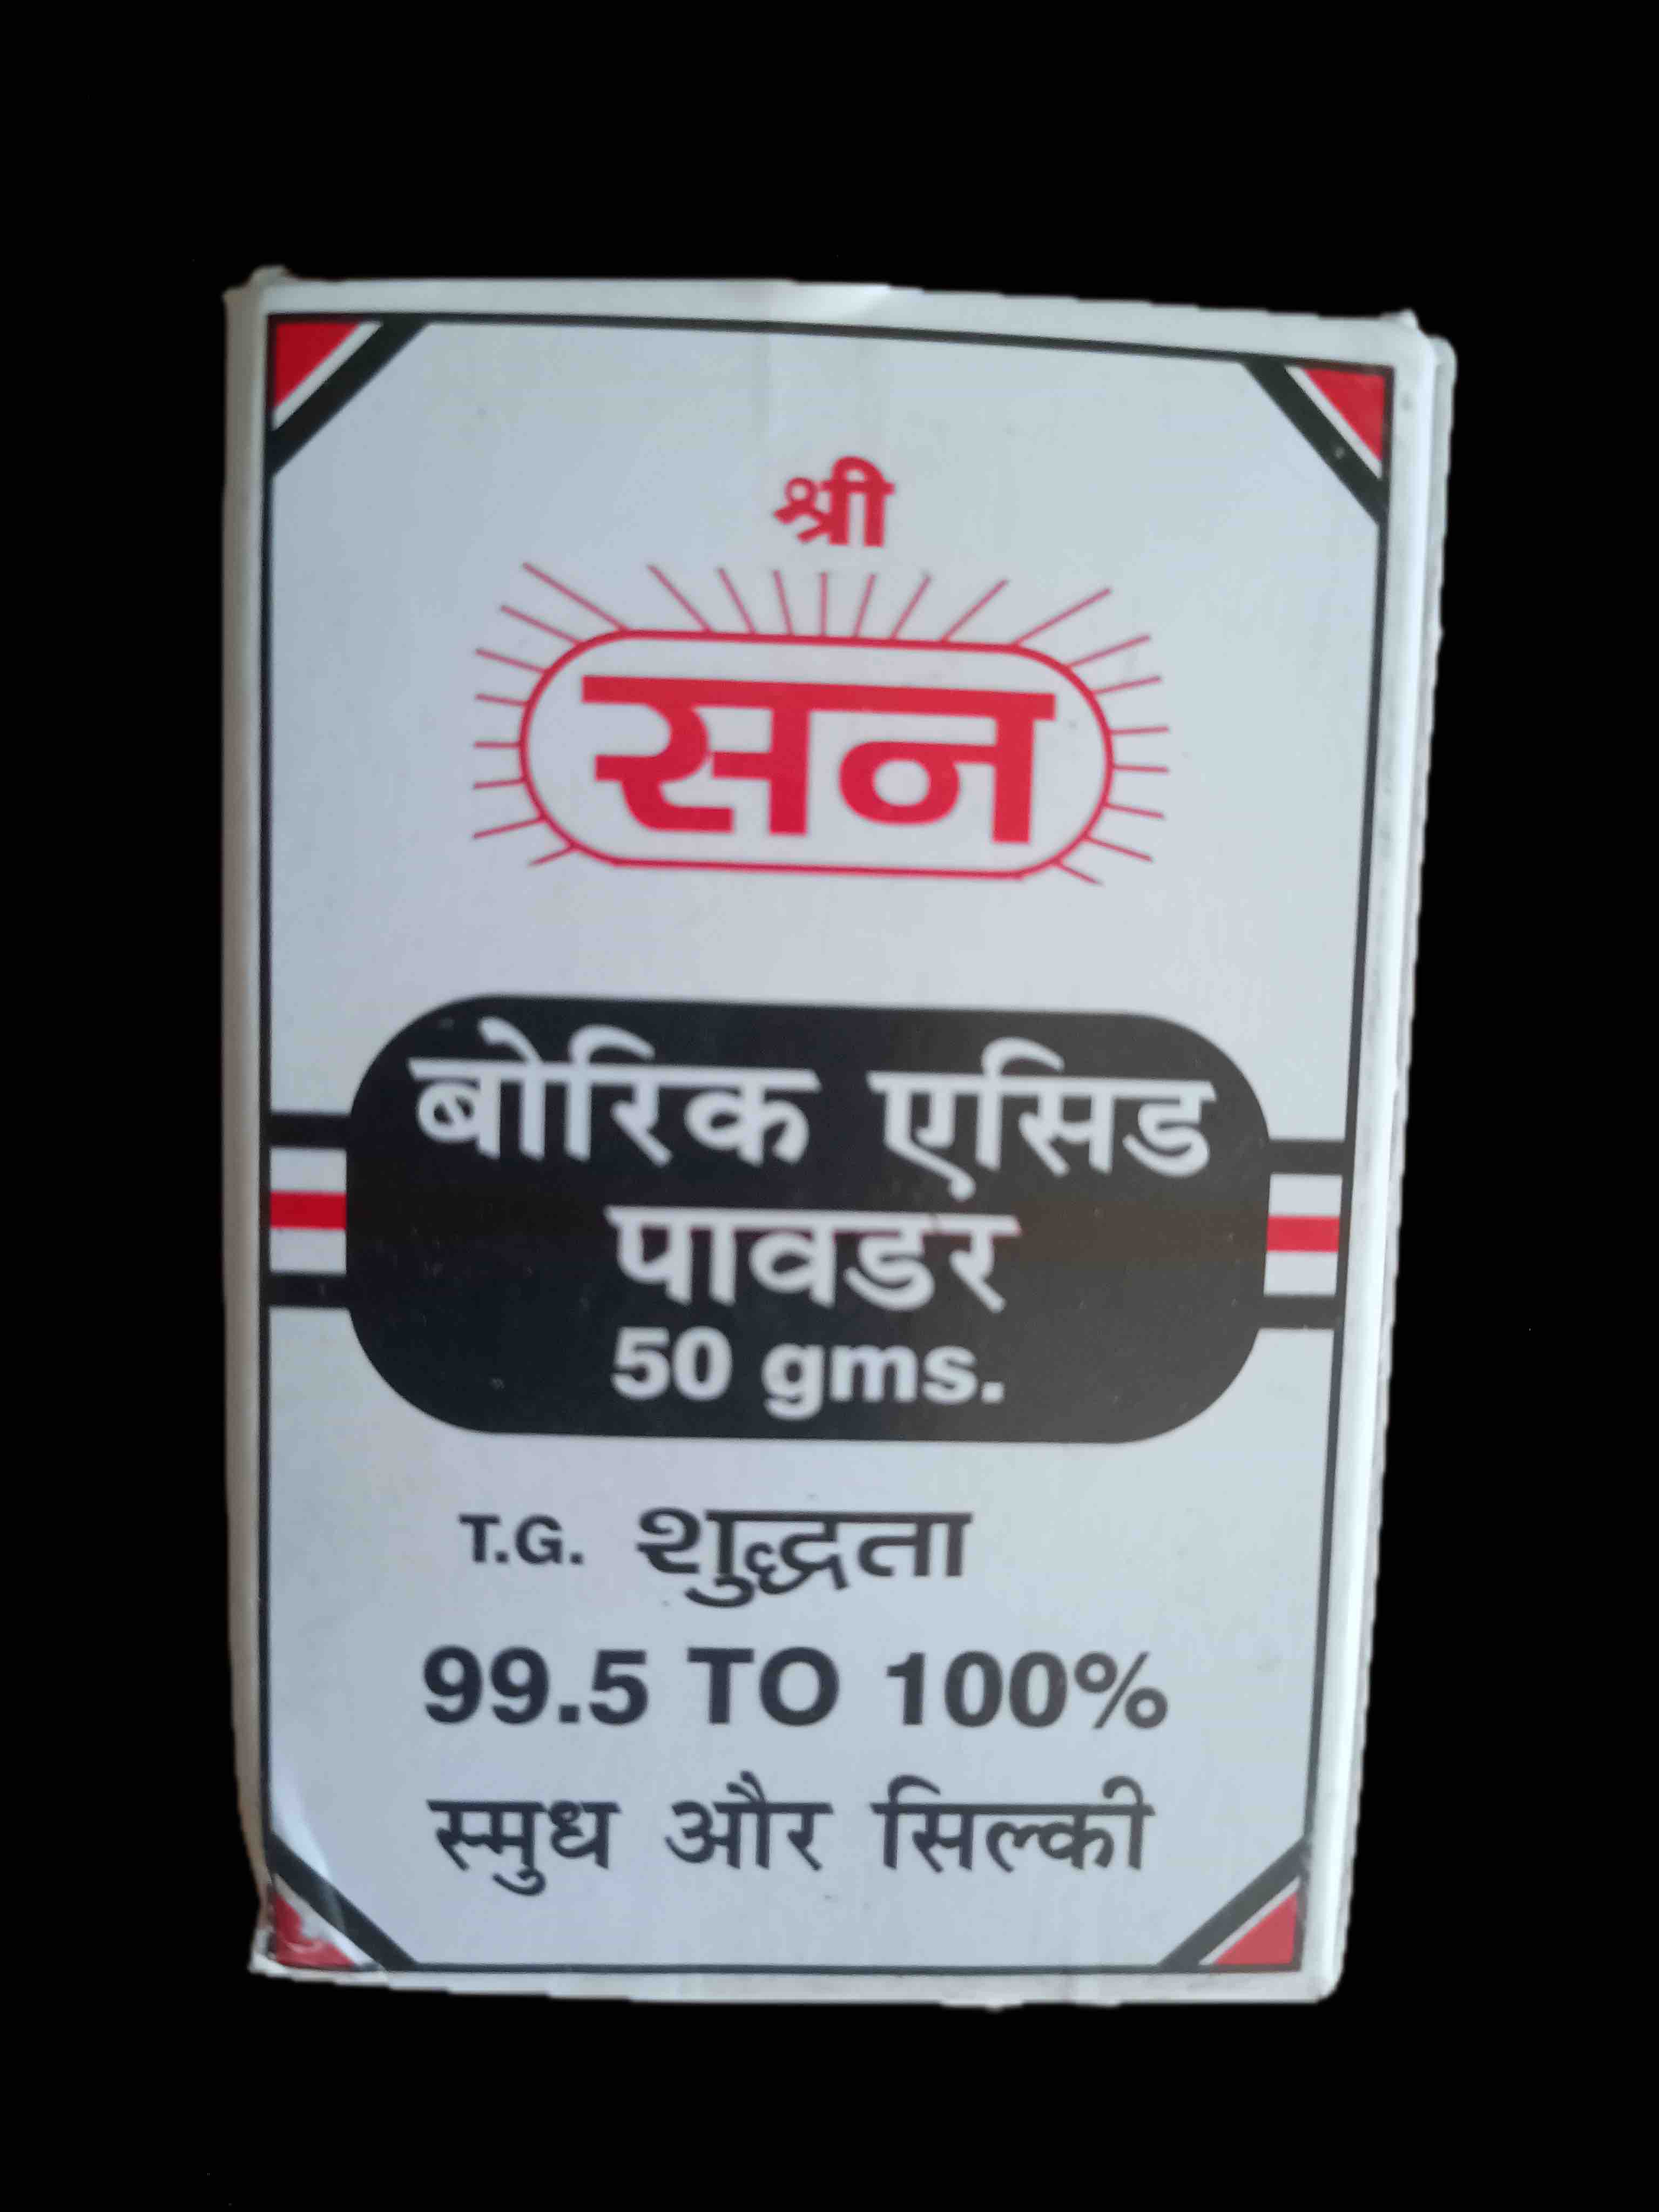
- Boric acid powder
- Pieces of cloth
Procedure:
- First with a piece of cloth, wipe down the board properly on both sides.
- Next, cut a piece of sand paper that you are comfortable holding and sand down the wooden areas on both sides except the playing surface until fairly smooth. Don’t worry if the wooden surface is uneven or is dented. You don’t need a wood filler compound & don’t need to sand it down until it’s level. Boards manufactured and sold here often have strips of ply on the back end, you do not need to sand those areas as well. Use a vaccuum to suck out the dust or get rid of it using a brush.
- Next, pick a side of the board & make sure it is placed on a flat, level surface, facing you. I started with the back surface as that had a larger & more complicated surface area needing work.
- Then apply a thin first coat of varnish in the direction of the wood grain with the help of a brush or cloth on the wooden surfaces and leave it out to dry as per the instructions given on the can. You may need a thinner brush to get to the pocket areas as they are usually covered by the net. Be careful not to let the varnish run onto the playing surface when doing the pockets. Although the varnish I used recommended a drying time of 16 hours, I left the board to dry overnight for about 10-12 hours and it was completely dry. Coming to the brush, it’ll harden if you don’t clean it with turpentine or brush cleaner. It was cheaper for me to just buy additional brushes than purchase turpentine so that’s what I did and discarded the brushes after each use.
- Apply a thin second coat and leave the board to dry again.
- For my board I applied varnish to all areas at the back of the board as well as the side’s and the top, usually painted black. And yes, I sanded those too before applying varnish. I excluded the top inner surface that comes in contact with the board as I did not want to risk getting varnish onto the paint surface. I might coat it later when I have more time & steadier hands. A minimum of 2 coats to the wooden surfaces and a single coat on the areas covered by ply (just to be safe) should be fine.
- Next, with the playing surface faced upwards, take a piece of scrub pad and gently scrub in the direction of the wood grain. Don’t scrub against the grain as that will likely result in scratches to the board. The scrub pad method is totally effective, it’s something I learned from pro Indian carrom players.
- Dust off impurities with a vaccuum or brush or piece of cloth.
- Apply a few pinches of boric acid powder, commonly used with carrom boards, onto the board and spread it evenly with your hand or a cloth. Dust off any excess.
Your board is now clean & ready to play! You can additionaly clean your carrom-men by gently rubbing their surfaces onto the scrub pad as well. This’ll get rid of any dust or excess powder packed into them as a result of playing. I’ve also seen pro players rub the striker against the finest grain sand paper available but I leave that upto you.
It took me 3 days in total to finish this little project & I’m quite happy with the results. The board has a nice shine to it and the edges are easy to clean thank’s to the varnish.
Finished board photos:
Here are the item’s that I used:
- Asian Paints WOODTECH TOUCHWOOD Varnish & brushes, purchased from paint store
- 180 grit sandpaper, purchased from local hardware store
- Sun brand boric acid powder, purchased from novelty store
- Scotch brite scrub pads, purchased from general store
Consider subscribing to my YouTube channel & follow me on X(Twitter). Leave a comment if you have any questions.
Share this article if you found it useful !


